Home › Forums › Technical Information › Stipping and Painting A Grumman
- This topic has 5 replies, 3 voices, and was last updated 8 years, 4 months ago by
 C-FBLY.
-
AuthorPosts
-
-
August 23, 2015 at 01:28 #1930
 James CandelettiParticipant
Stripping and Painting
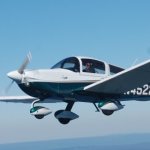
James CandelettiStripping and painting a Grumman this has been a misunderstood subject, so let’s see if we can dispel some misconceptions. First let me introduce myself, my name is James Candeletti. I am a Grumman owner and an A&P I have been painting Grumman’s since 2006.
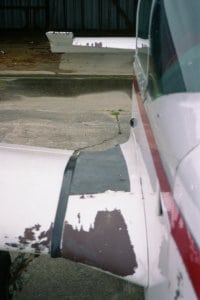
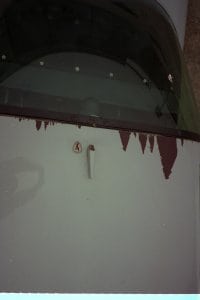
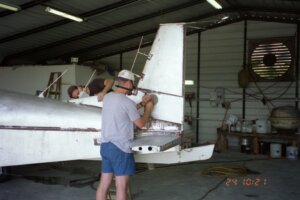
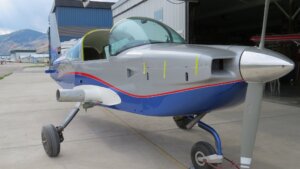
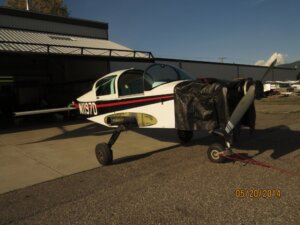
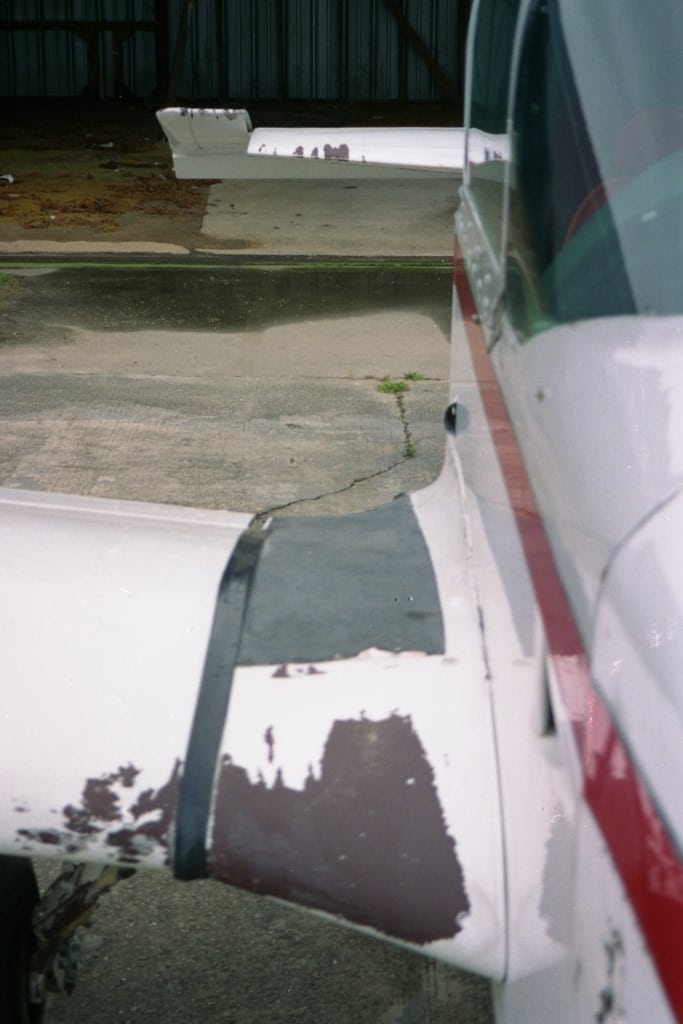
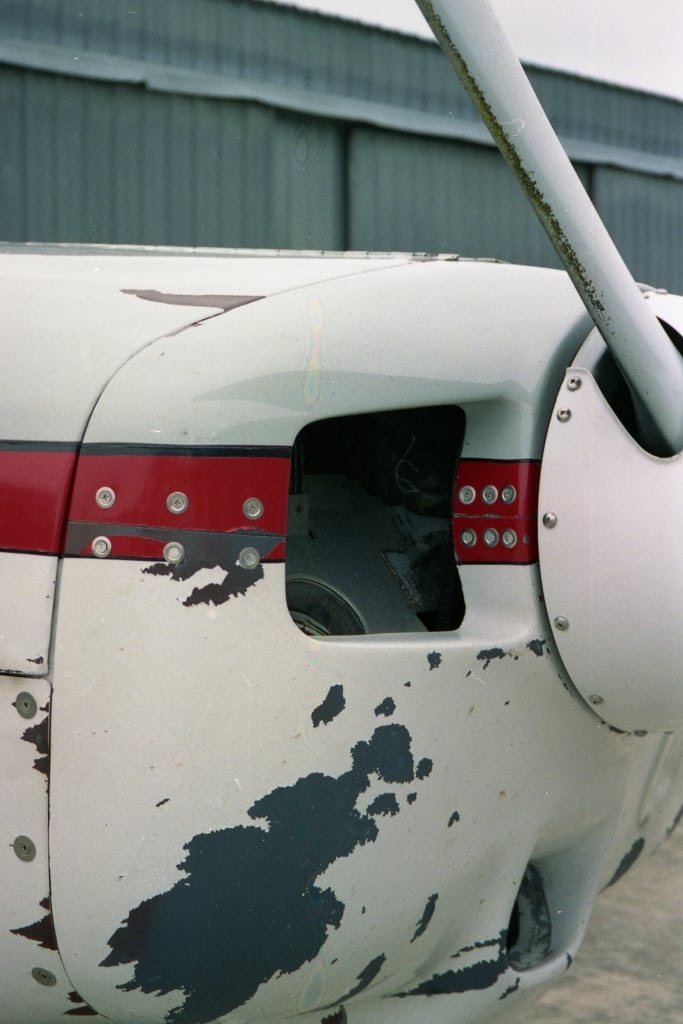
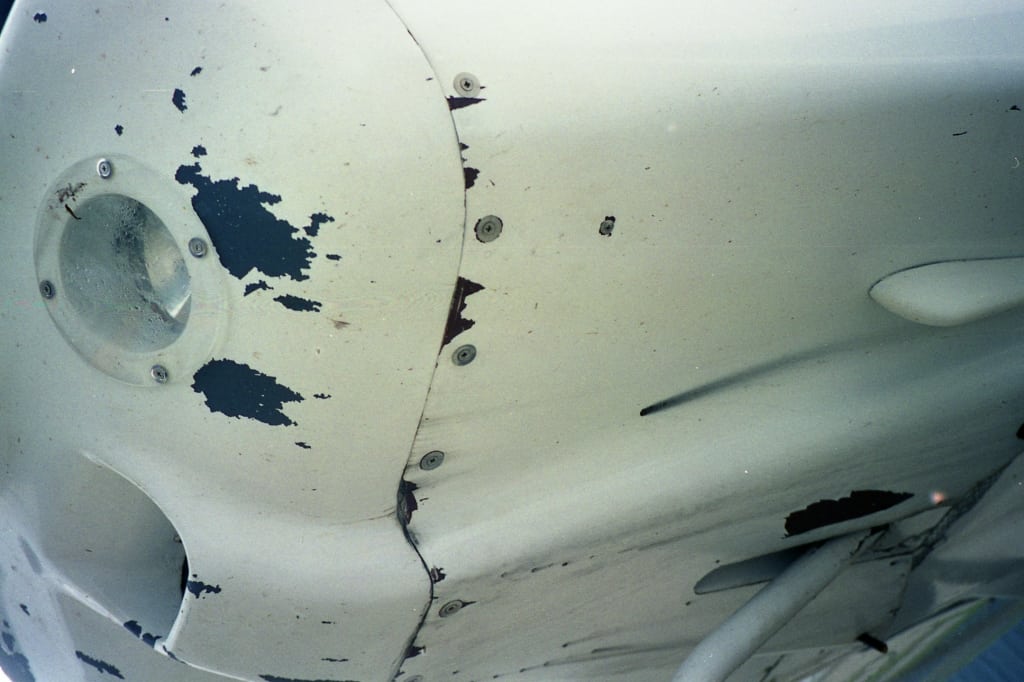
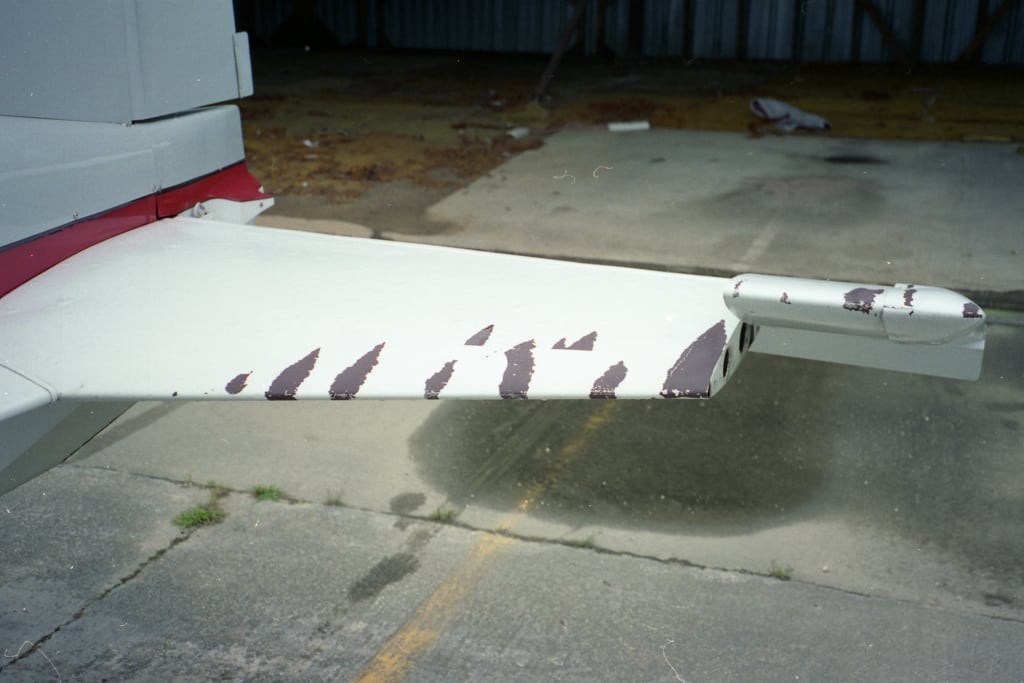
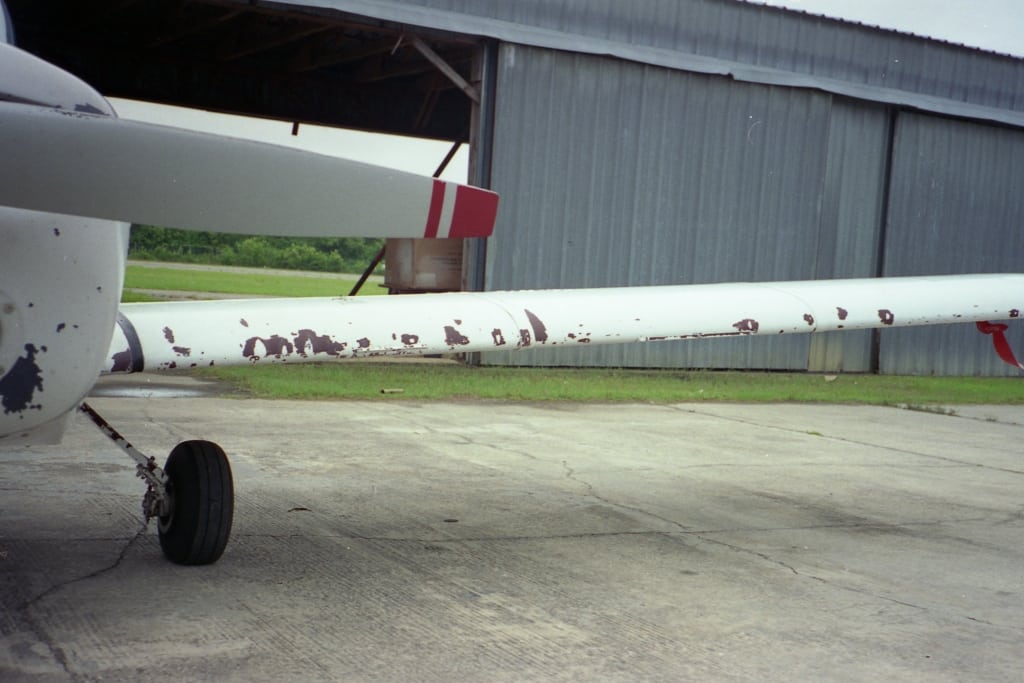
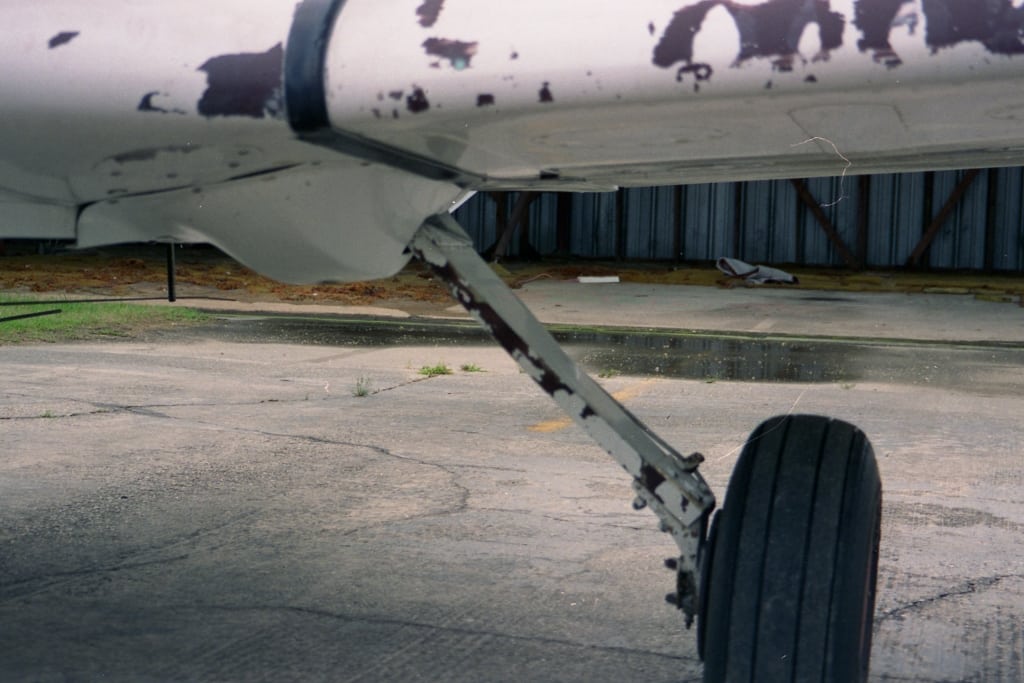
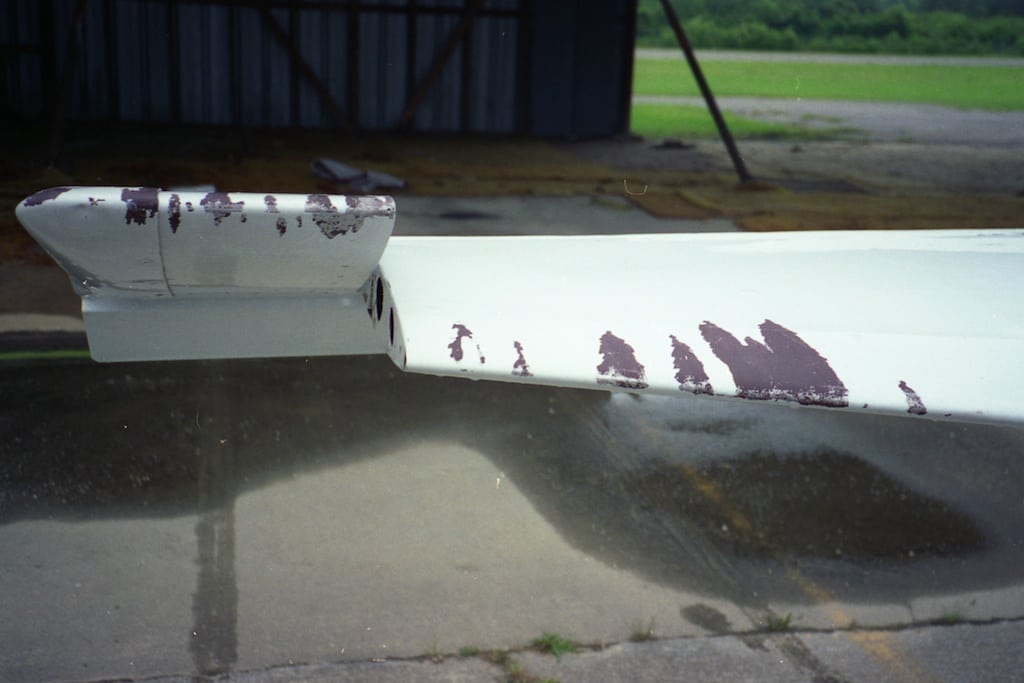
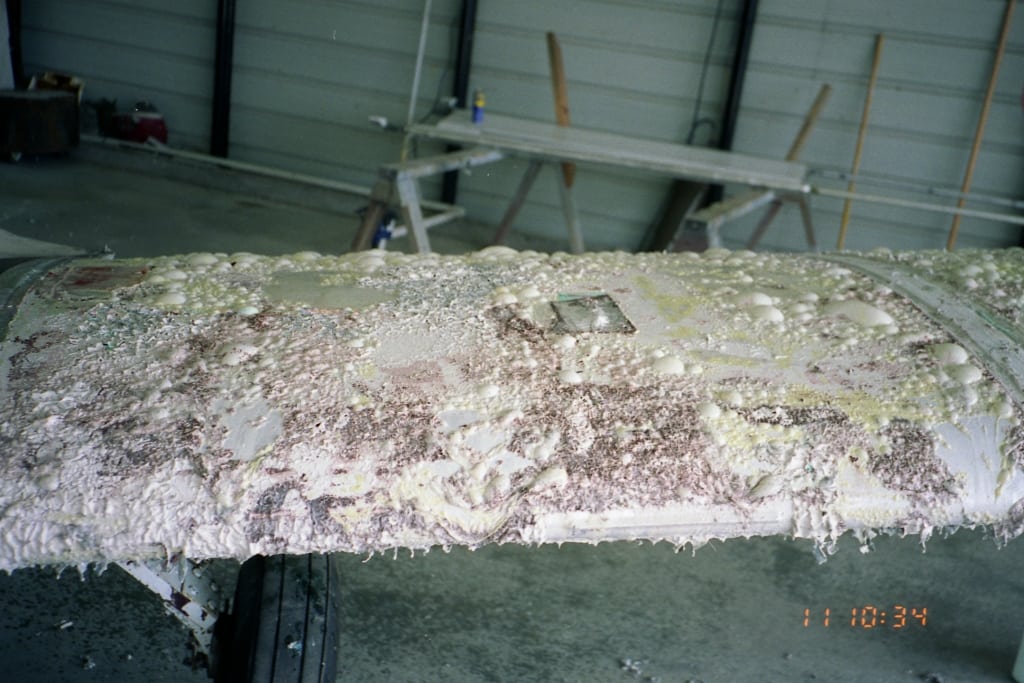
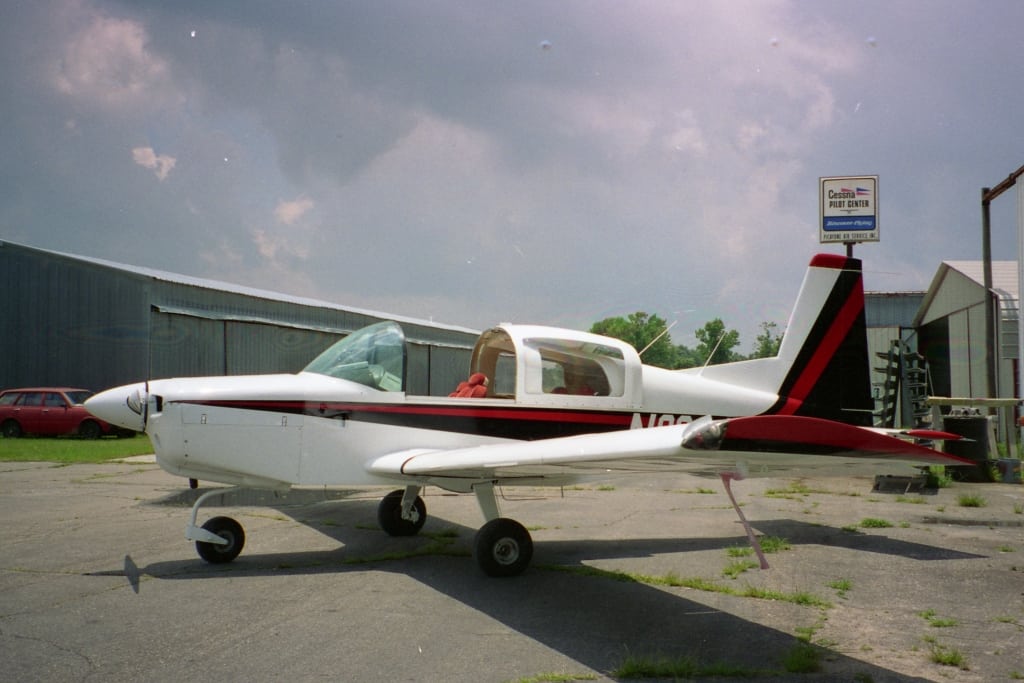
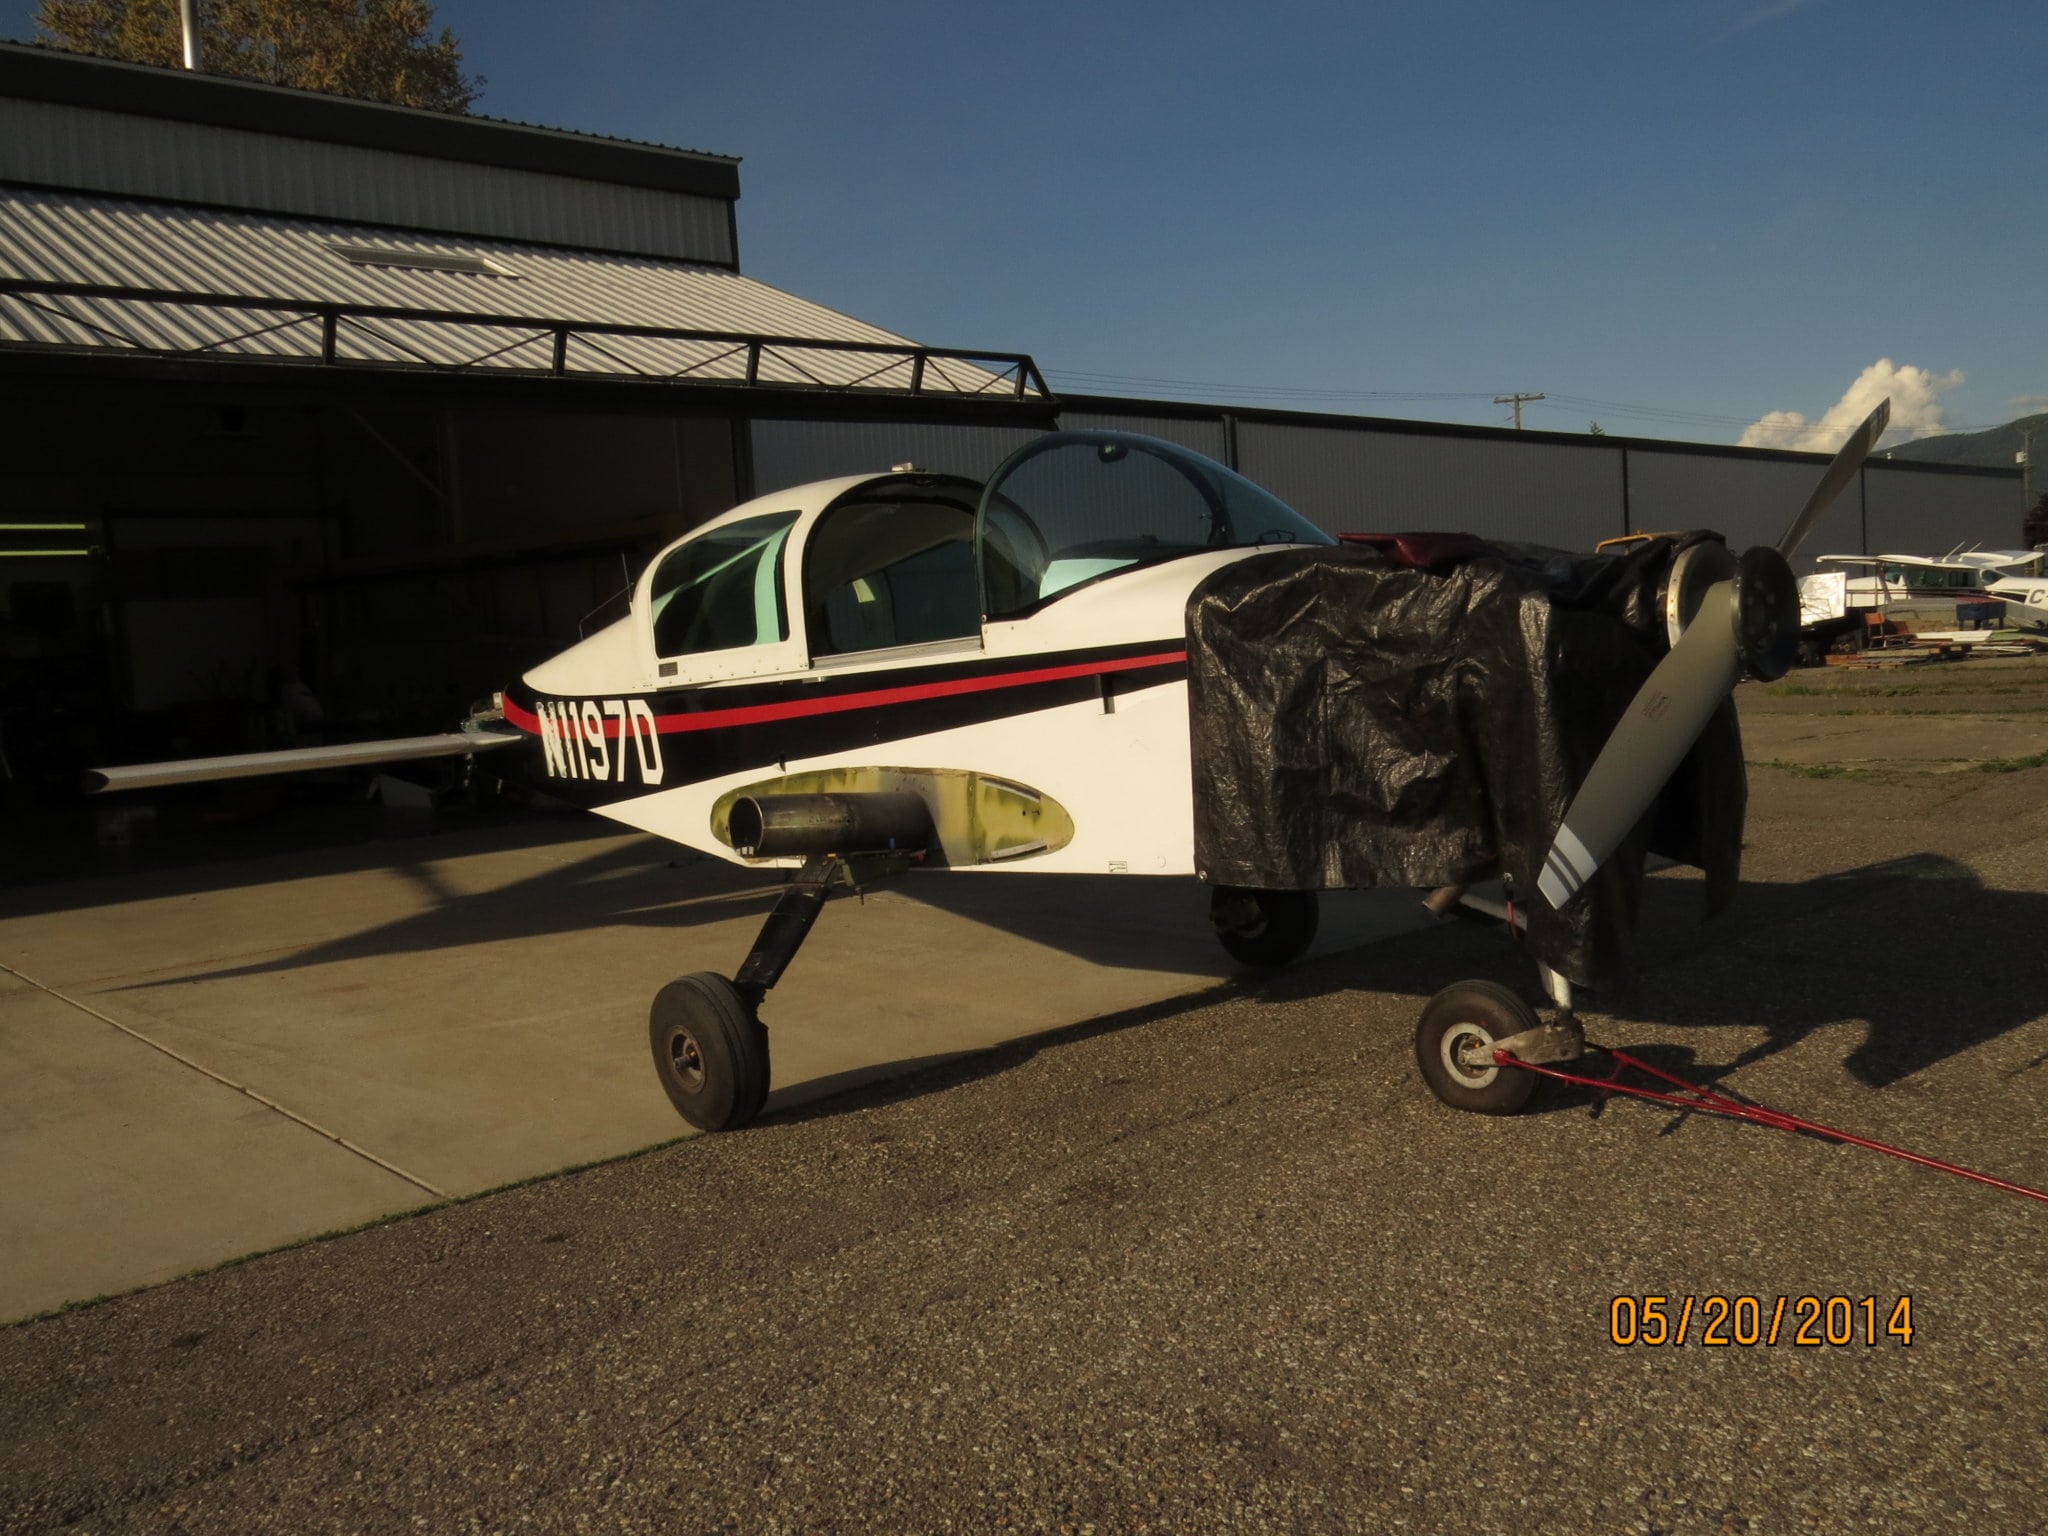
There are many reasons to paint a plane, but mostly it is that the old paint is not there or doing its job anymore. Here is a Traveler that had the paint badly applied (over original paint) and then flew through a severe rain shaft with hail (about 25 seconds)


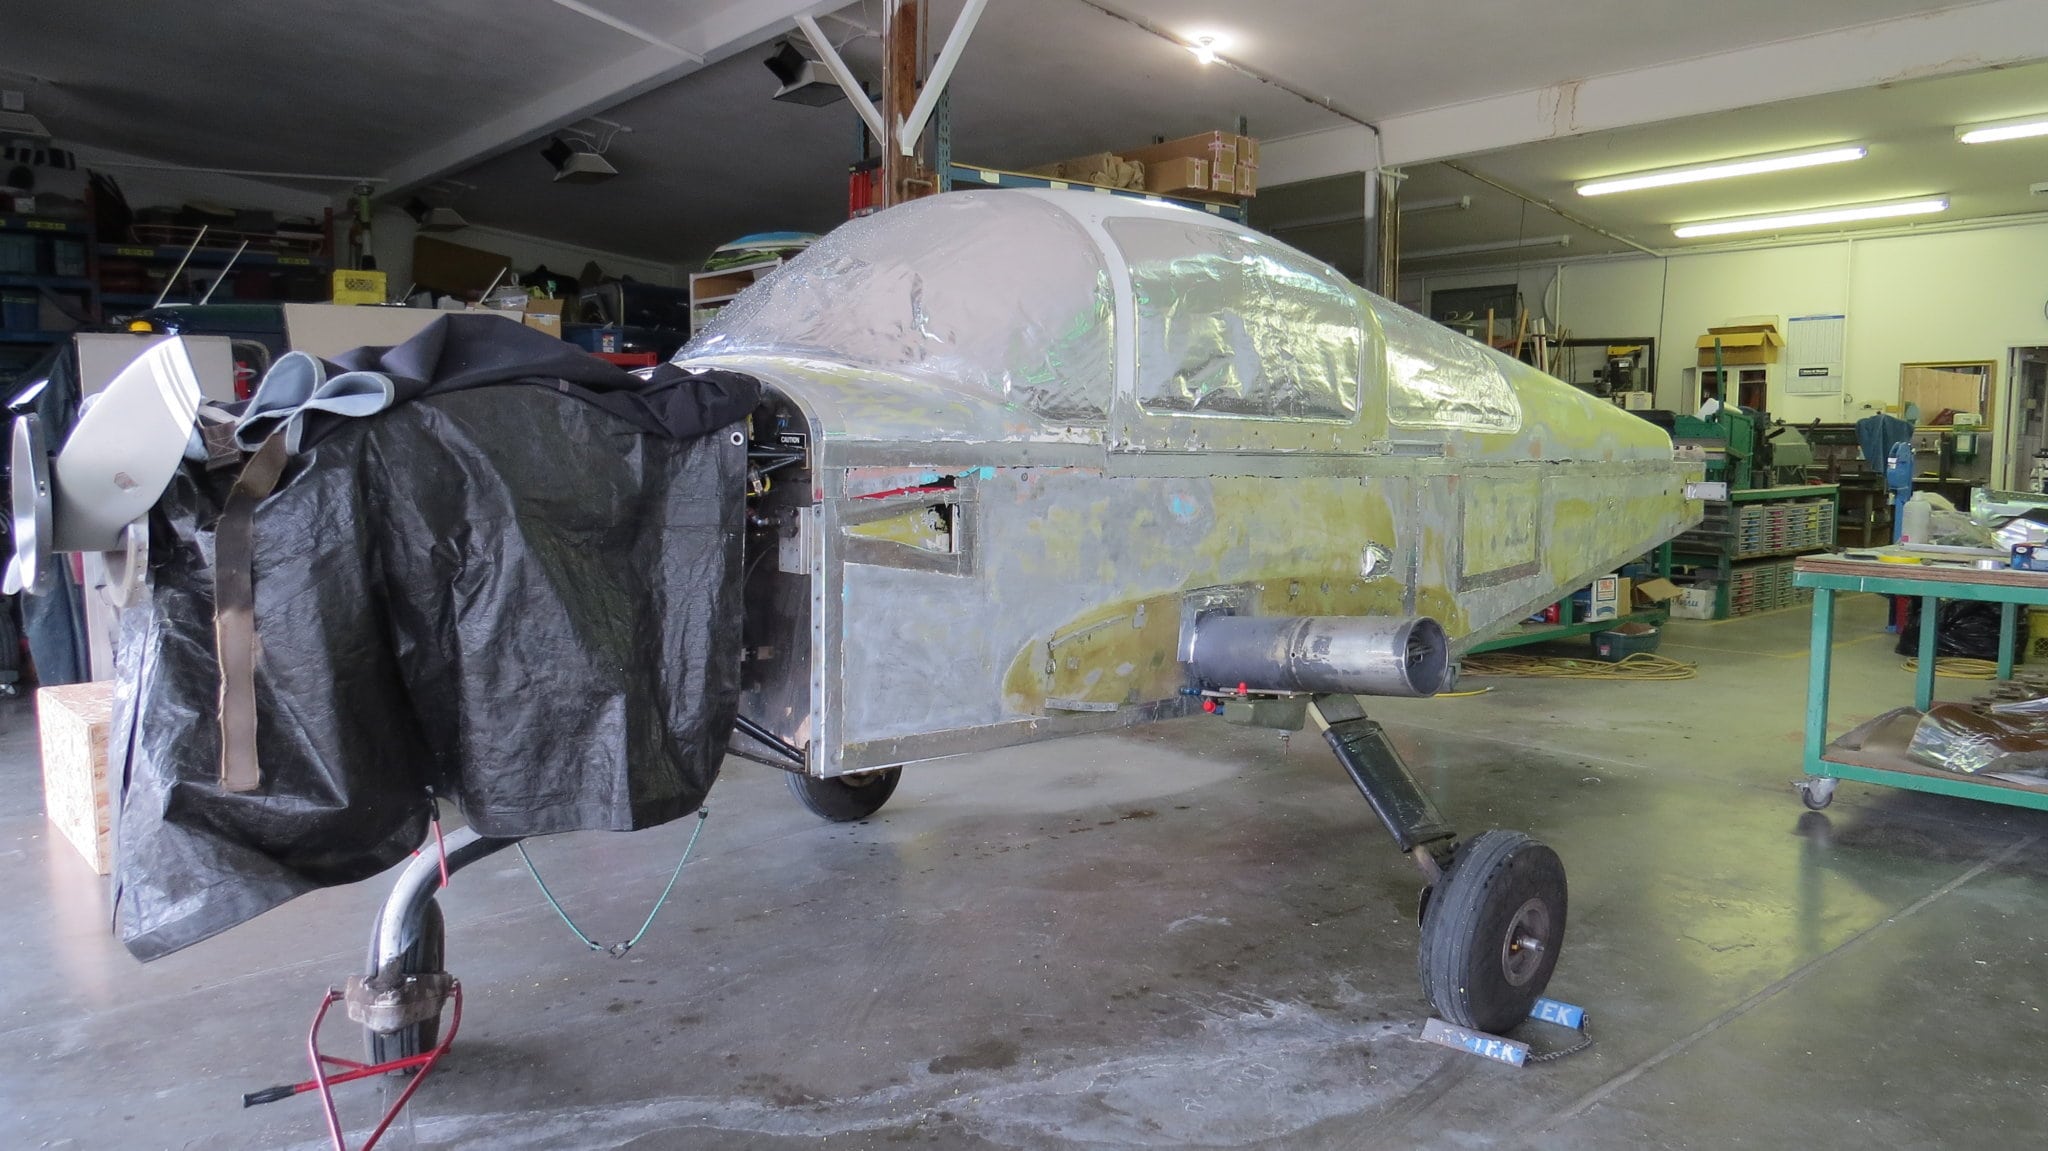
The first task is to toughly clean and degrease the entire plane as any oil wax or silicon will stop the stripper from working.
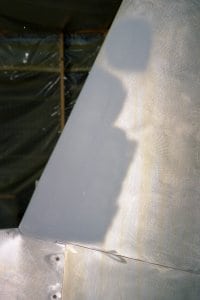
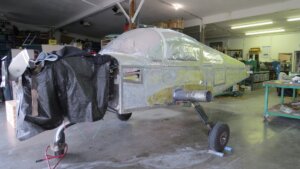
Start by disassembling the aircraft. I remove all control surfaces , wings as well as fiberglass wing walks.Now that the air craft is clean and disassembled, you must identify all of the bond joints as they must be protected from the stripper in accordance with the manufactures recommendation in the maintenance manual which also has a diagram of all bod joints to be protected. I find that sanding the bond joints prior to stripping works better is most cases as the existing paint on the surfaces protects the skin adjacent to the bond joints.
Using a 6” orbital sander with 220 grit paper sand though the paint on either side of the bond joints approximately one inch either side. It is not necessary to remove all the paint at this time as you will see later in this discussion. Next protect windows with two layers of 2” green masking tape then carefully sand paint from around windows approximately 1” around the outside then using aluminum foil and aluminum duct tape cover the all windows extending the tape on to the bare aluminum the full 1 “ as there will always be some bleed in of stripper on the tape line.
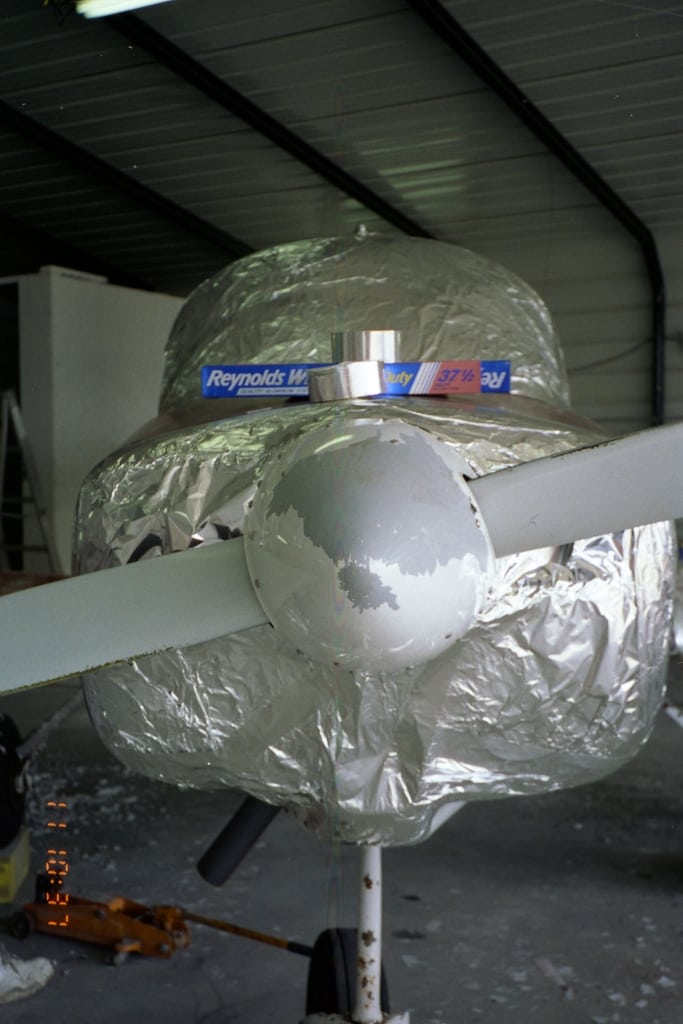
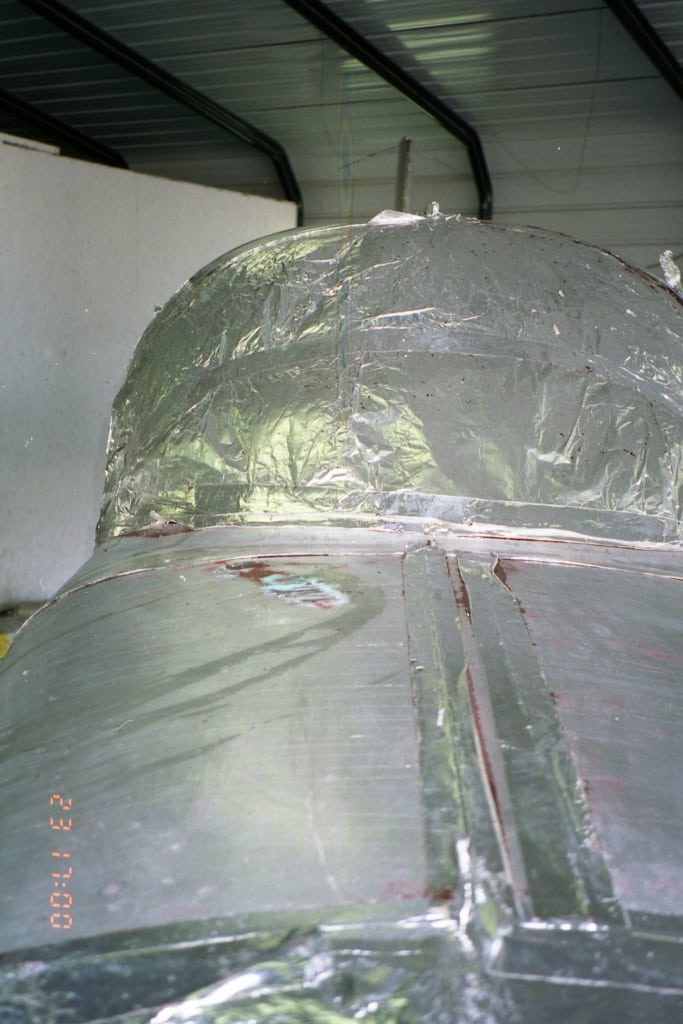
Getting back to the bond lines using aluminum duct tape cover all bond lines as described in the maintenance manual. The next order of business is to protect any rubber or plastic with plastic covers to keep the stripper from damaging them.

I use primarily EFS2500 a peroxide based stripper that is approved by Boing. It is not as fast as Methylene Chloride based but is much friendlier to use and seems more efficient.
Now that you have protected all bond lines and sensitive components you need to wipe all surfaces with Lacquer thinner to be sure all wax has been removed .
Put on personal protective gear such as safety googles gloves and Tyvek suit and read all safety precautions.
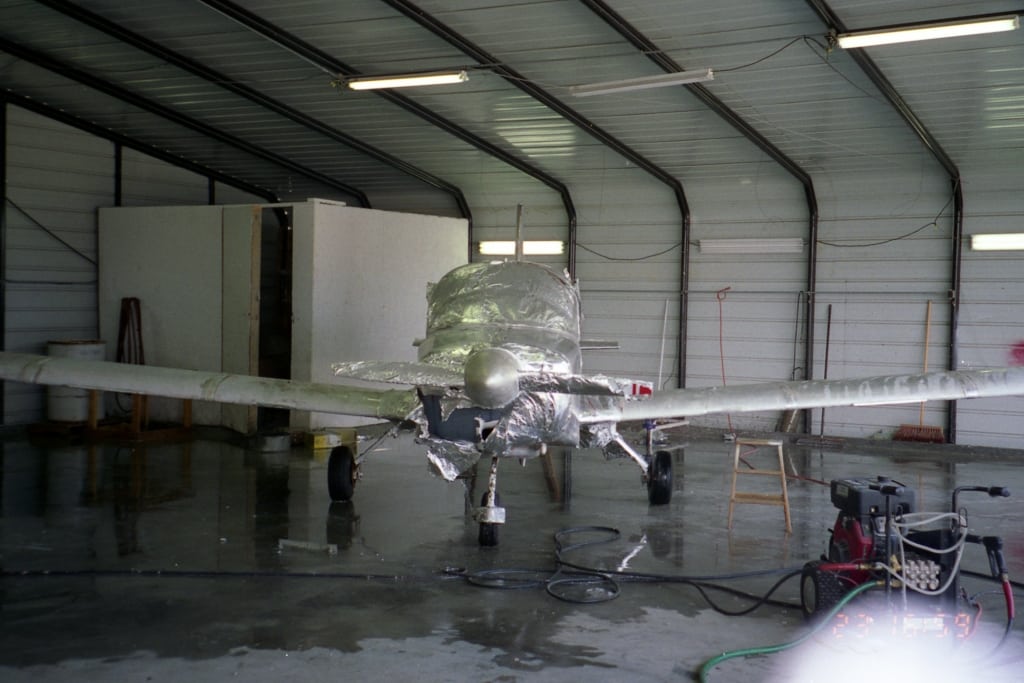
Place the aircraft in a place were you can pressure wash at a later time. You may also want to put a plastic sheet under the aircraft as a lot of the paint will drop off before you wash it.
Using an airless sprayer apply a light coat of EFS 2500 then wait 30 minutes and apply a heavy coat of EFS2500. Once this is completed, let it stand for 8 to 24 hours at 70deg F.

After the stripper has set for the allotted time, pressure wash the remaining paint off the aircraft. Then rewash and make sure all stripper has been removed. The stripper does not remove primer. This is accomplished by using scotch bright pads and Lacquer thinner. Now wipe any additional residue off with clean rags and Lacquer thinners. If any paint still remains you could sand it off or strip with Methylene Chloride based stripper but do not use on fiber glass parts. You will notice that there was body filler over rivets and imperfection from the factory. This must be removed before treating the aluminum .
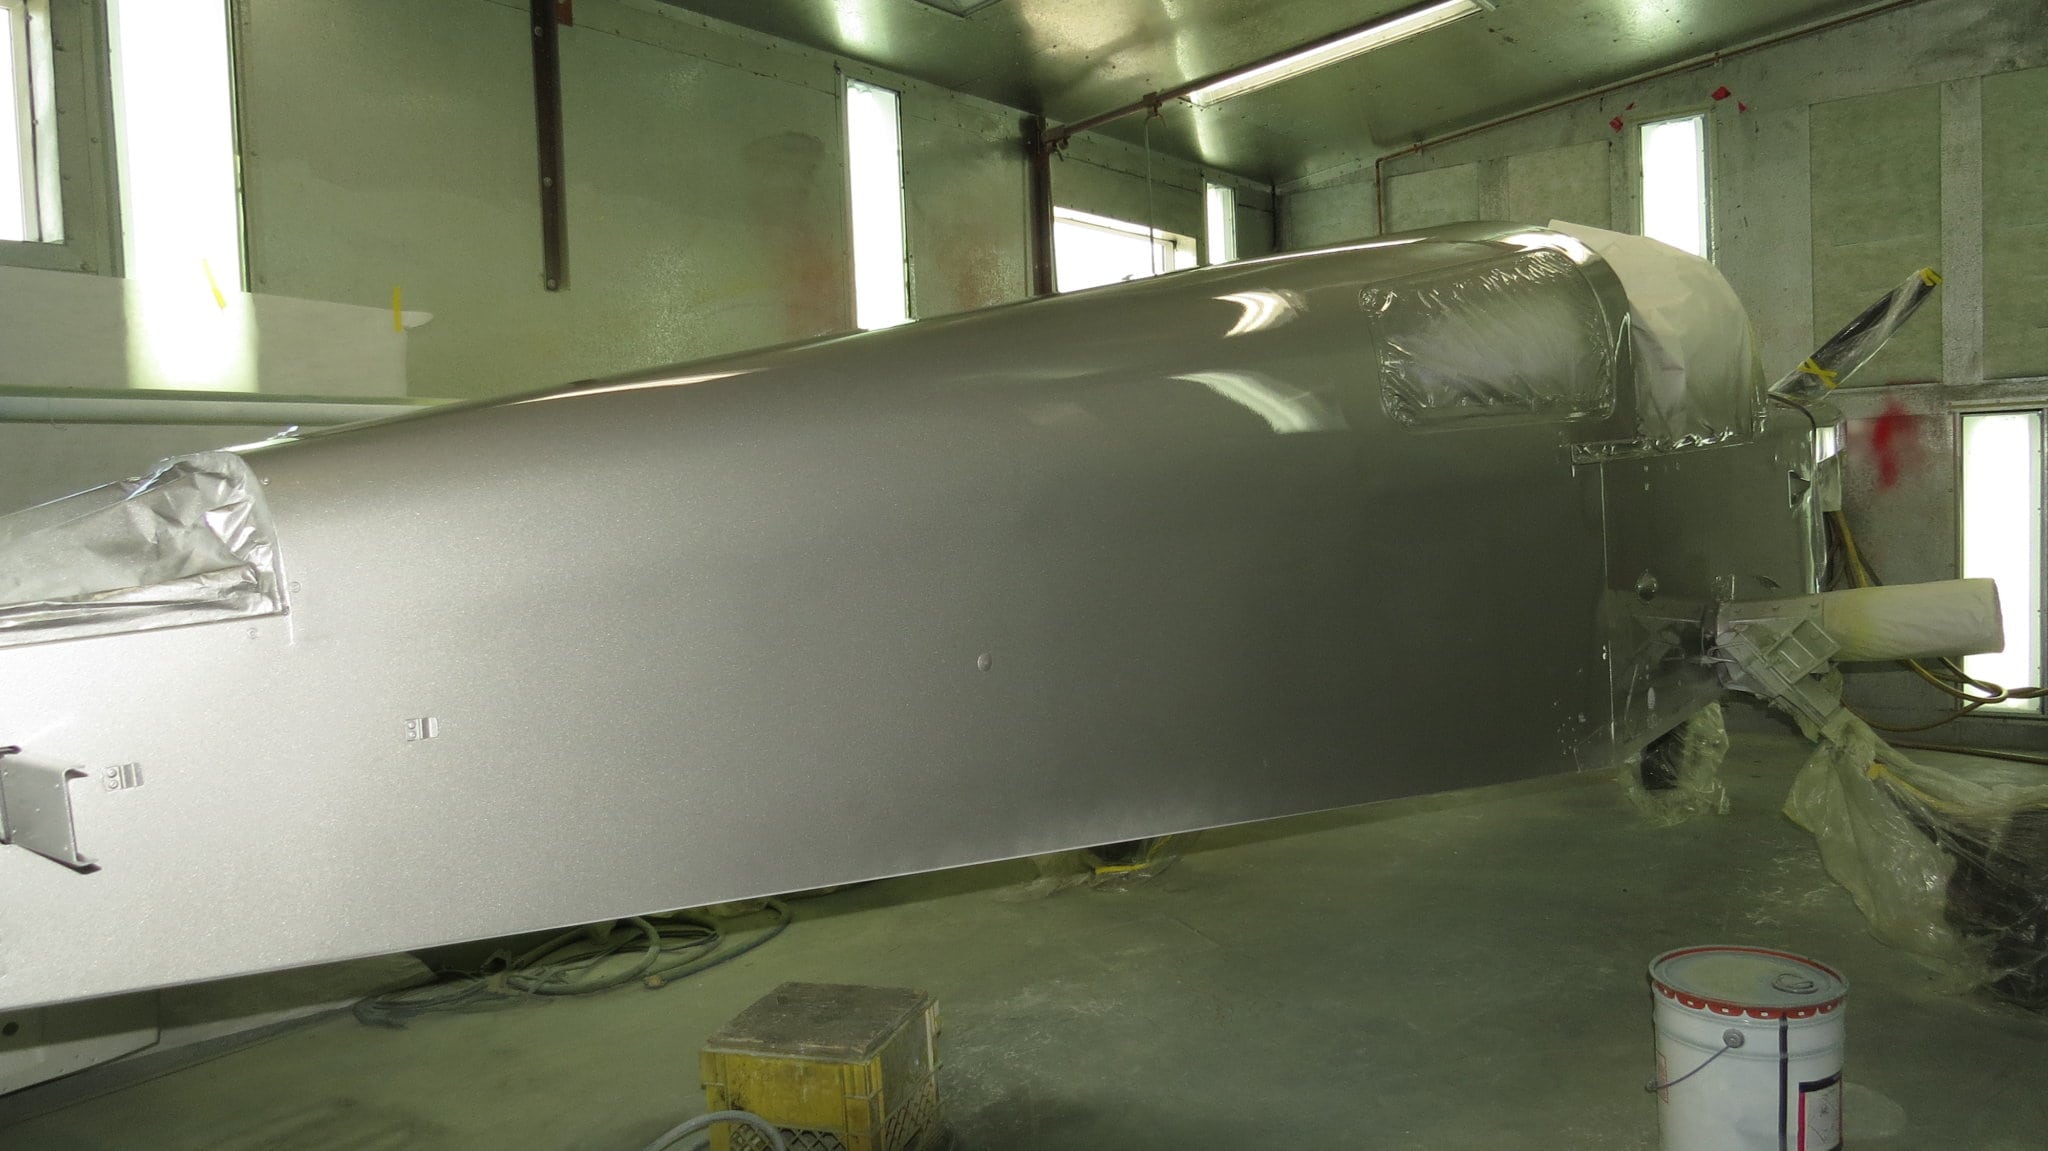
Treating the aluminum is accomplished by acid etching to remove oxidation then rinsing with water, then while still wet, applying Alodine with a sprayer. Wait about 5 minutes, but do not let it dry ,then wash toughly with clear water and allow to dry.

You can now address any repairs and body work needed then retreat any bare aluminum. Remove all tape from protected areas and sand or scotch bright any remaining paint or primmer off and treat any bare aluminum.[gallery type="square" ids="2025" columns="3"]
Note: This is when I would recommend replacing all glass if you do plan on doing so this way you can prime and paint the window openings and reduce the chance of chipping and flaking around the windows.Ok so you’re about halfway done. Let’s talk about primer. On fiberglass or composite I use a urethane sandable primer as it will fill pin holes and minor imperfections. I then use Chromate free epoxy primer everywhere else.
The ‘top coat’ is what everyone sees. How well you prep will make the top coat even better. That means taking your time, tape everything well, and clean between each step, as the oil from your skin can make a mess. I use enamel reducer to clean before priming, and alcohol after priming if necessary.
I use PPG Desothane, applying 2 to 3 wet coats then allow to dry. Retape stripes, and apply 2 to 3 coats of striping colors. Remove all tape by rolling back over itself, or you could risk lifting the new paint from the surface.


Once the paint has cured enough. Balance all control surfaces and assemble the aircraft. This is the perfect time to weigh the plane, then complete log book entries. If this sounds like a lot of work, it is! However at least you do not have to clean every rivet that you would for a Cessna or Piper! So if someone tells you that Grumman’s are harder to paint they properly haven’t painted one before.

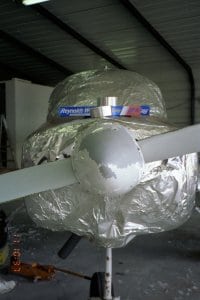
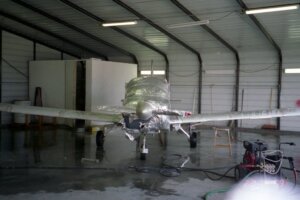
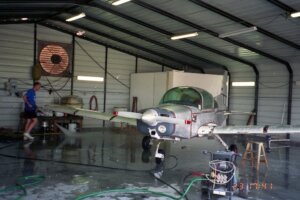
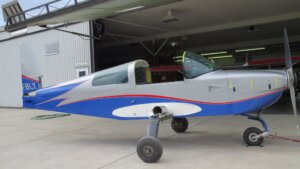
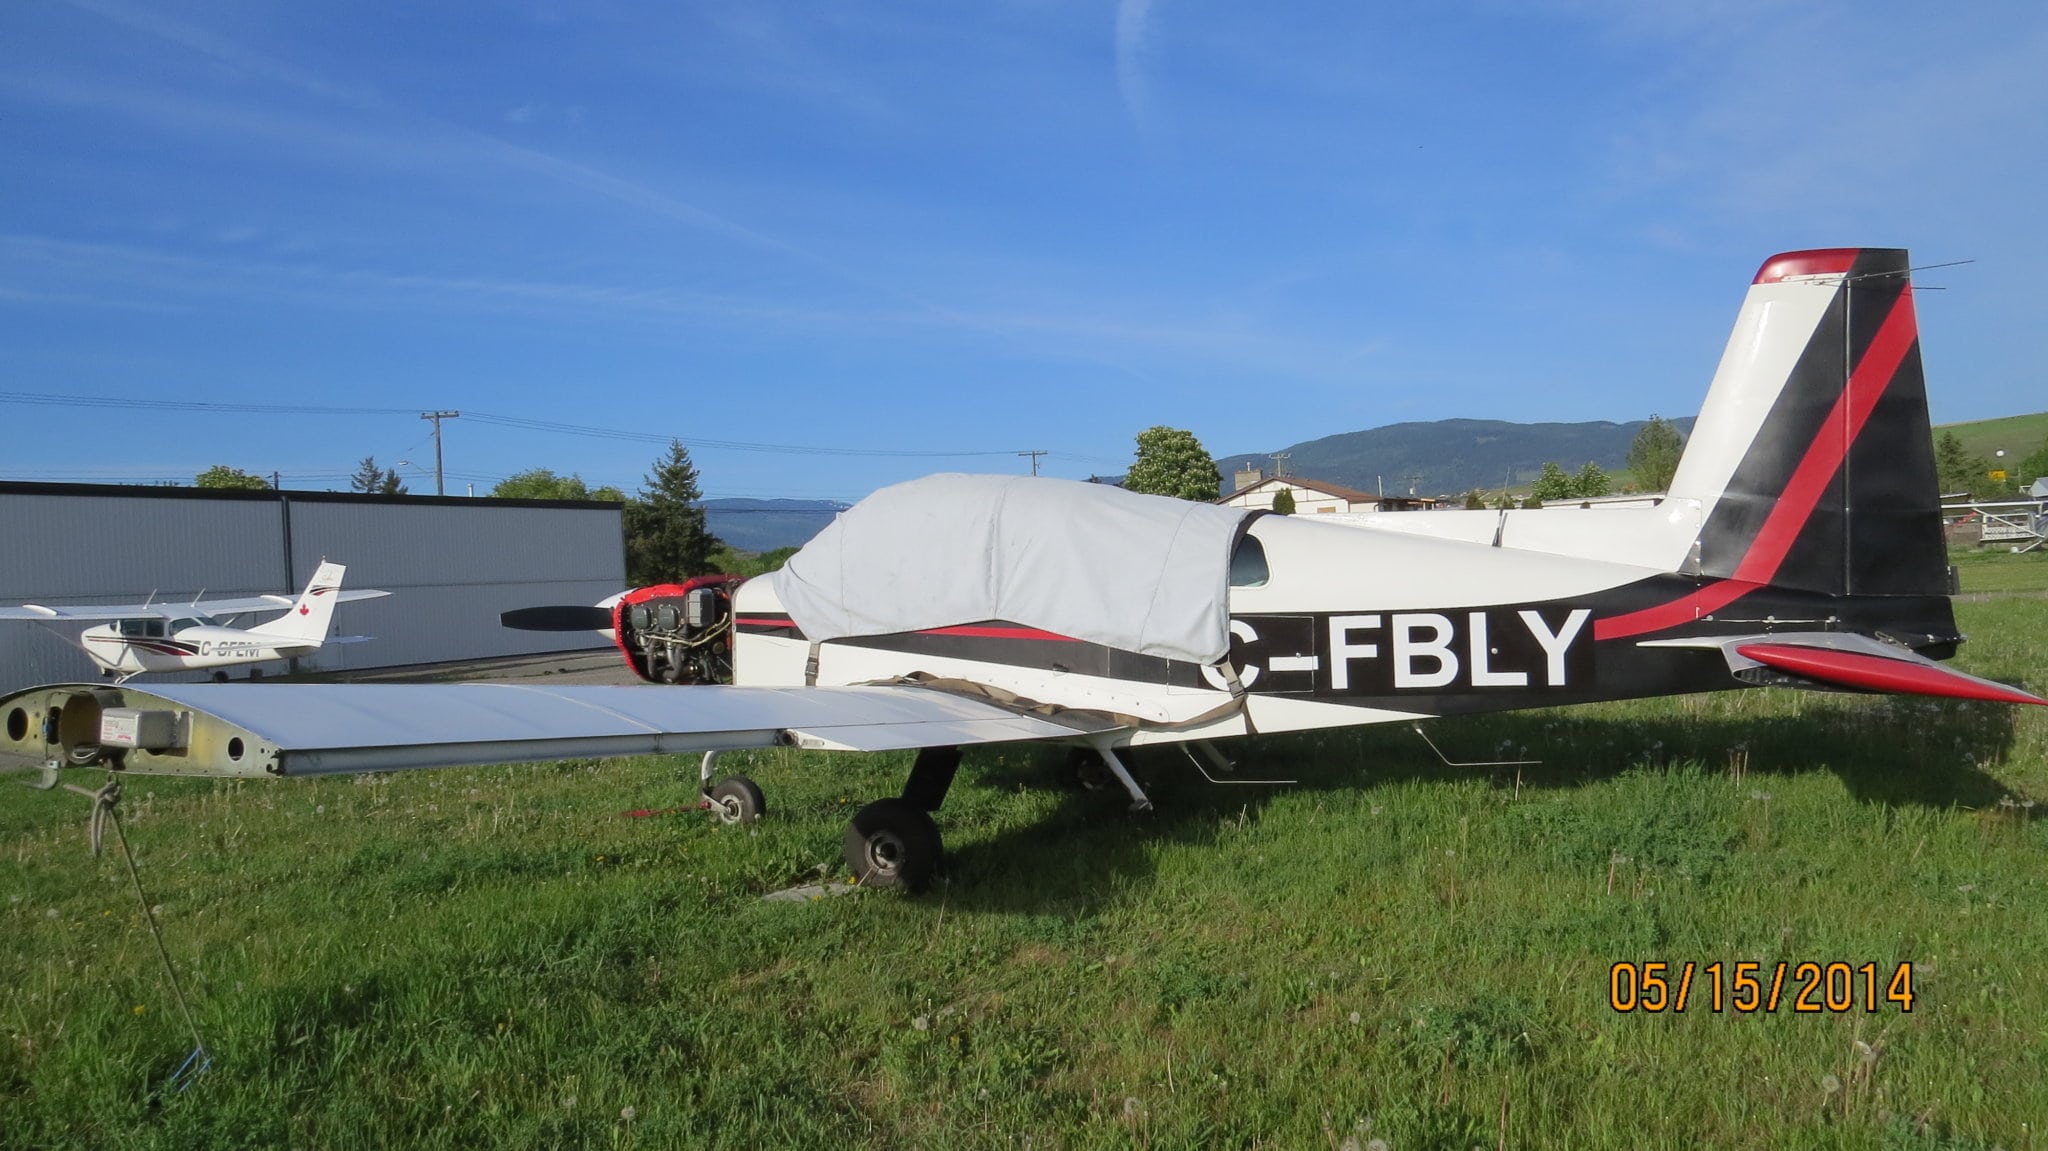
Here are the photos where Roger Nickels had his plane painted. It is purely chance that the paint scheme I installed on the Traveler, he removed from the Tiger to make his new scheme.


-
September 23, 2015 at 01:14 #2066
 C-FBLYParticipant
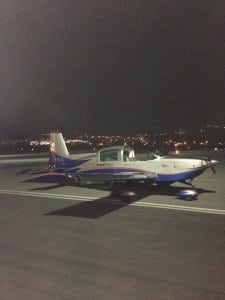
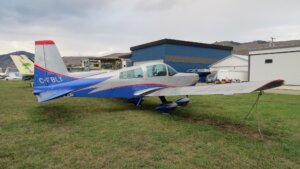
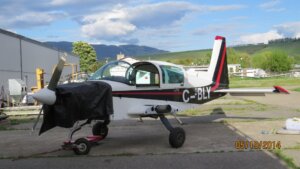
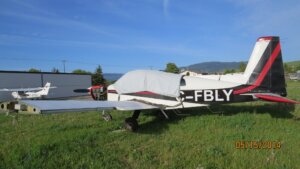
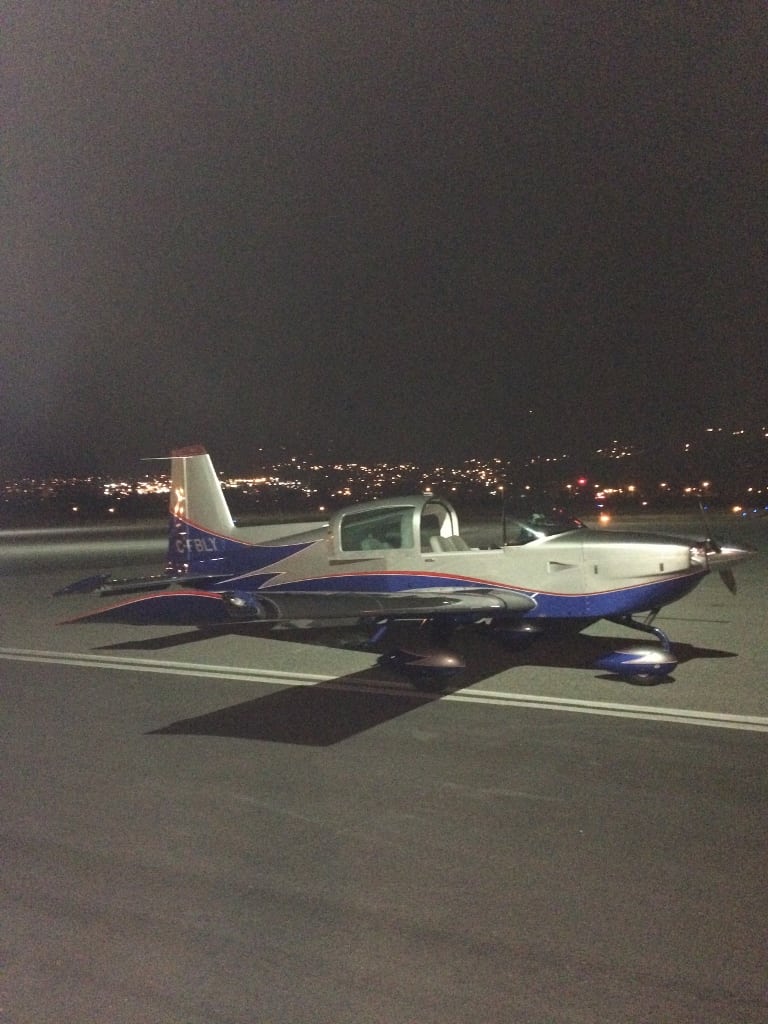
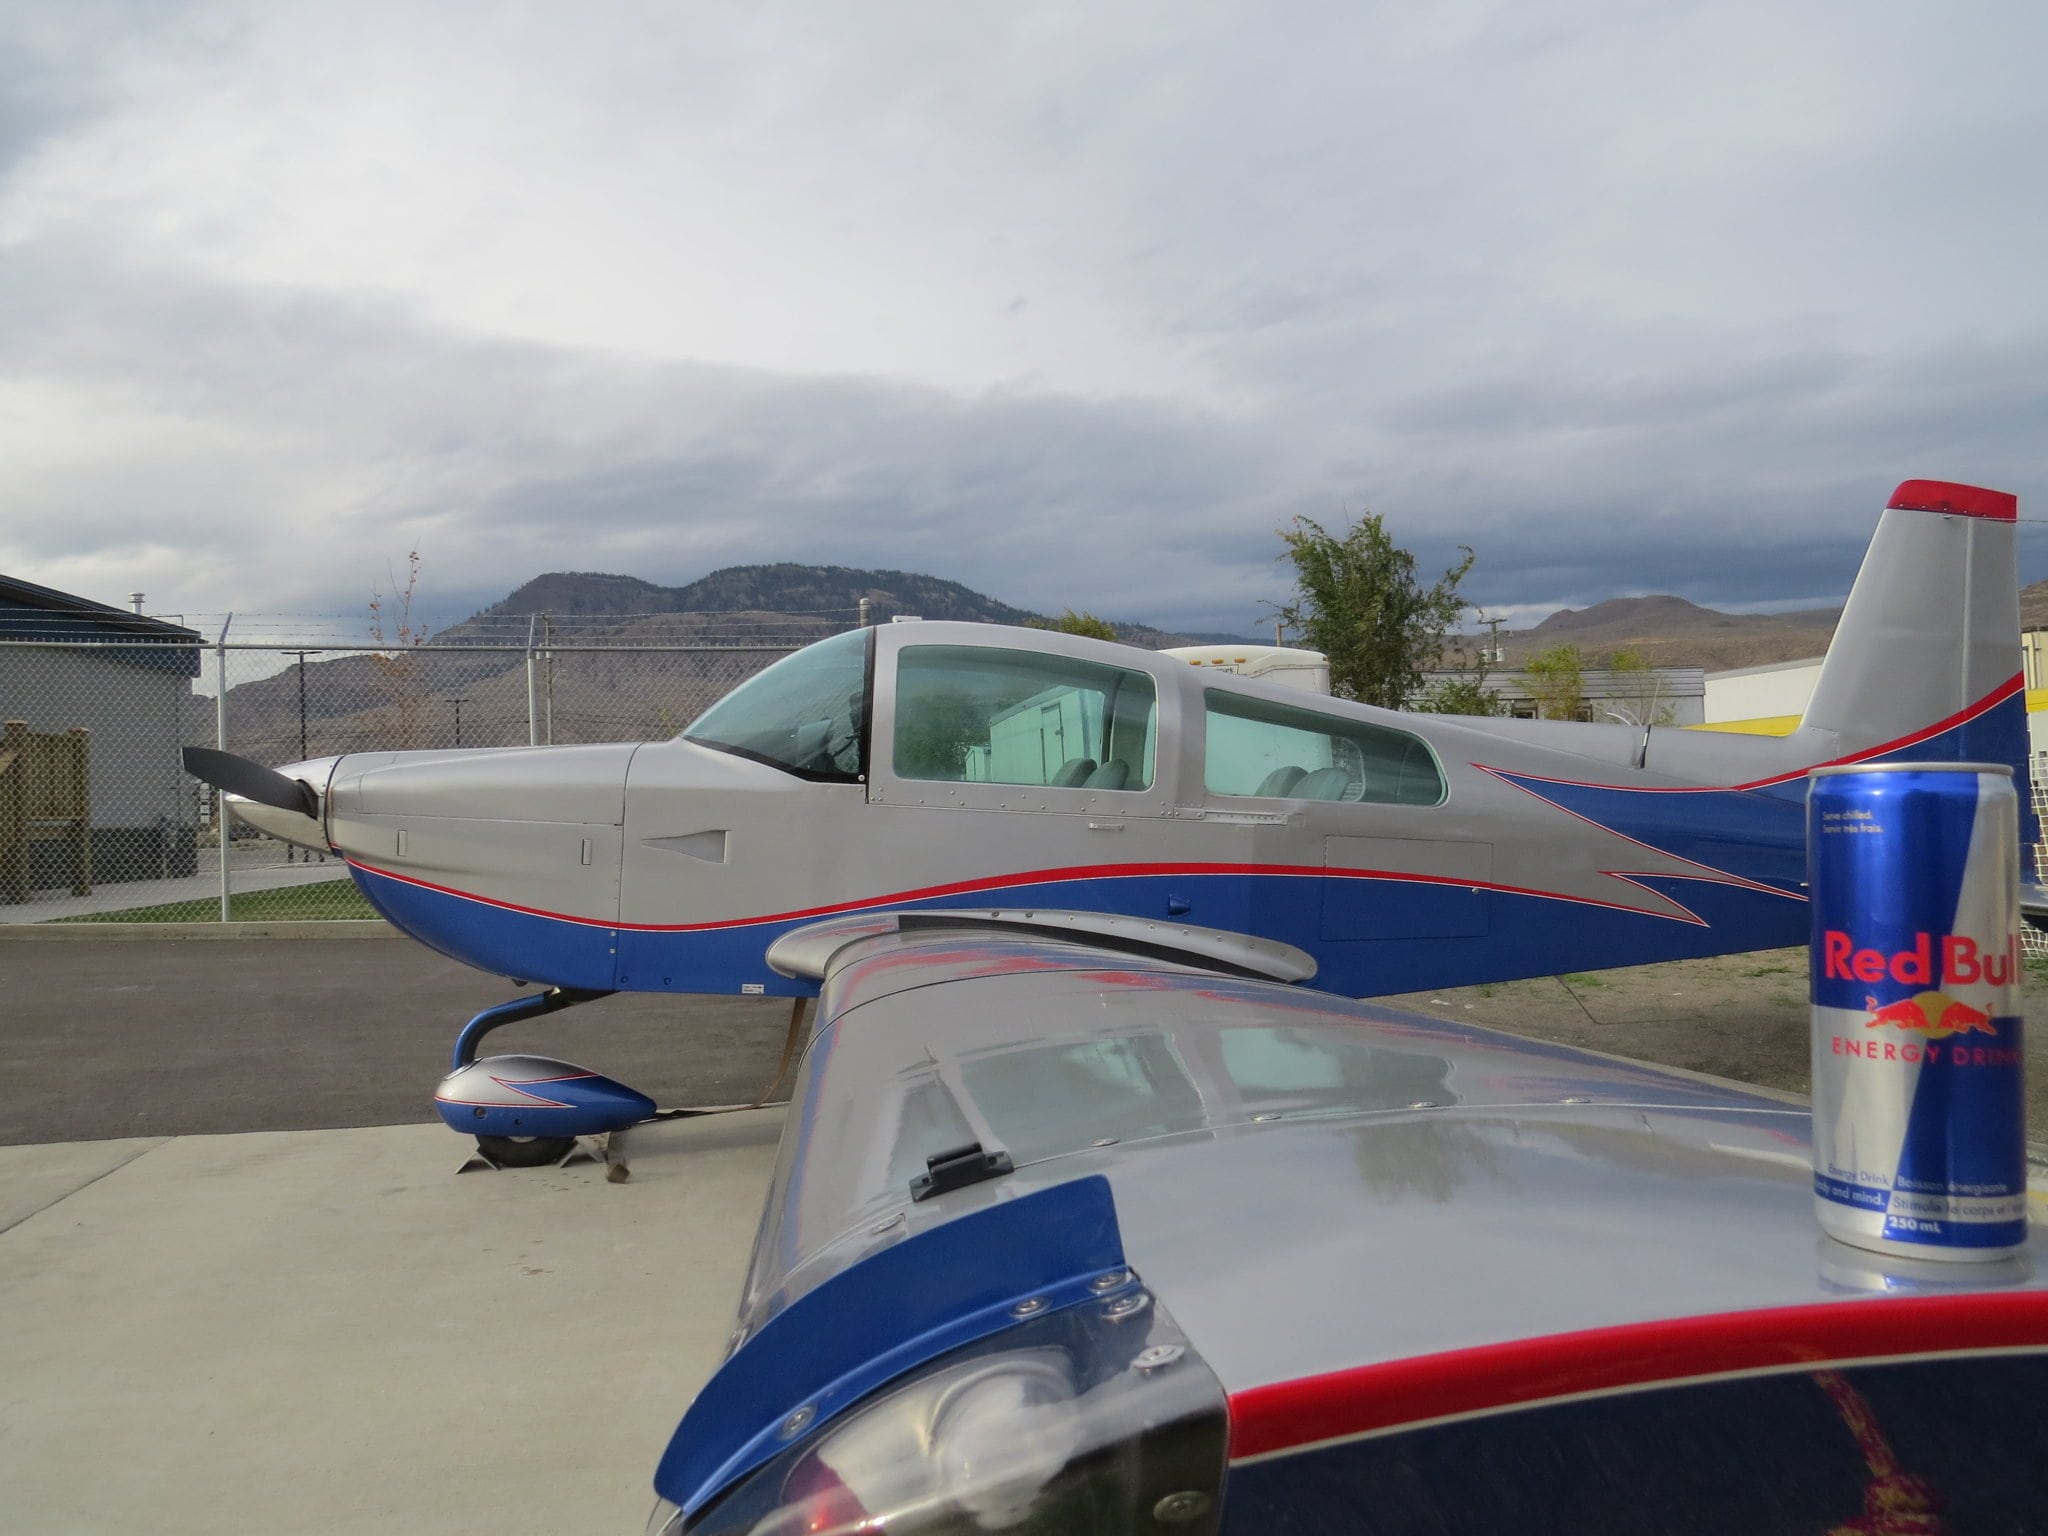
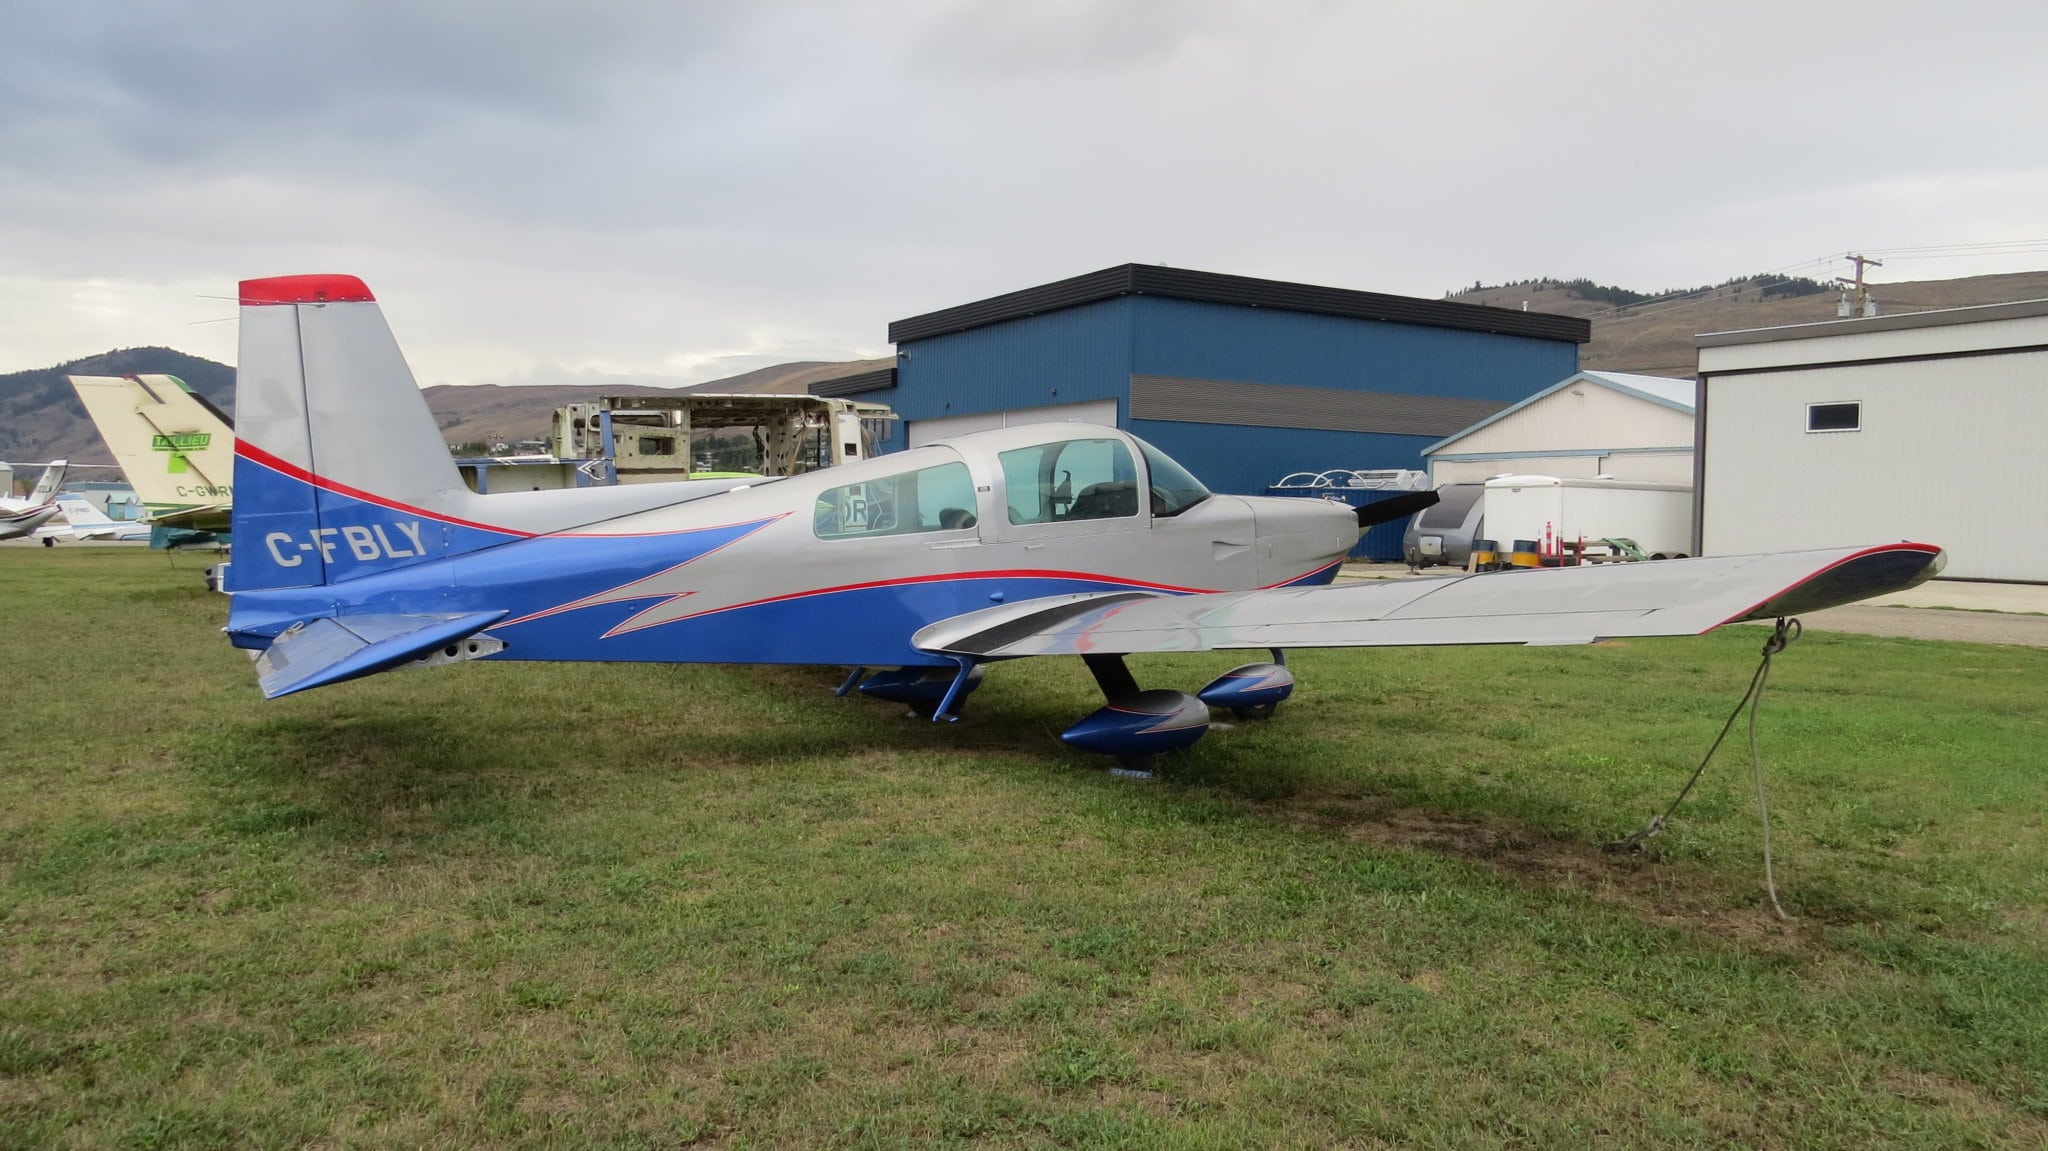
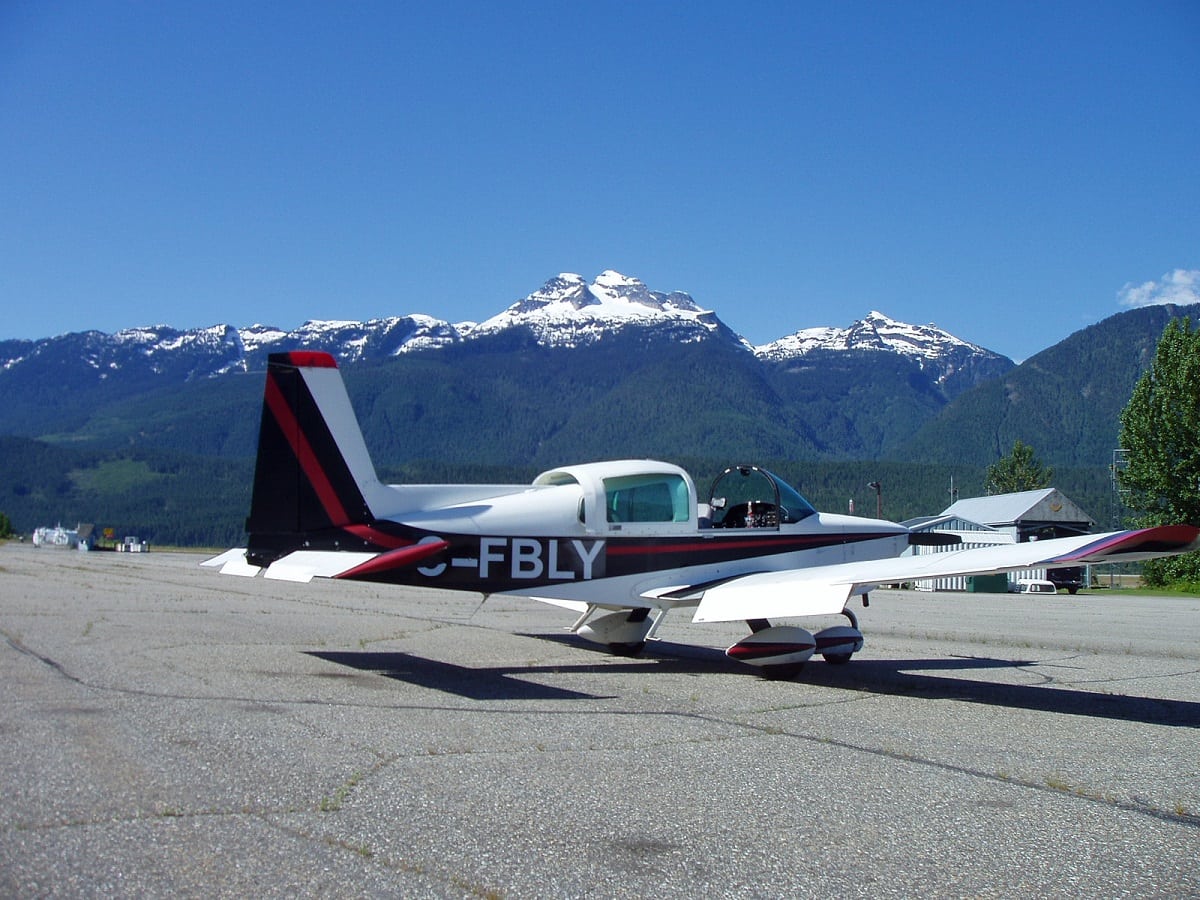
Some say I might have got a little carried away with stripping.
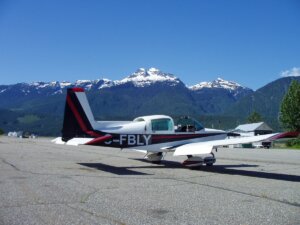
But I think the end result was worth it -
November 11, 2015 at 12:40 #3209
Barry Speronello
ParticipantJim/Roscoe, I’m getting close to pulling the trigger on a paint job for my 76 Tiger and have some questions so when I speak with the shop I can speak from a position of knowledge. They have painted several Grummans, but that doesn’t necessarily mean they used the best practices.
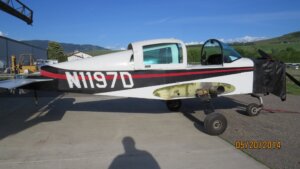
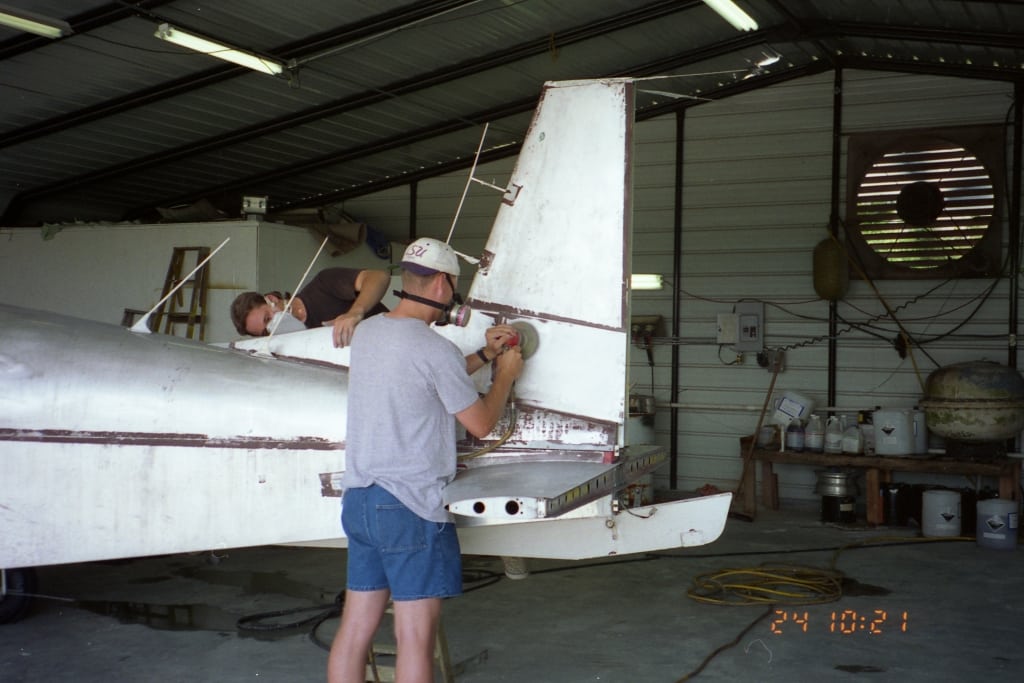
First, you mention pulling the wings and wing walks, but the photos show the plane being painted with them attached. How important is it to pull the wings and wing walks?
Second, I see from the photos that you paint the plane with the dorsal fin, horizontal stabilizer fillets, sump covers, and antennas still attached. My antenna bases were painted on the last repaint and they could use some sanding and repainting. Plus it would seem to be easier to work on the plastic parts off of the plane. What are the advantages/disadvantages of stripping/painting off or on the plane?
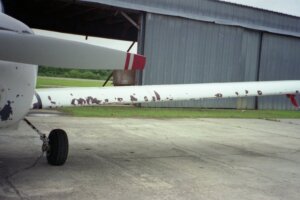
Third, the text doesn’t specifically address the strips on the wings that cover the bond lines between the wing sections. I would guess that they need to be removed, stripped separately, primed, painted, and then re-attached. Is that correct?
-
November 11, 2015 at 21:44 #3222
 Roscoe RoschéKeymaster
Barry,
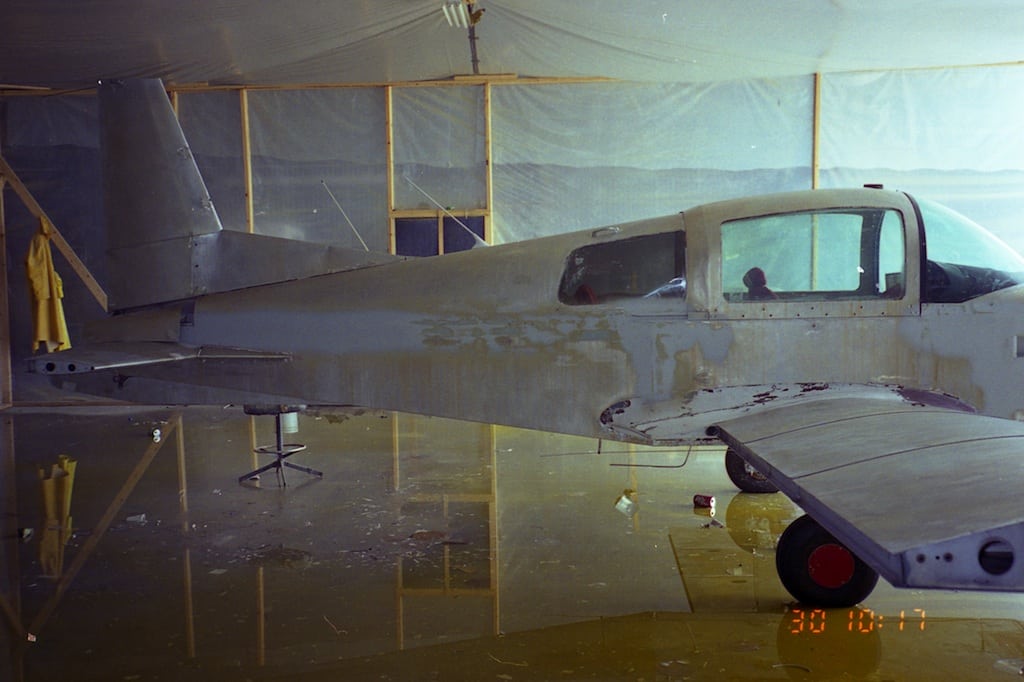
That was my Traveler being painted back in 1994 by a shop in Southern Mississippi. I was not involved other than taking pictures. Now, like Jim to do a quality job, I take the plane apart.
Sorry for the confusion, but these were the only pictures I had.
Roscoe
-
November 11, 2015 at 21:51 #3223Participant
Thanks, Roscoe. So I should expect that the shop should remove the wing strips, antennas and fairings as well as wings and wing roots?
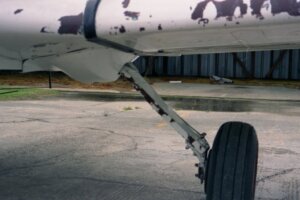
What about removing the nose gear? They would have to do that to remove the nose gear wheel pant anyway, right? And if they are doing that, the cowl is not much more work.
Barry
-
December 15, 2015 at 00:32 #3467
-
-
AuthorPosts


- You must be logged in to reply to this topic.