Home › Forums › Technical Information › Nosebowl Split STC SA4325NM Illustrated Instructions
Tagged: Nosebowl, nosebowl split
- This topic has 1 reply, 2 voices, and was last updated 8 years, 5 months ago by
 Tracy Norris.
-
AuthorPosts
-
-
October 18, 2015 at 18:26 #2877
 Roscoe RoschéKeymaster
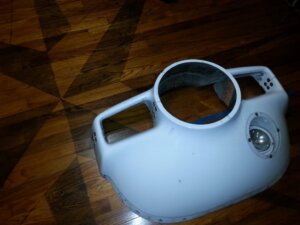
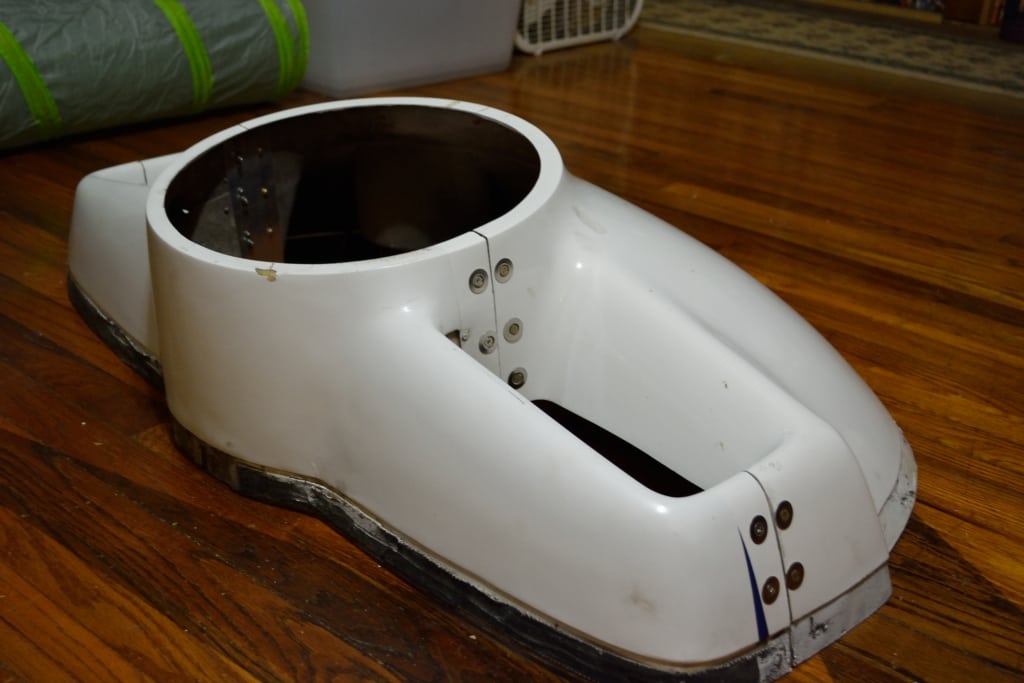
This illustrated guide will give you detailed instructions for complying with STC SA4325NM, aka Split Nosebowl Modification. Sure makes it easy to get to the front baffles without pulling the spinner and prop. This STC is currently available through Fletchair, 1-800-FAWINGS.
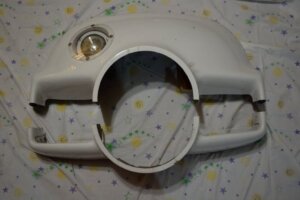
Splitting the Nosebowl
The Split Nosebowl STC (SA4325NM) is a very helpful modification when it comes to working on your Grumman. With this mod, you can remove all the cowling and nosebowl without having to remove the prop. Add a polarized quick disconnect to the landing light and you are in business. Estimated time to complete the split can run 12 hours or more. Biggest tip: Take Your Time. An experienced shop can do it in 8-10 hours. I usually do them at home, not the shop to work uninterrupted. A large bed sheet taped to the floor will catch all the alum fillings and the fiberglass debris. If you do not have all of the skills needed for all the work, then a group project or a helper can get the project to completion.
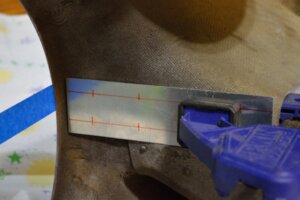
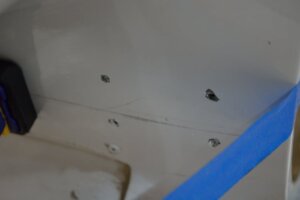
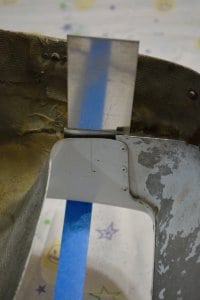
Before removing the nosebowl from the airplane, take some blue painters tape and follow the cowling split line out to the nose bowl one side at a time. I usually put the tape under the split line so the top edge of the tape is my cut line. This helps a great deal later when you have to install the metal pieces. This way you can juggle them up or down to get a perfect line. Then with additional tape make the line complete.

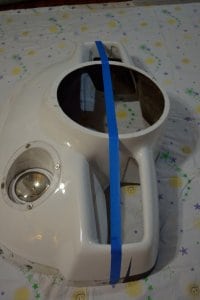
Take a straight edge and using the cut line side of the blue tape, following the cowling line, put a pencil line where to cut along the nosebowl. You will make 4 lines, two each in each air intake. The outside nosebowl lines are already marked with the tape.


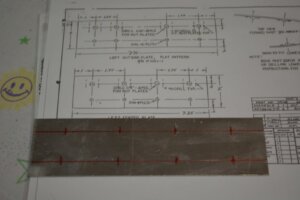
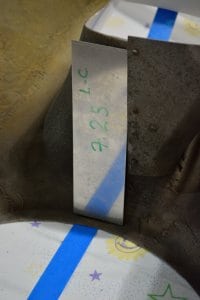
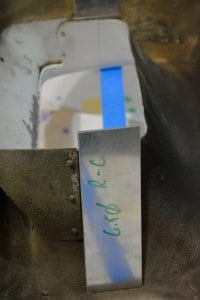
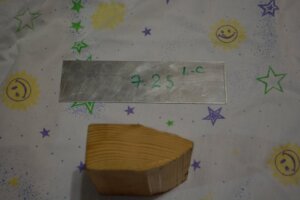
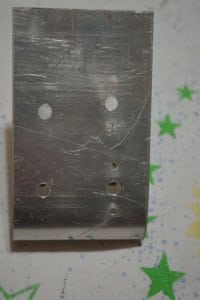
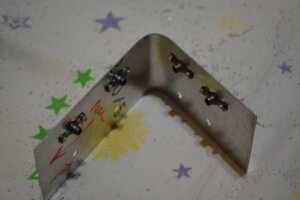
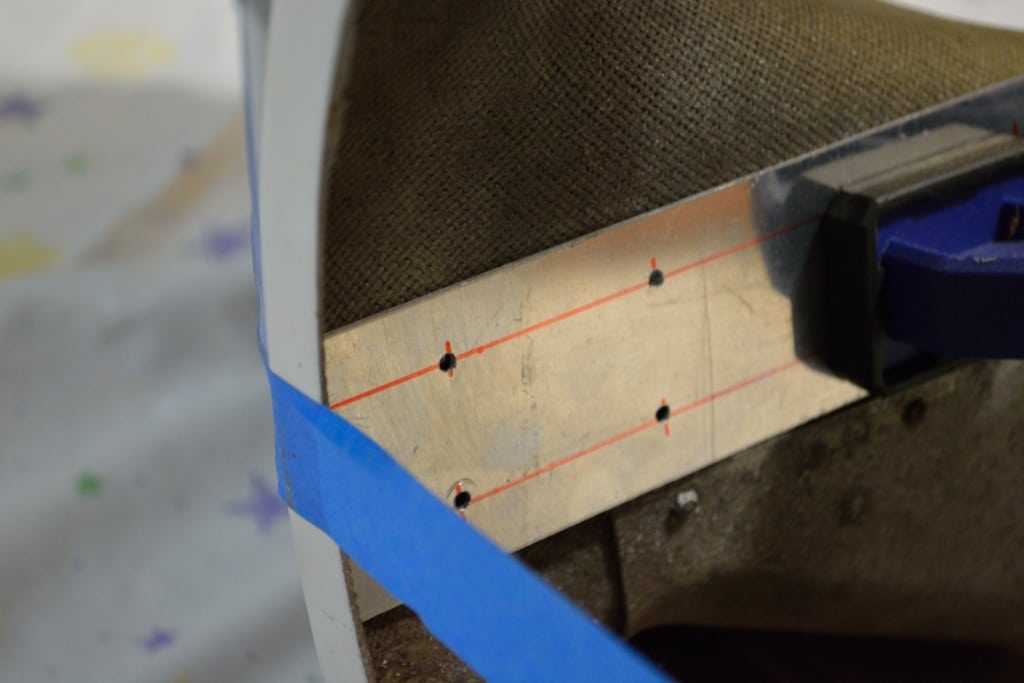
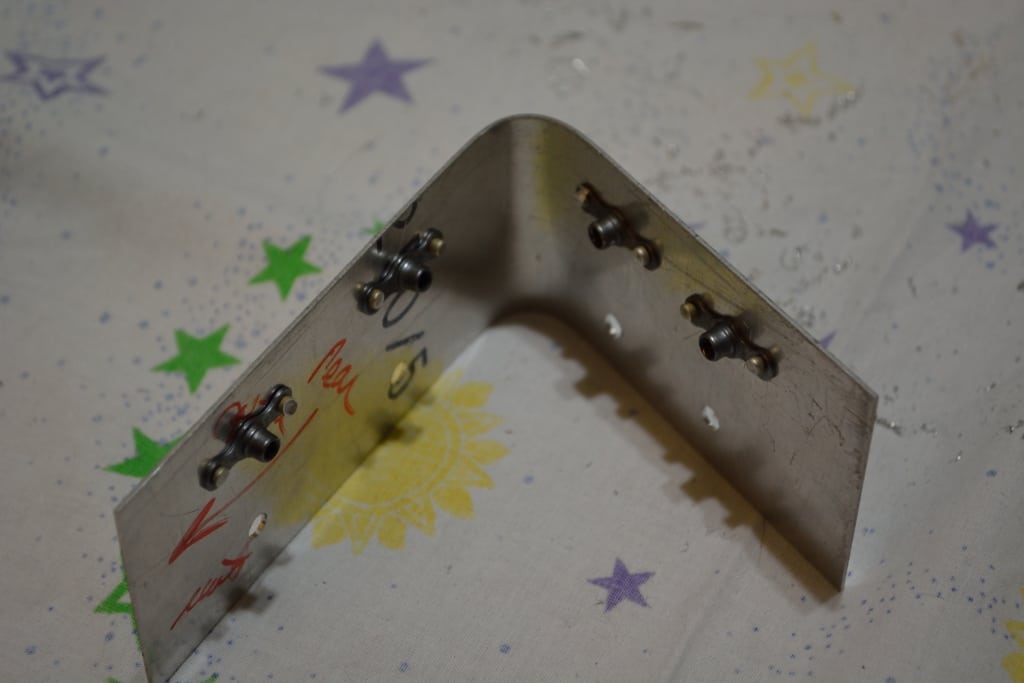
Now you are ready to start with the metal pieces that will form the bridges after the cowling is cut. Transfer where the holes are to be drilled from the drawing that come with the STC to each of the 4 pieces of aluminum.
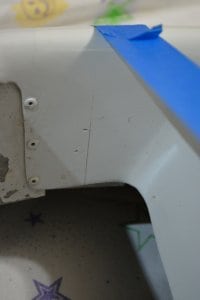
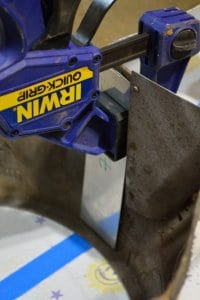
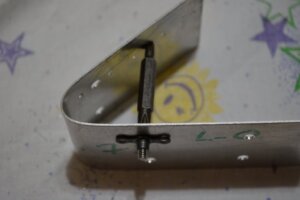
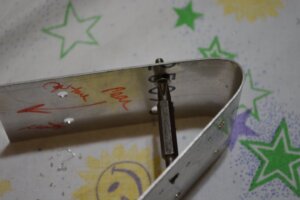
Quickly installing them in place (for the two straight center pieces (most inboard on each air intake), with a clamp aligning them so the cut line goes roughly through the long center line of the metal piece. You will find that the existing line of rivets (3) on the inside of each air intake make a good edge for the metal pieces, and this also acts as a stop when you are reassembling the two halves. Drill the bottom pilot holes (one equally spaced on each side of the cut line) through the alum and then the fiberglass nosebowl. This way the tears in the exit hole will be masked by the next step in drilling and the large area Tinnerman washers that will be used to secure the two halves after splitting.. I start with a 1/8 inch drill bit and then use copper clecos to hold the pieces while the bottom holes are drilled.

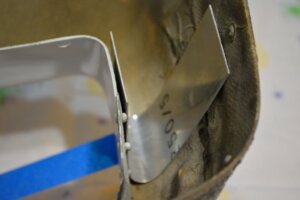
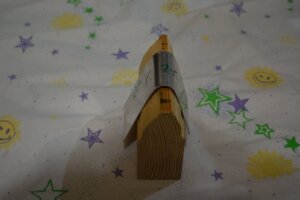
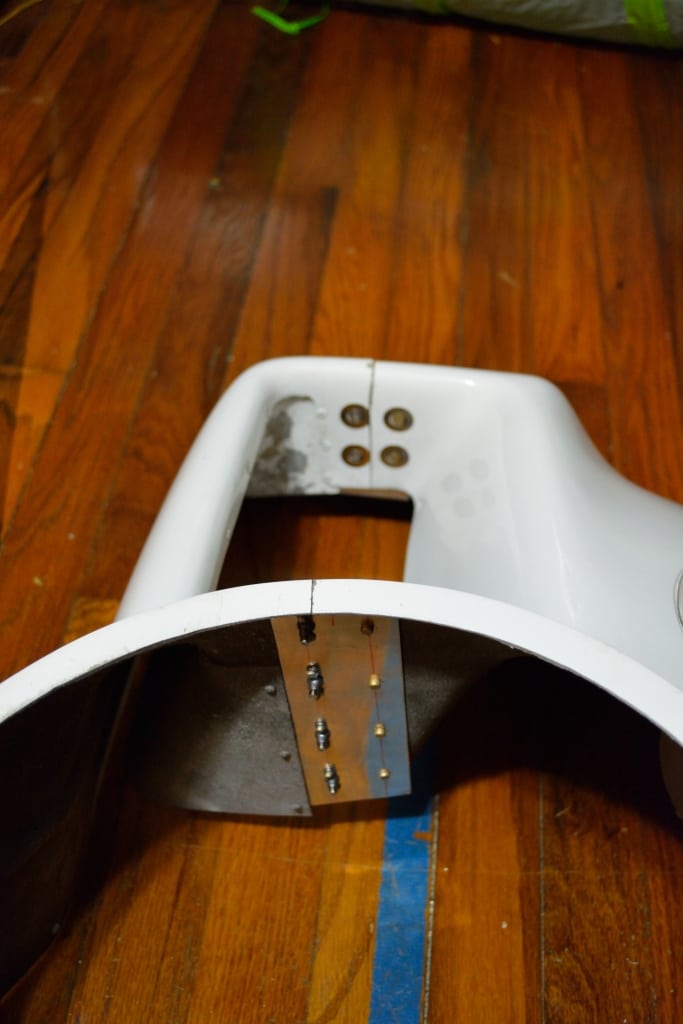
Here are the first 4 clecos installed on the left center piece.
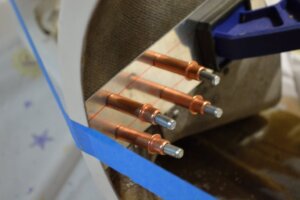
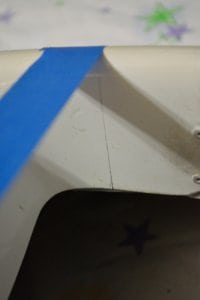
Now the clamp will be removed and the next two rows of holes working toward the engine will be drilled and clecoed.
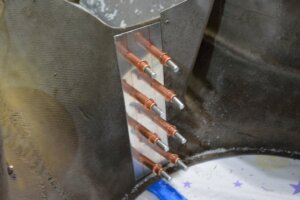
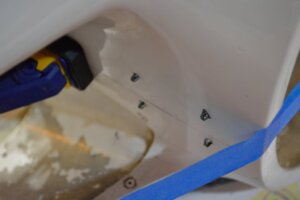
The top holes are where the screws and nut captures will be installed, the bottom holes will receive the hard rivets (squeezed into place).Do this for the both of the inner pieces.
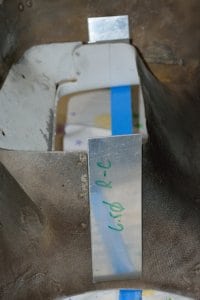
Now fit and bend the two outside pieces. Drill as required, sometimes this can be a challenge. I find the easiest way is clamp it in place (holding on the outside and mark the inner 4 holes (for the left piece). After these are drill through the fiberglass and then the aluminum, you can cleco them. Now mark the outside 4 holes (for the left outside piece) and drill the most forward two holes (closest to the bottom of the bend). Now cleco these two holes and finish with the last two holes.
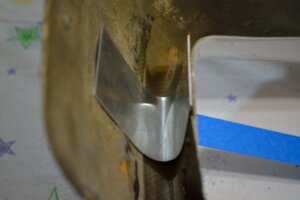

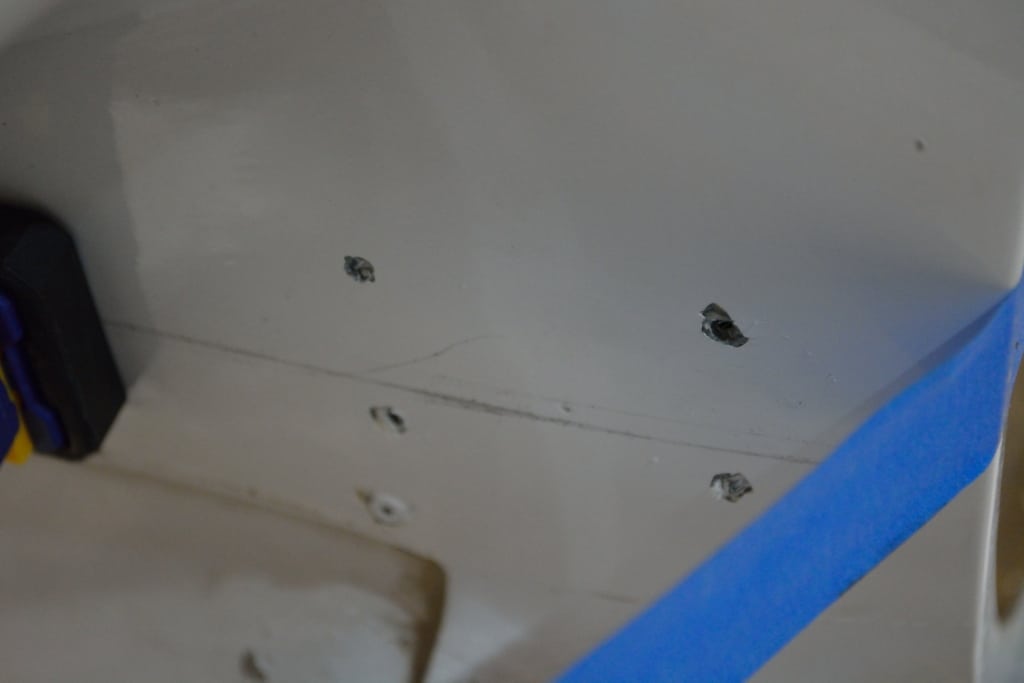
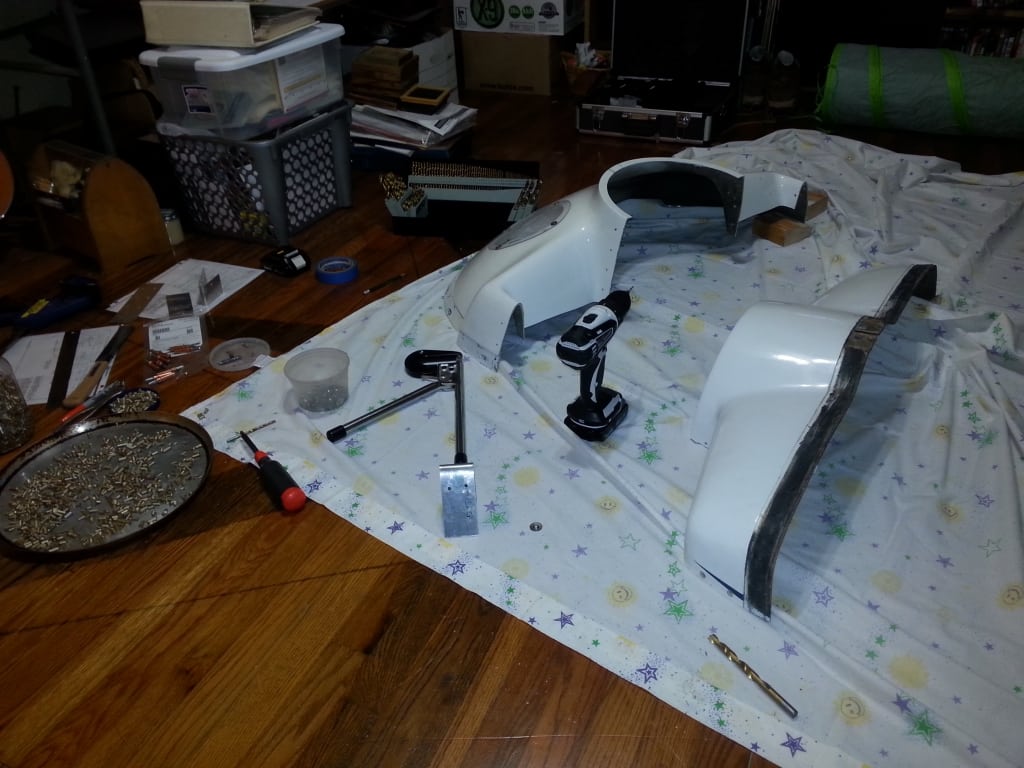
Now that all four pieces have been match drilled to the nosebowl prior to cutting, they will make for a great fit after.
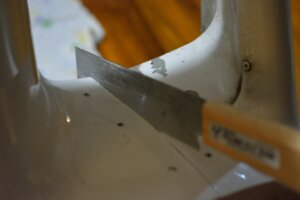
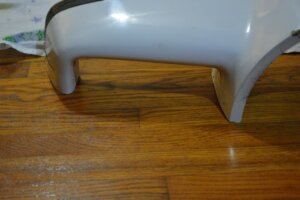
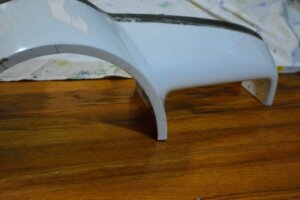
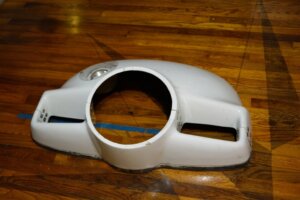
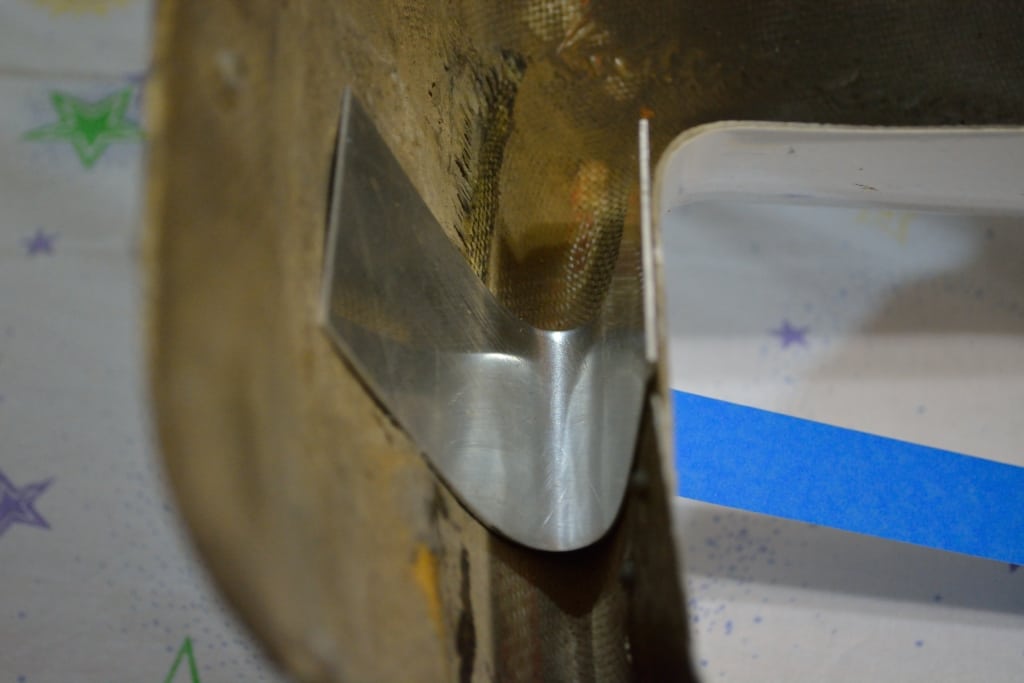
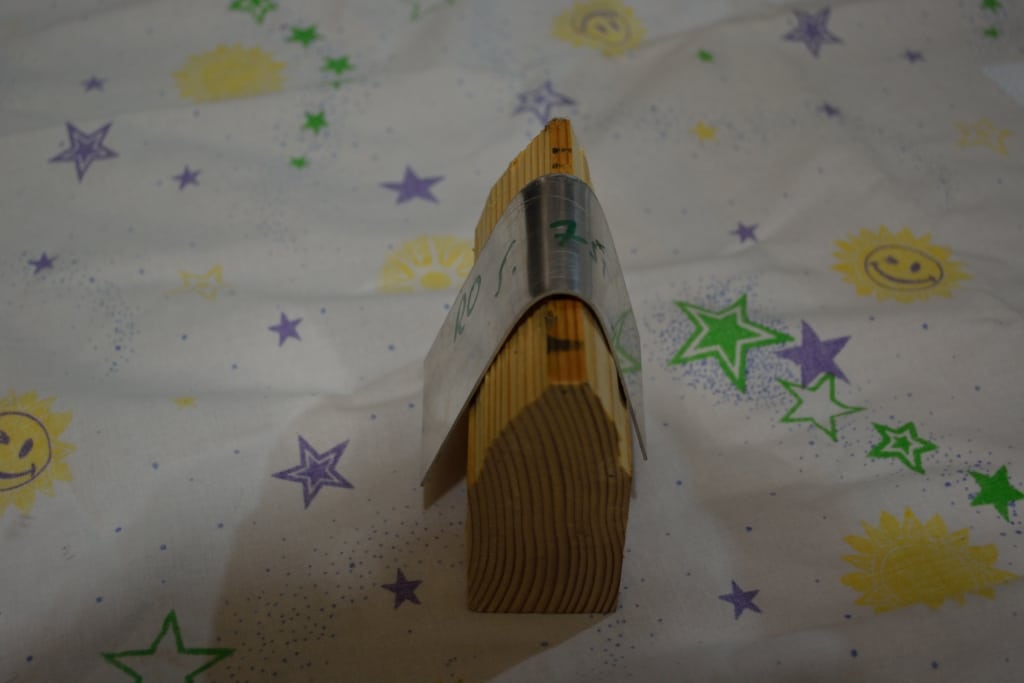
Now Cut the nosebowl along the pencil and tape lines. Use a craft saw (the blasé is 1/32 inches thick) and work like a Japanese Flush Cut saw. Go straight and take your time.
Now that the nosebowl is split. The cut will be what it is, and taking your time and keeping the blade at a low angle and staying on the line will make for a very nice appearance. You can put one of the pieces on a flat surface to see how well all your lines line up. Like I said, it is what it is at this point. Practice makes perfect. Start riveting the nut captures to the pieces along the top row of holes.
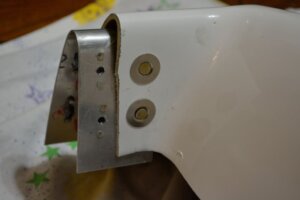
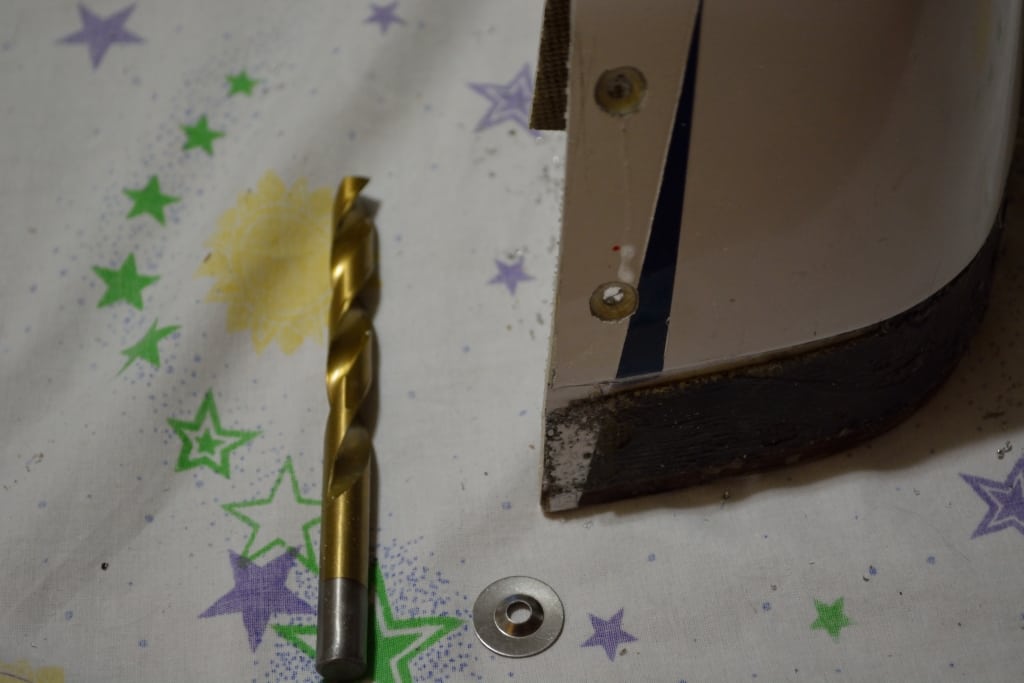
All the holes (28 in total) that are drilled through the fiberglass been to be countersunk to receive the WA10 SS washers. Use a 13/32 drill bit (wearing gloves or wrapping the bottom 3 inches with blue tape to go easy on the hands) and holding it in your hand very slowly countersink the holes, testing the washer until it is just deep enough.

Now that the captures are installed, it is time to squeeze the hard rivets to secure the alum pieces to the nosebowl bottom.
When those rivets are set, you can put the two halves together and see if all the screws go into all the captures. There may be a bit of filing if a WA washer extends too far, but some final tuning will have it ready. This is the advantage to match drilling all the holes prior to cutting the nosebowl. It assures that it will be fairly close for assembly.


Now that it fits, it will needs a bit of light sanding to smooth out the fiberglass edge, and then some matching touch-up paint to finish the job.Done!
While you have all the tools, you might want to do the upper cowling mod (available in the GPA Forum) http://gpa.grumman-parts.com/topic/upper-nosebowl-mod-for-upper-cowling/
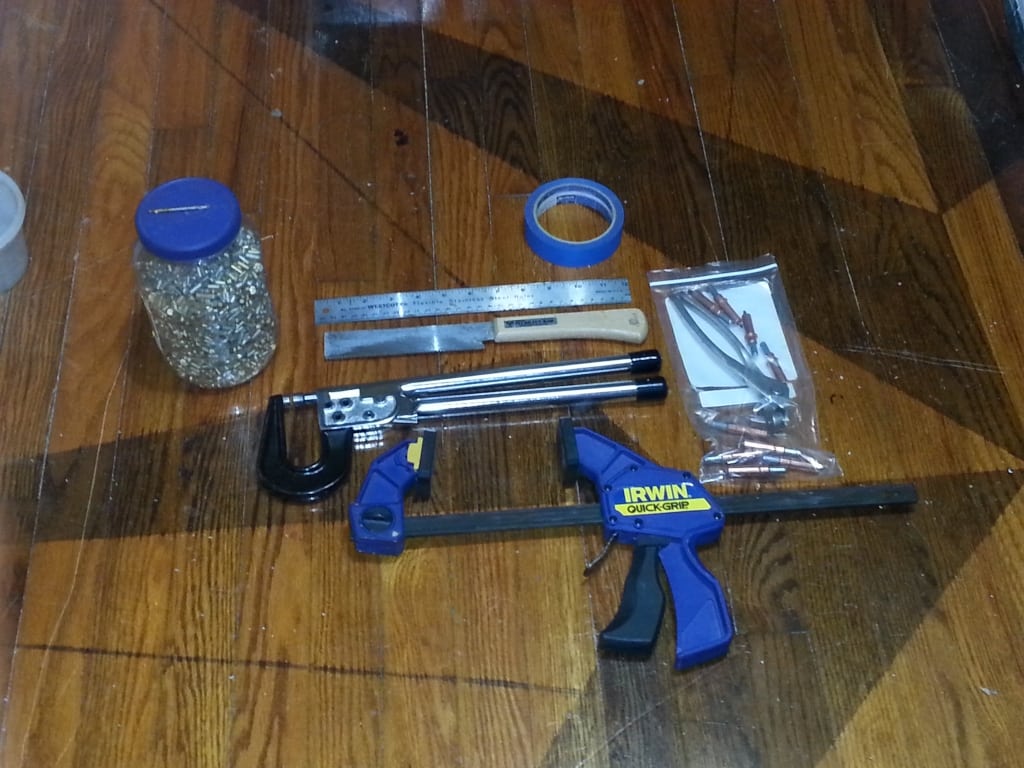
Here are the tools used to do this:
Blue Painter Tape
Pencil
Straight metal ruler
Sharpie
Drill bits (#40, 1/8, 13/32)
Flush Cut Saw
Phillips Screwdriver
Rivet Squeezer
Cleco pliers
Cleco (1/8th inch) Copper – 10 should do
Drill
Clamp
#40 rivets, countersunk for the nutplates (2 per nutplate capture)
3/16 countersunk rivets to attach the plate to the bottom of the nosebowl
Sandpaper
Paint
File
Skills (sheet metal, riveting, clecos use, proper hardware assembly and fit)


-
December 3, 2015 at 08:13 #3456
 Tracy NorrisParticipant
Very good info Roscoe! I purchased the STC from FletchAir and the kit arrived within a few days. After having a look at it, I decided to let FletchAir perform the mod during my recent annual since I’m not an A&P plus it required a level of detail I think only a qualified shop can do. I’ll post pictures of the completed work once I get the plane back.
-
-
AuthorPosts


- You must be logged in to reply to this topic.