Home › Forums › Restorations › N28678 Chronicle
Tagged: AA5B, Restoration, Tiger
- This topic has 28 replies, 8 voices, and was last updated 2 years, 8 months ago by
Greg.
-
AuthorPosts
-
-
December 24, 2017 at 07:48 #8058
 CurtParticipant
I’m waiting for my SI Medical. The FAA has had my paperwork and for…10 months – and still not given me a decision. It’s about the most frustrating thing I can imagine.
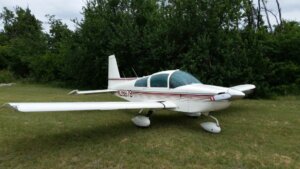
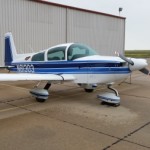
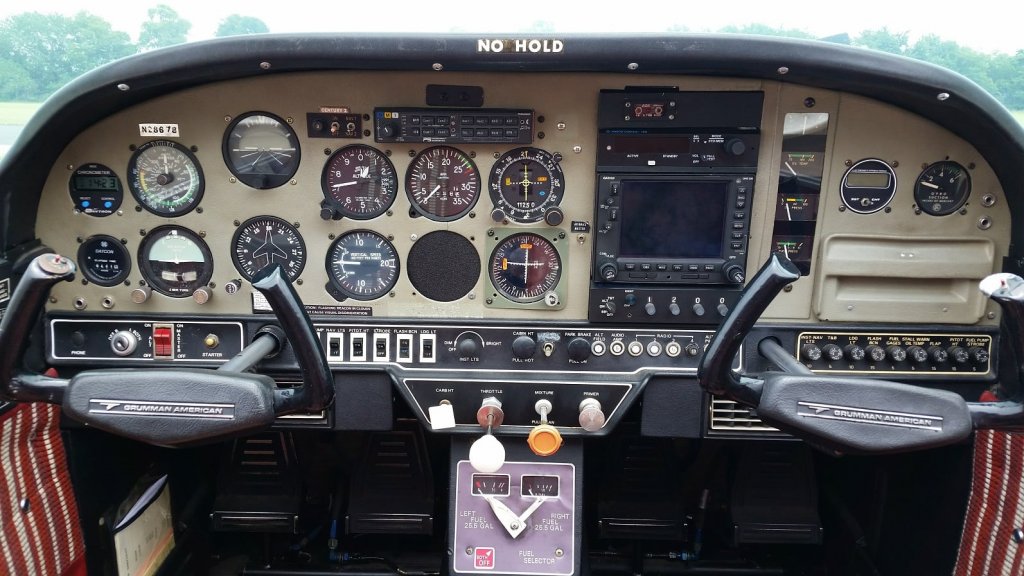
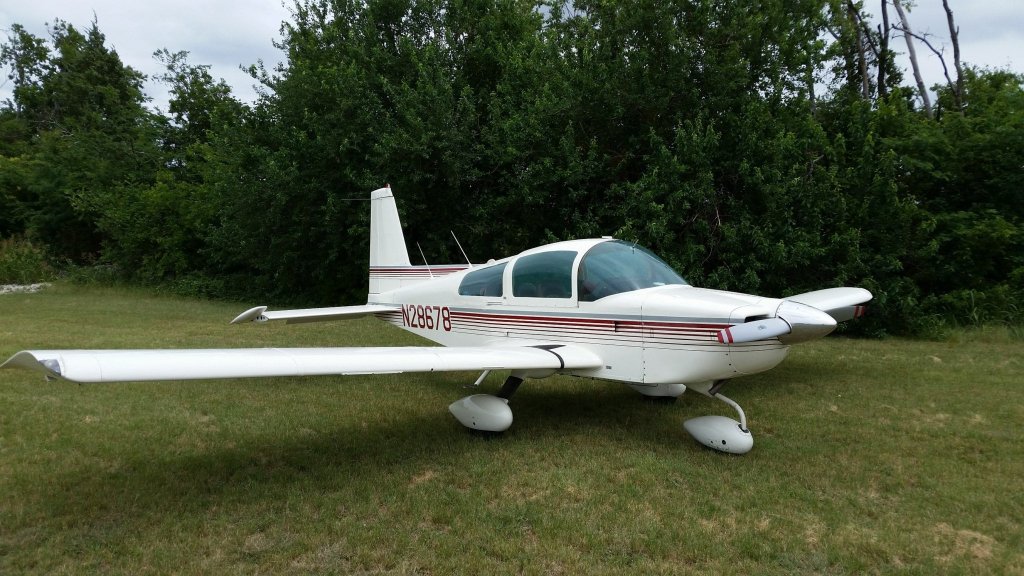
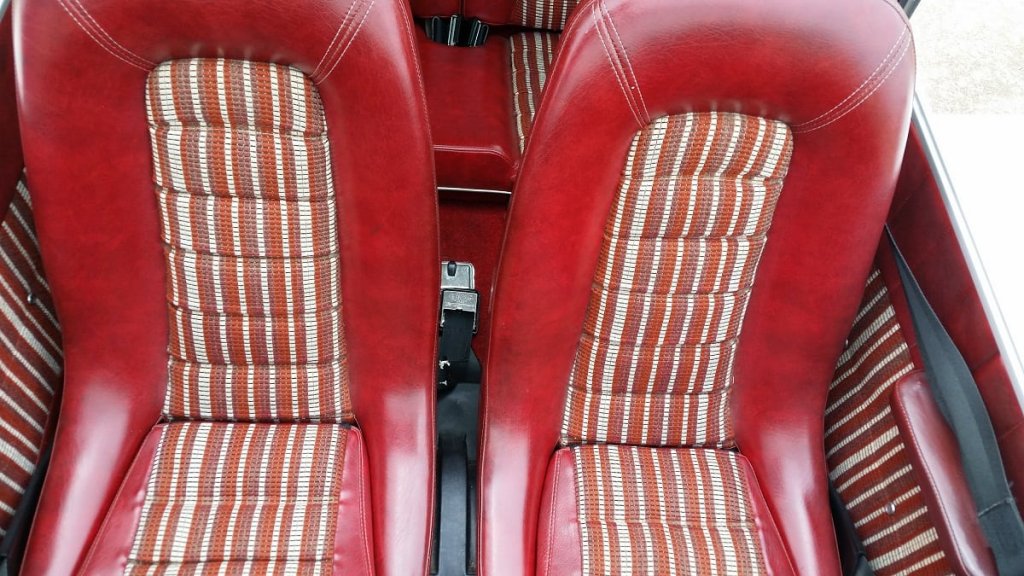
So, I’m trying to make the best of the downtime and chronicle the recent history on my 1977 Tiger. Up to my current project of a few improvements.
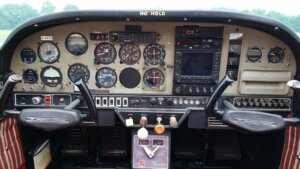
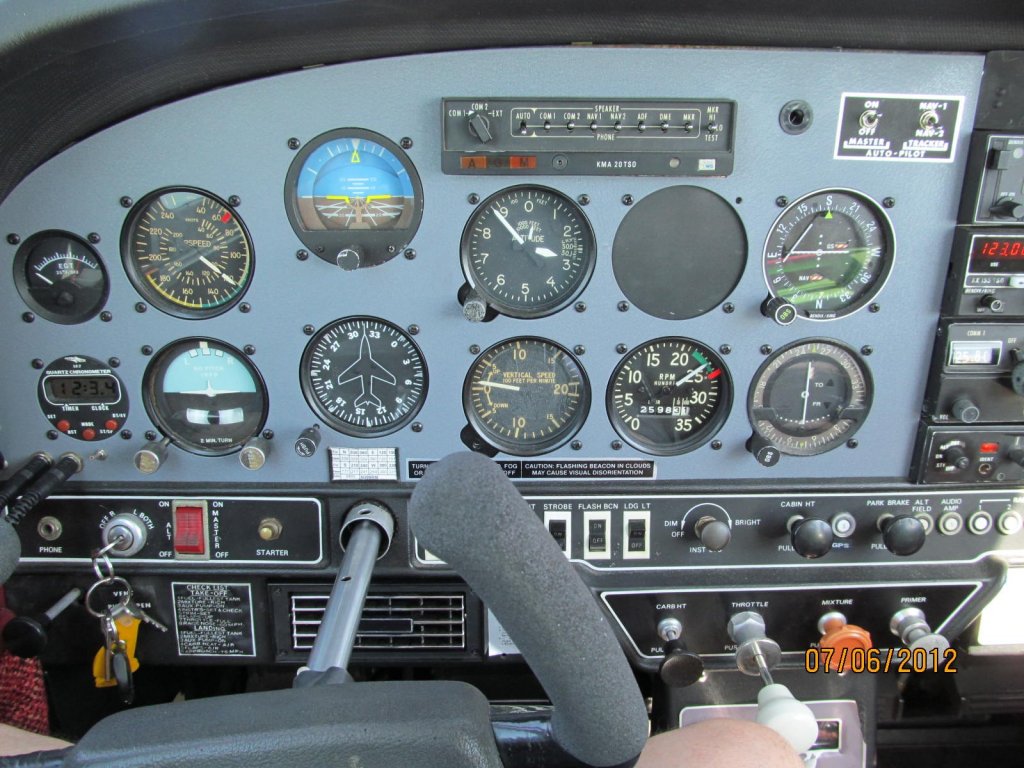
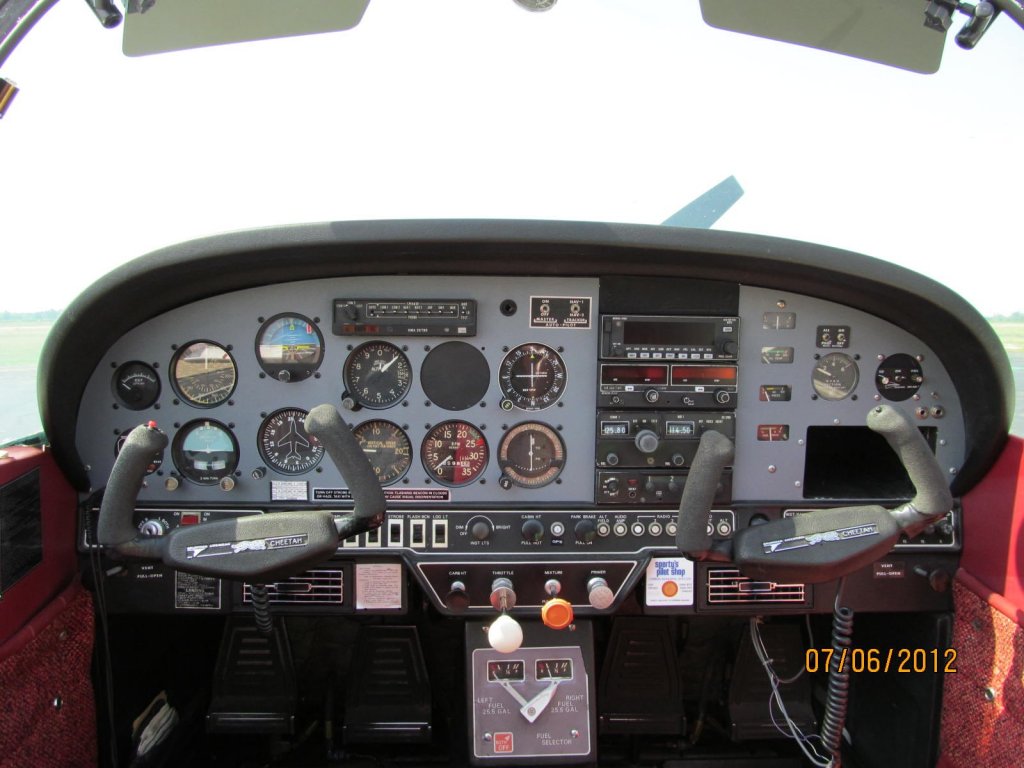
I will try to chronicle my adventure below. The pictures attached here are prior to purchase on May 27, 2017.
-
December 24, 2017 at 07:57 #8059
-
December 24, 2017 at 08:17 #8064CurtParticipant
I had the seller fly it to FletchAir to have the pre-buy inspection. After settling and completing the sale, I had Scott from FletchAir take care of all the list of 35-ish squawks (mostly minor)
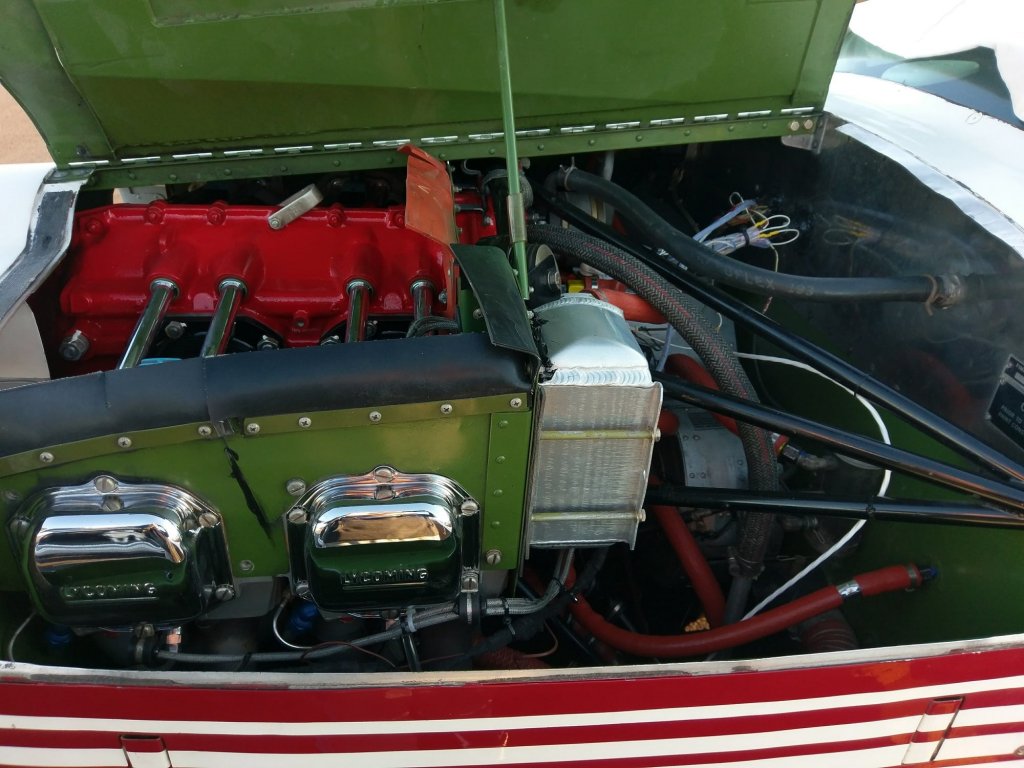
-Ly-Con overhaudled engine. Added Lycoming cylinders, port and polish, anodized cylinders, and the o-ring crankcase STC as options.
– EI CGR-30P installed with USB-6A Charger. Love this Engine monitor!
– Fuel leaks remedied
– Aileron A/D permanently mitigated
– all the things previous “Cessna/Piper” mechanics screwed up!Had a panic attack when I got my bills. Then, my CFI and I flew home to South Carolina.

Attachments:
You must be logged in to view attached files. -
December 24, 2017 at 08:33 #8067CurtParticipant


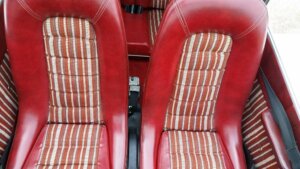
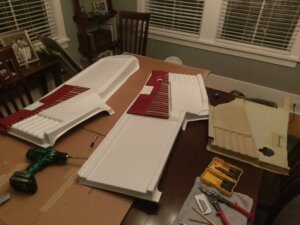
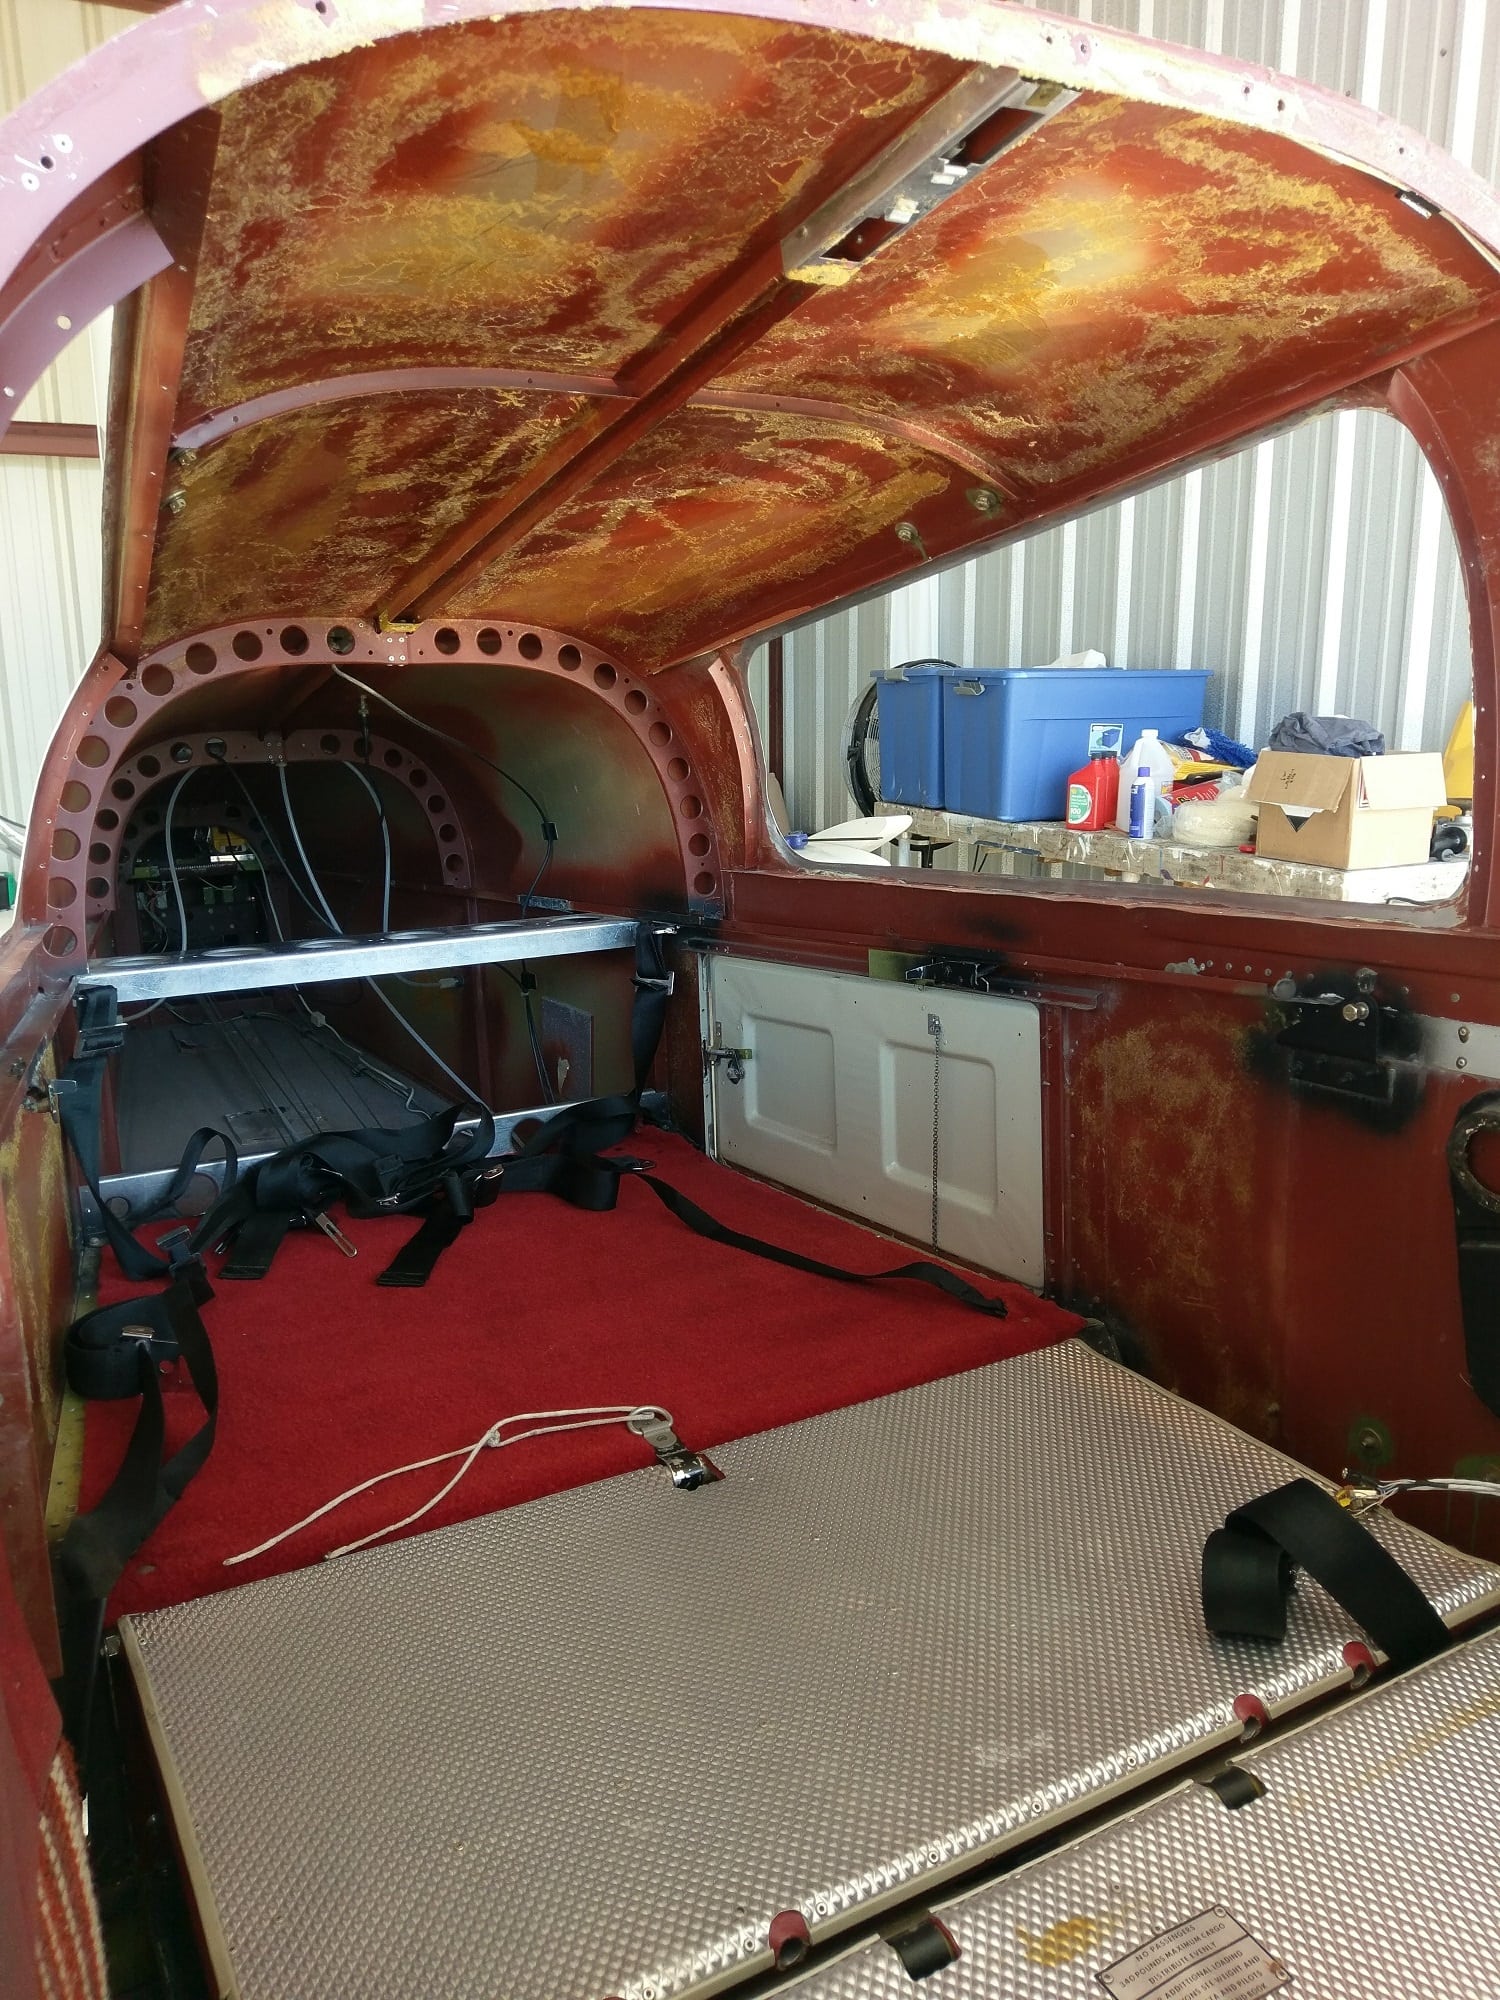
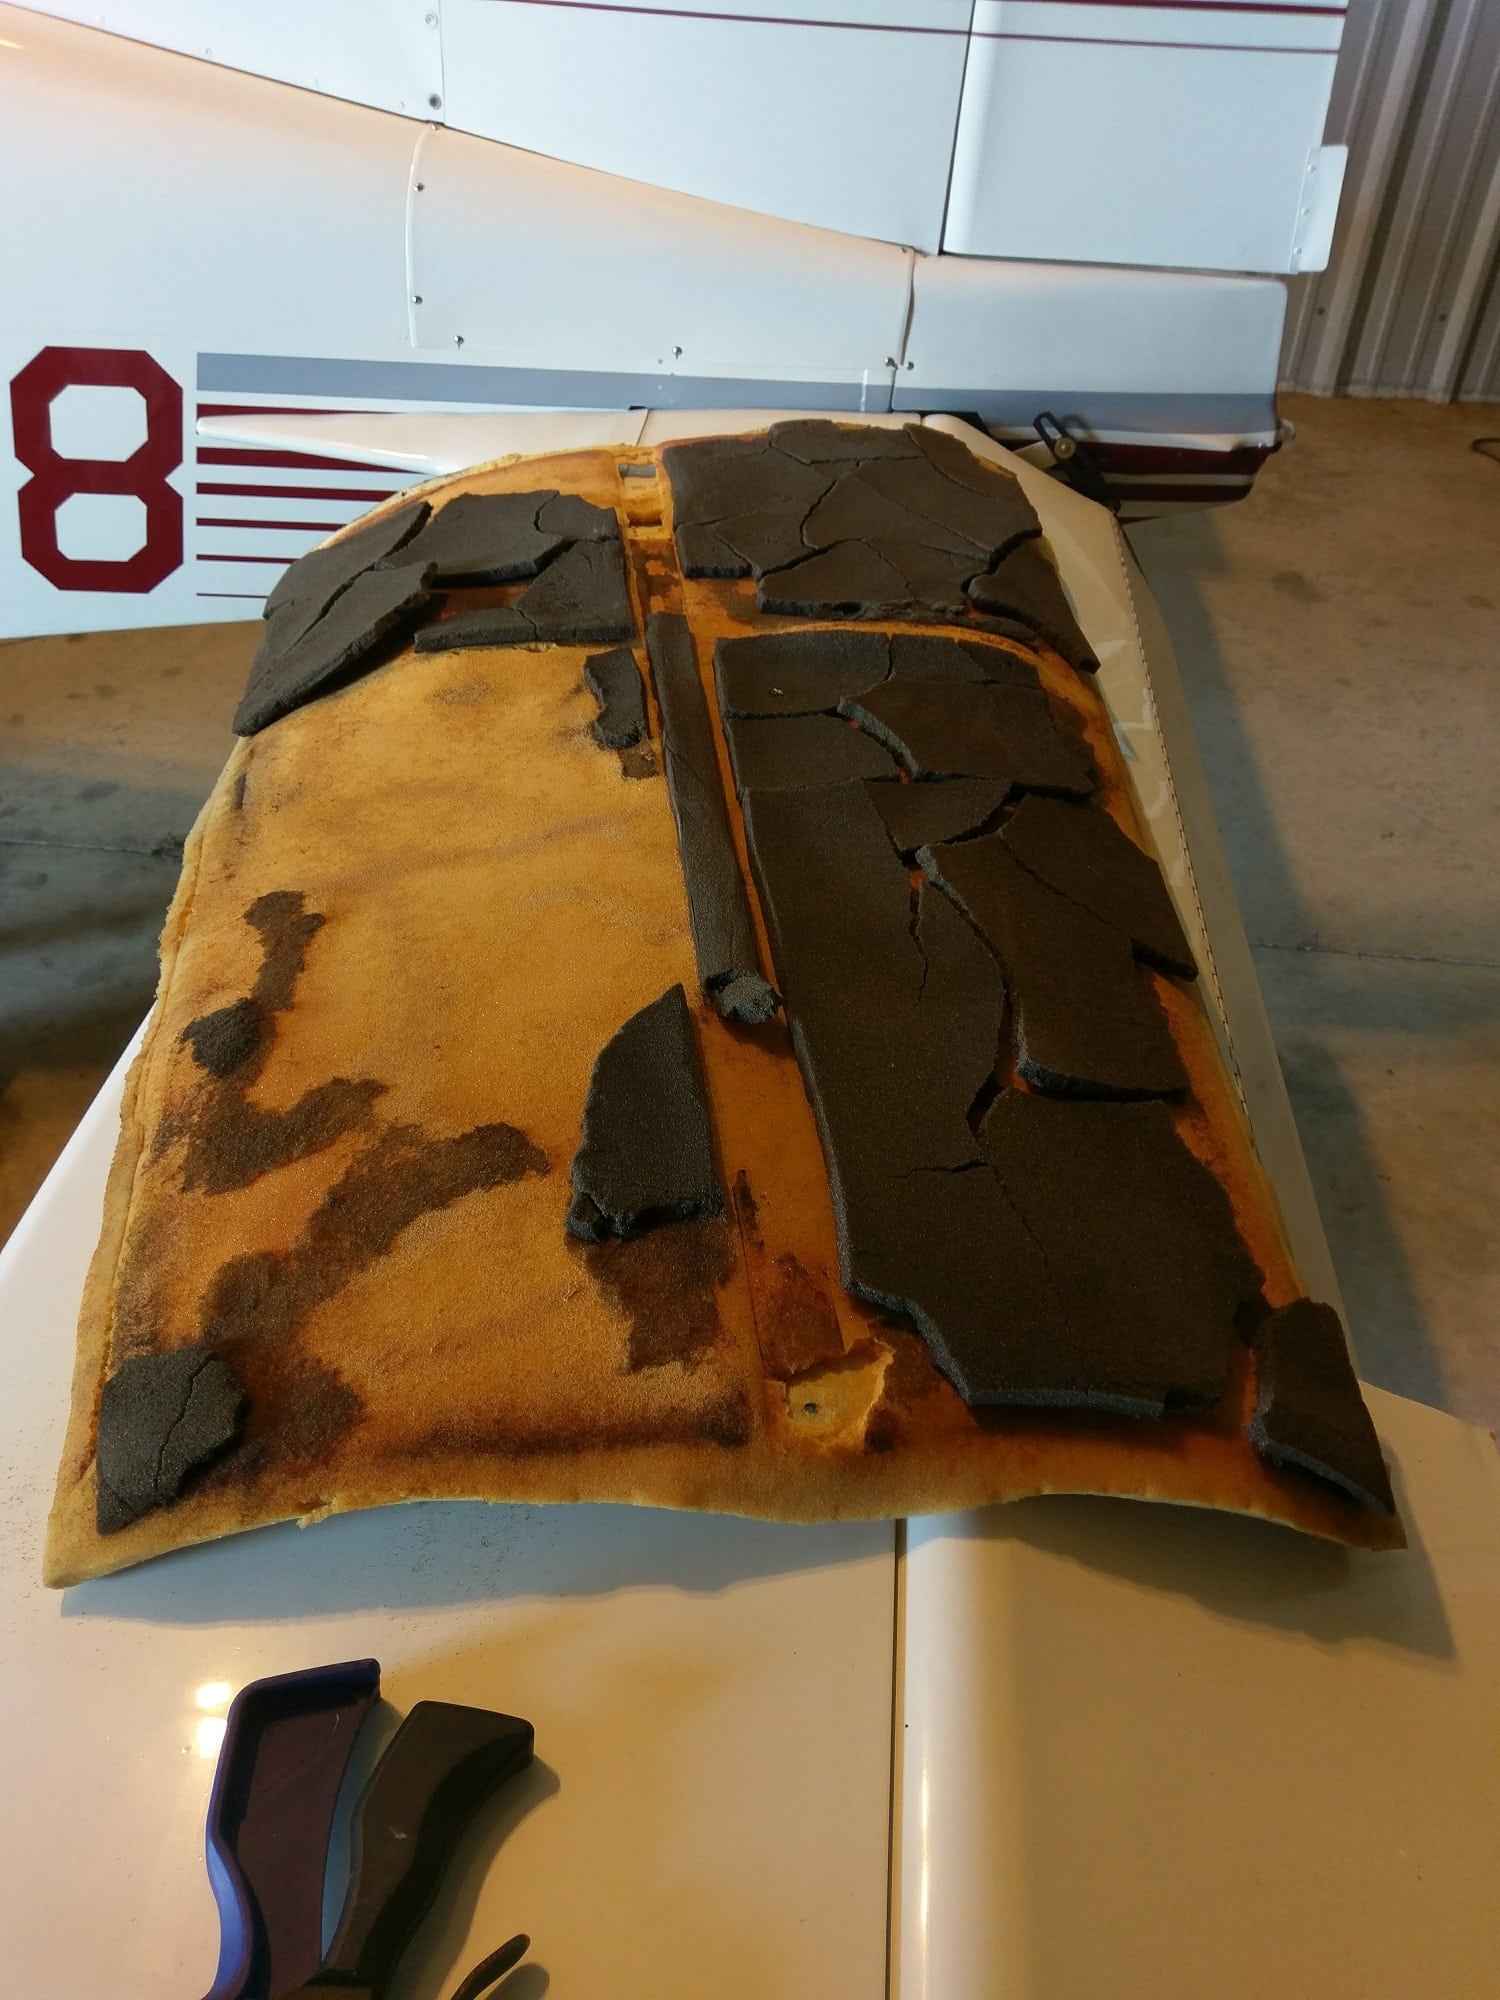
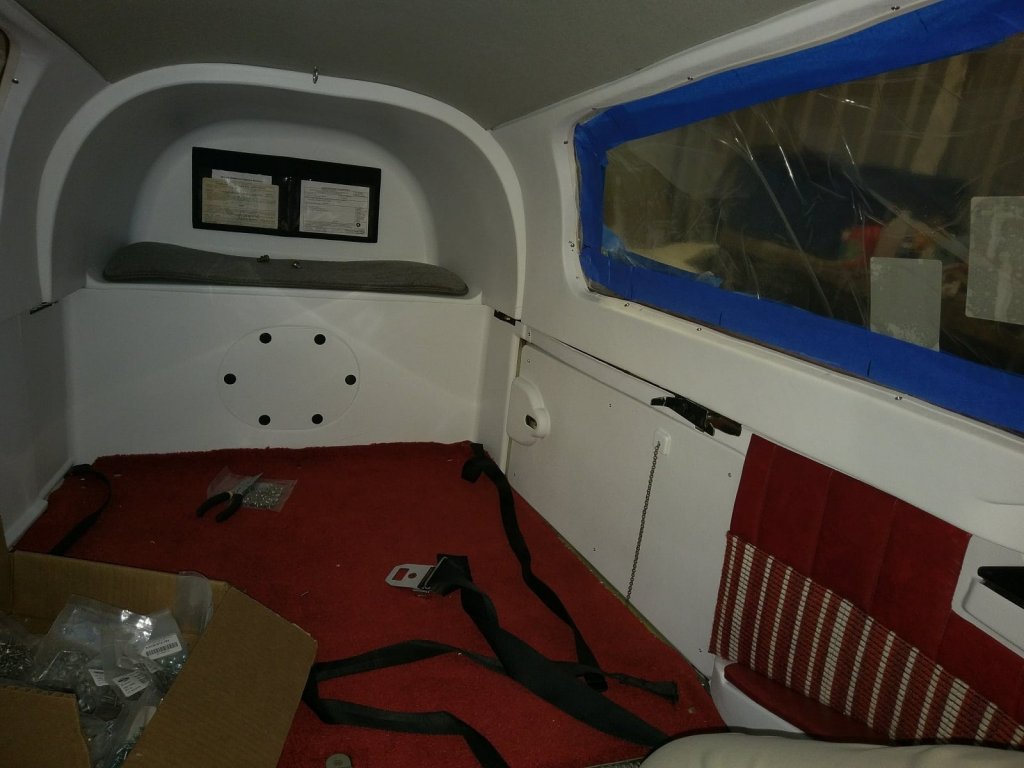
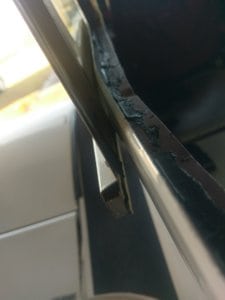 Windows & Plastic:
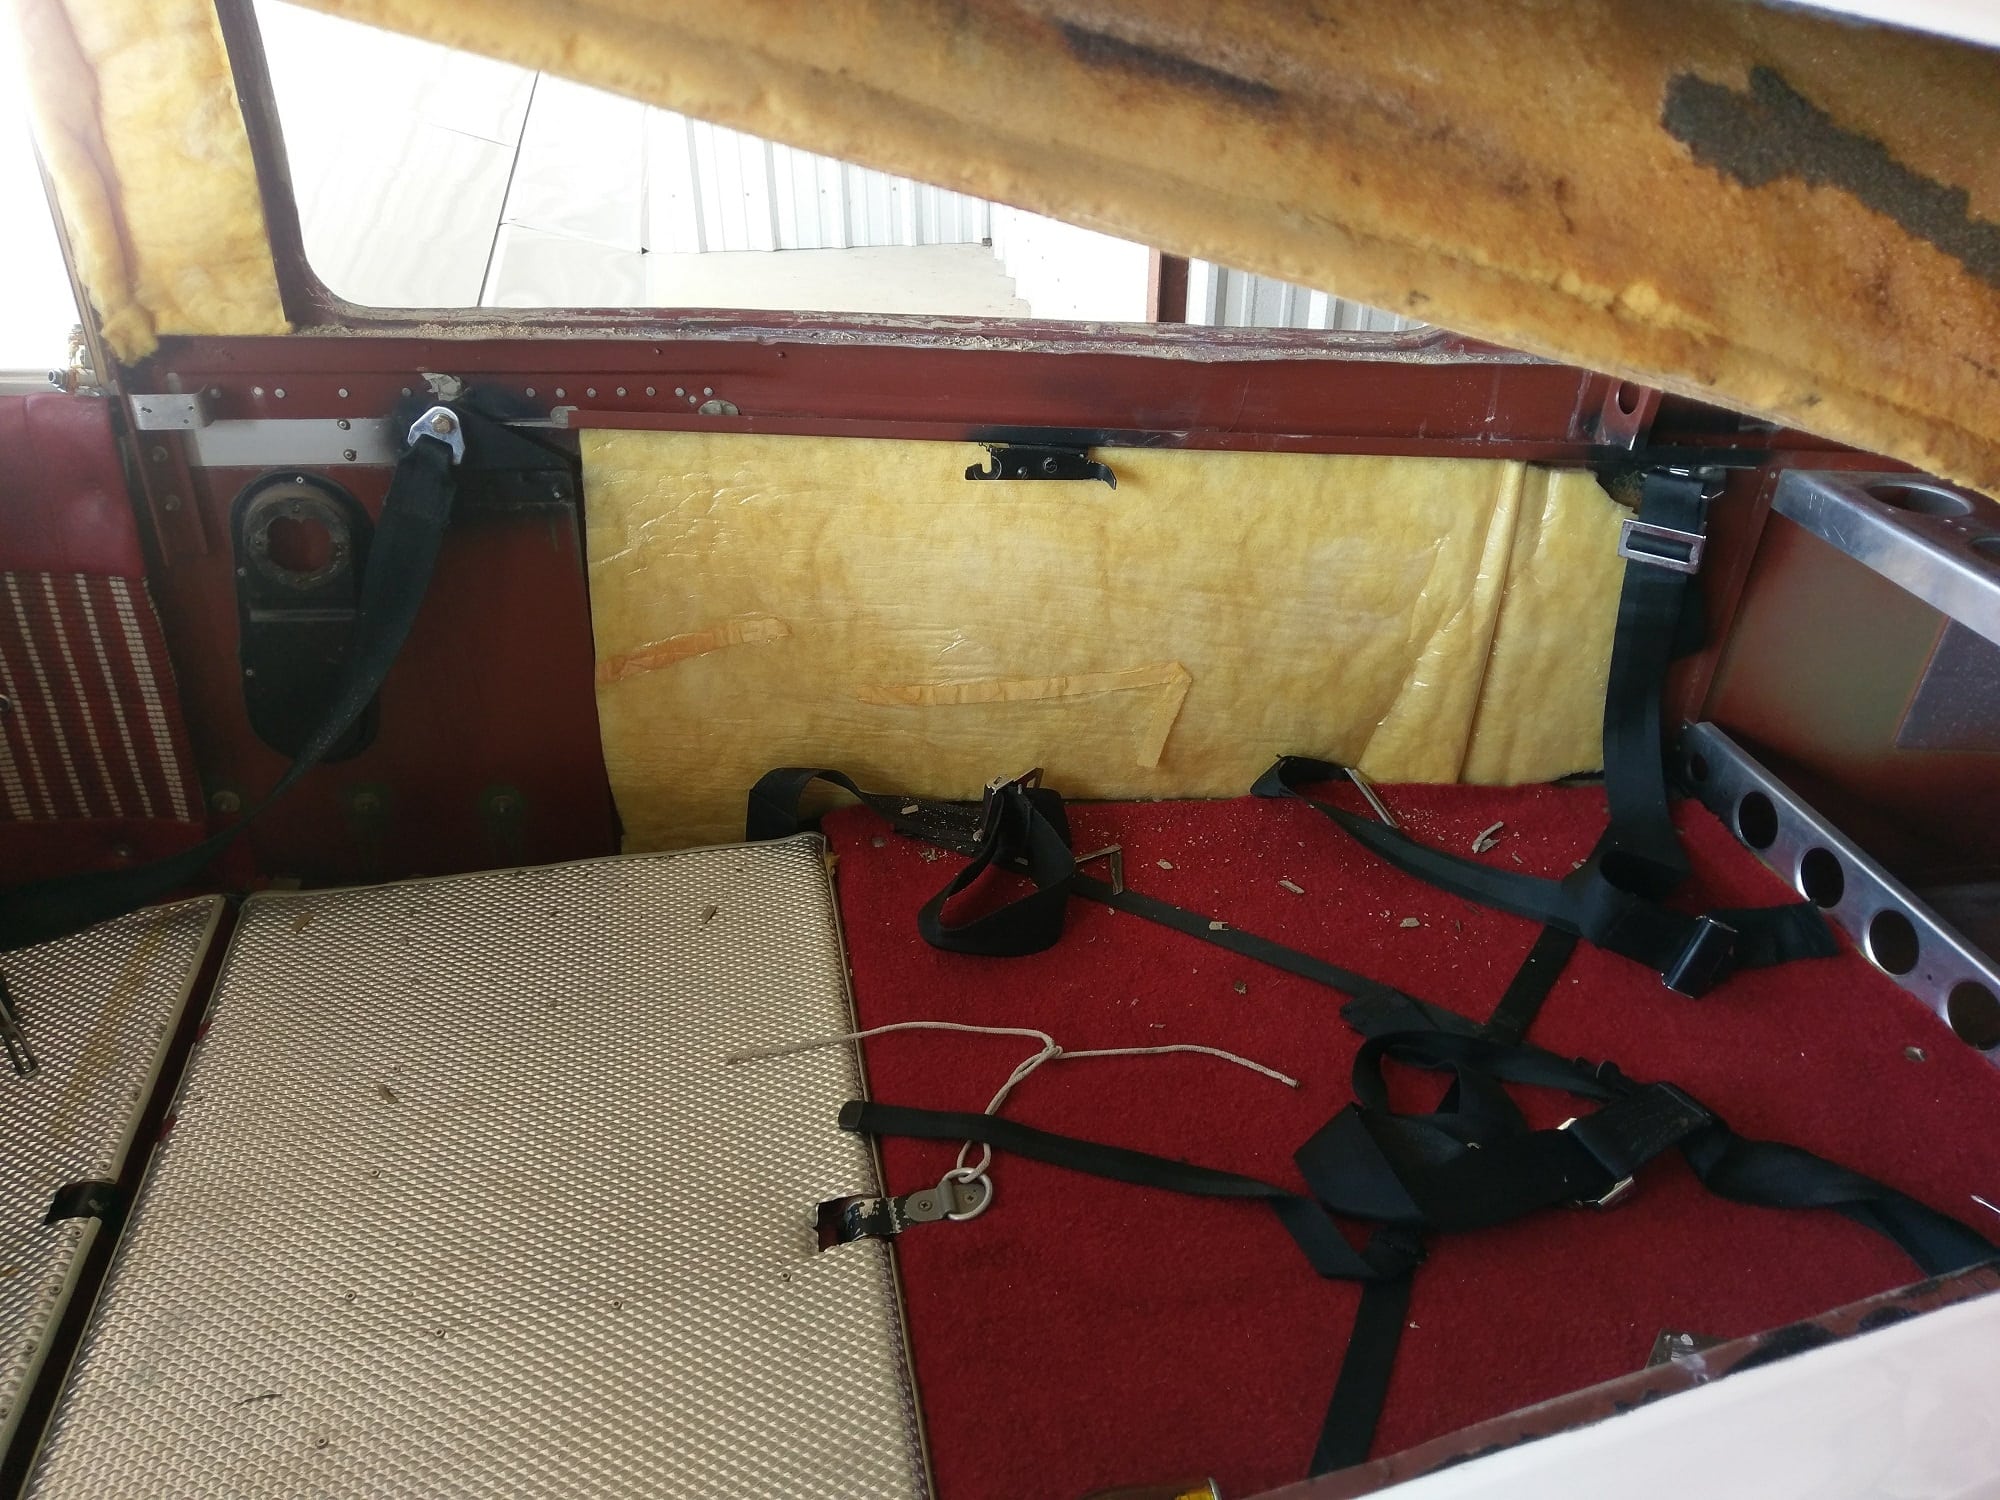
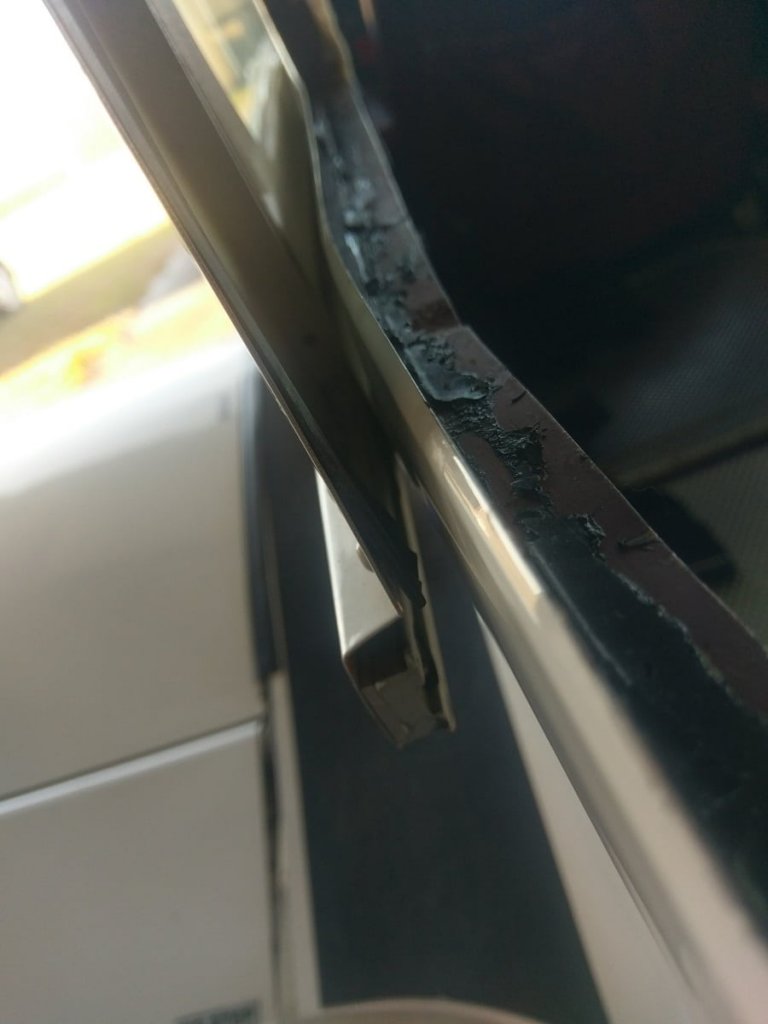
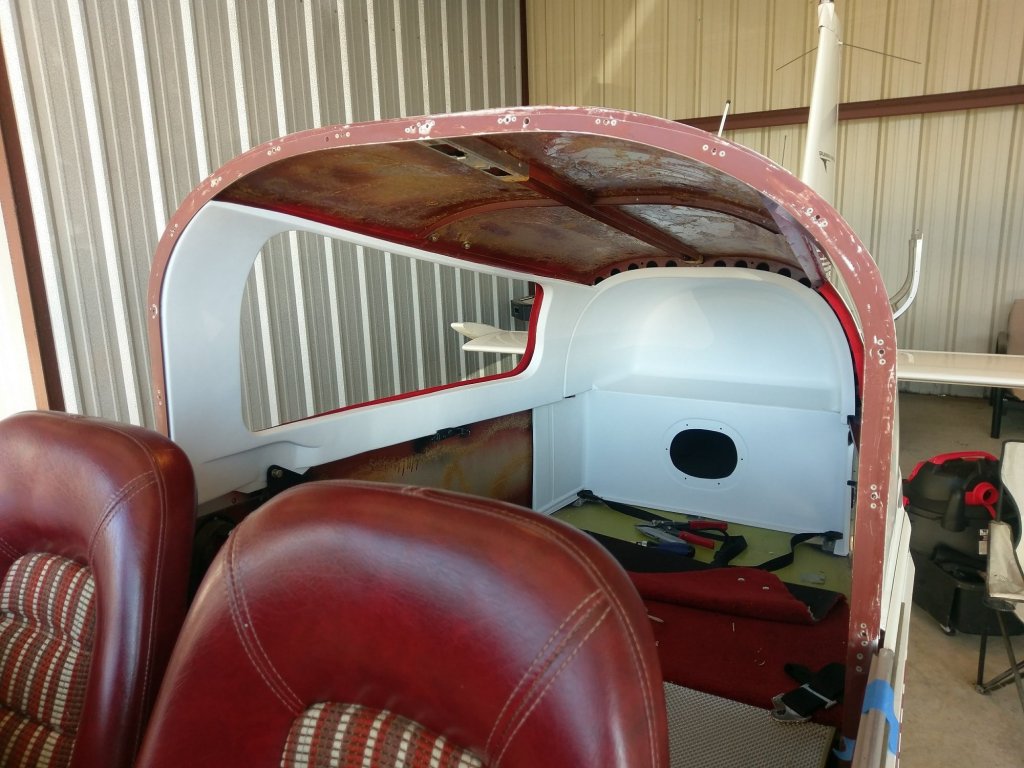
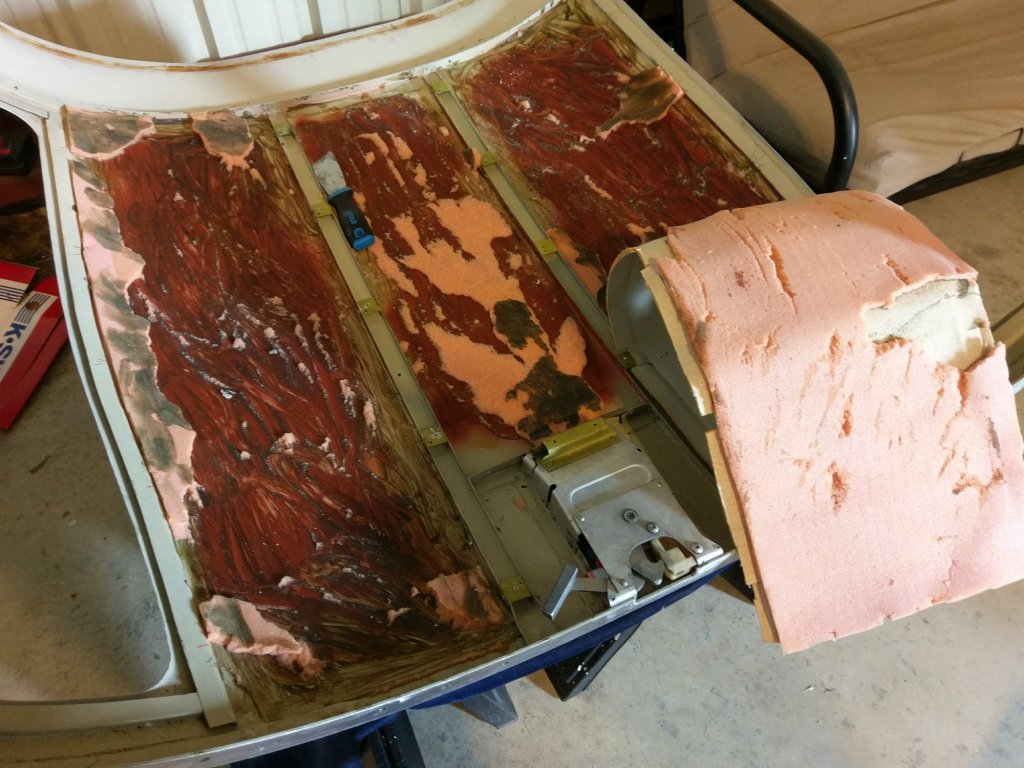
Tried various things to remove the “hazey” fog on the canopy windows. Even tried micromesh. Miserable fail. Broke down and just ordered new, UV-resistant smoke-grey windows and windscreen from FletchAir. Why not replace the 40-year old plastics while I’m at it? Discovered one window seemed original, but one was re-sealed with RTV. PAIN in the butt to remove. I think I’ll use rope-caulk (thanks Roscoe for the video!) for the re-install. While rough-fitting the window and window plastic, I tore the (very fragile) headliner. Investigating how that was secured, discovered it was held up by foam which literally disintegrated when touched! Considering ordering a fresh headliner from Airtex.
Attachments:
You must be logged in to view attached files. -
December 24, 2017 at 08:35 #8072
Dan Voegeli
ParticipantGood luck on you medical. Your plane looks great, like how good the engine looks.
-
December 25, 2017 at 19:18 #8082
-
December 27, 2017 at 10:18 #8094CurtParticipant

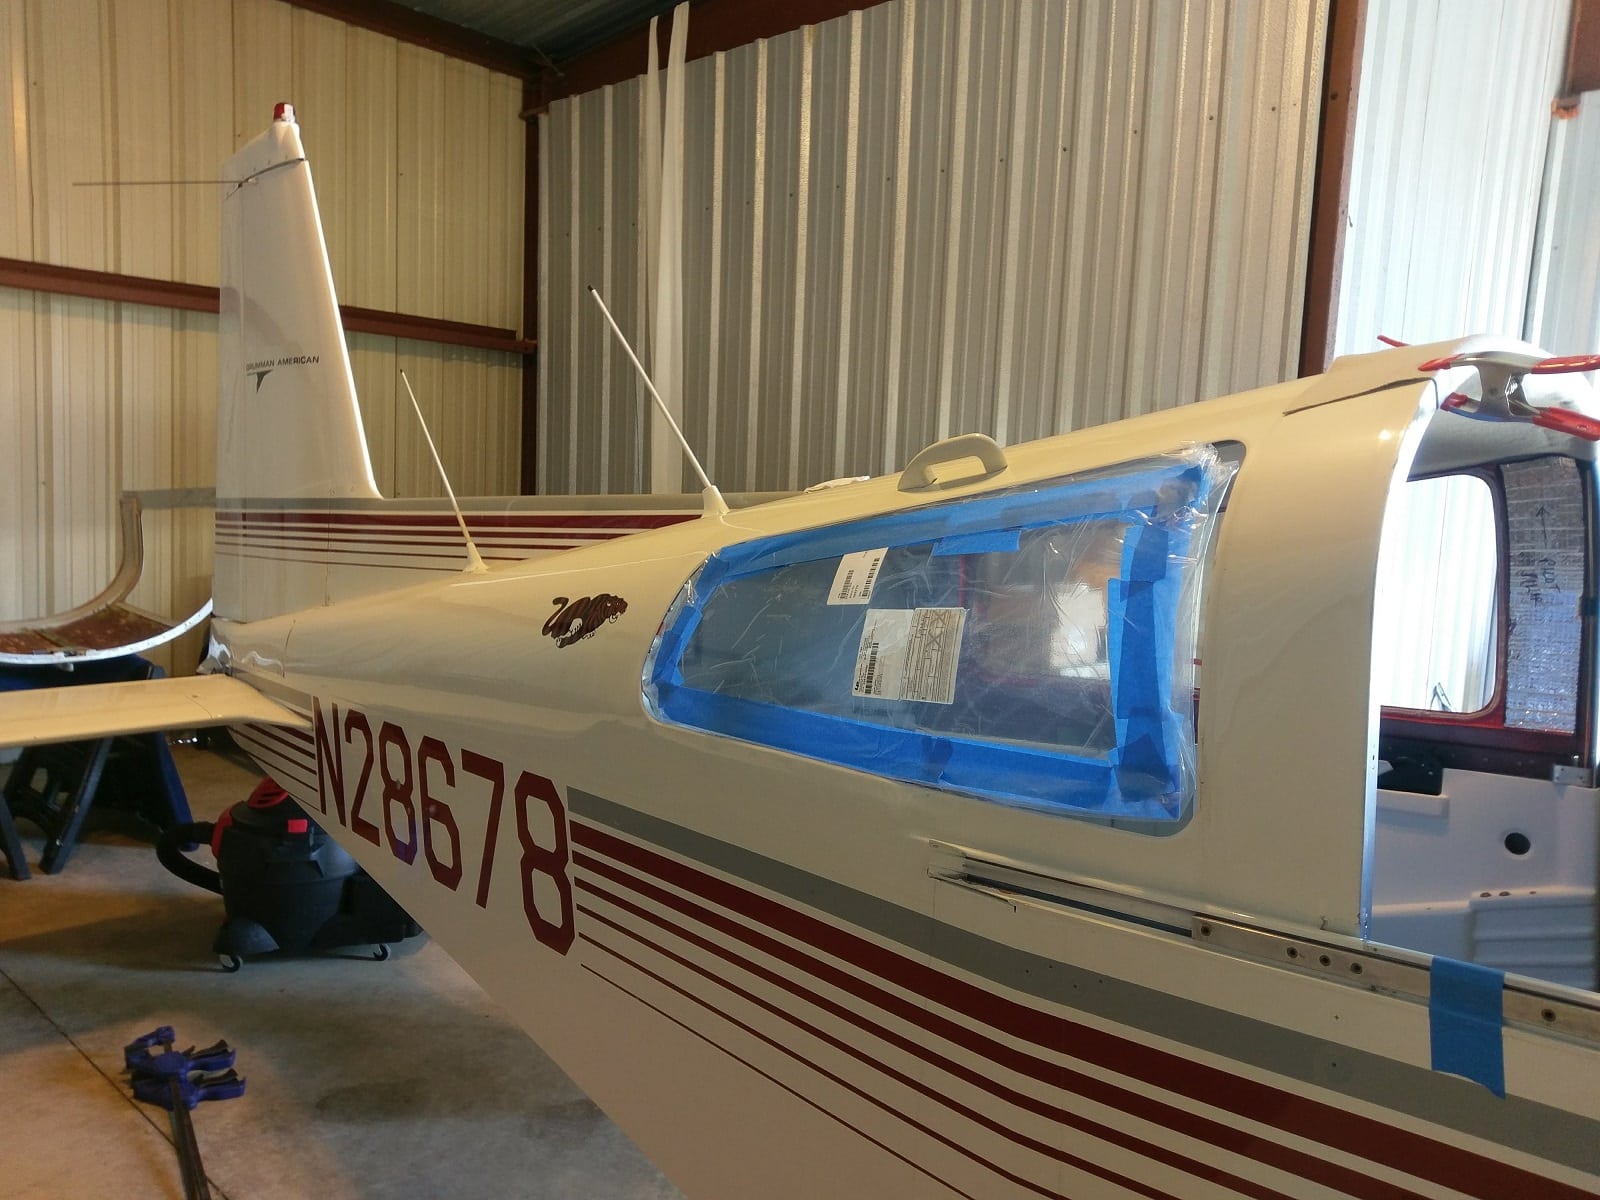
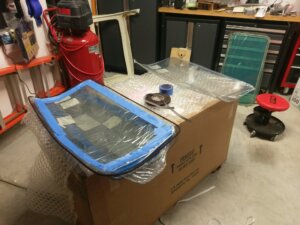 Windows: Out with the old, prep the new. Found both rope caulk and felt on the canopy windows.
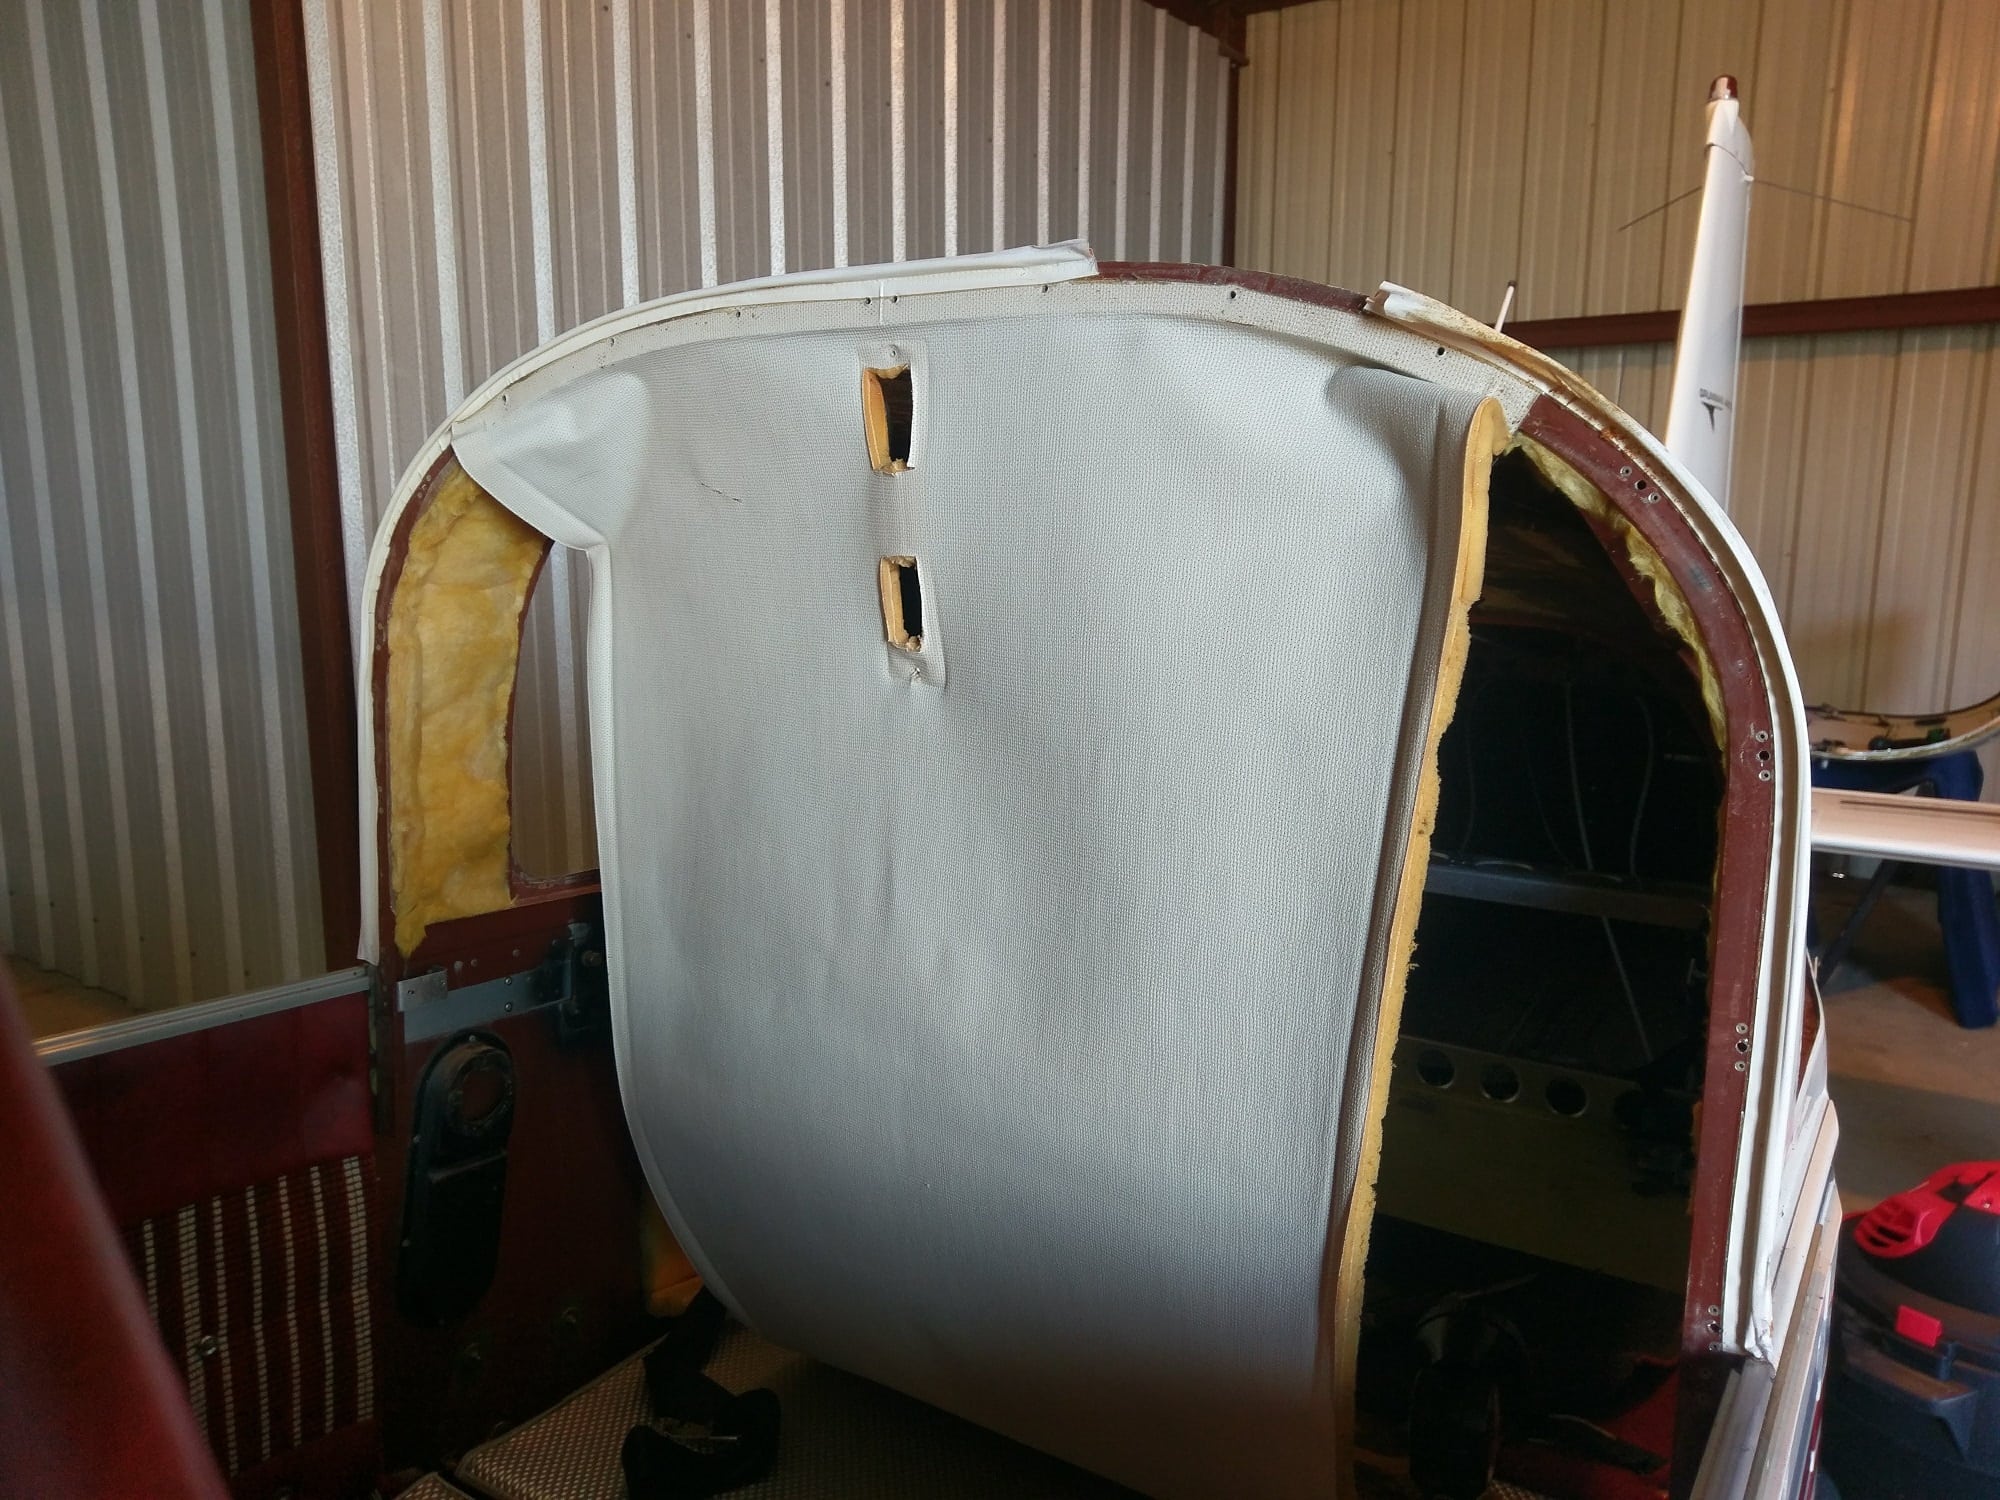
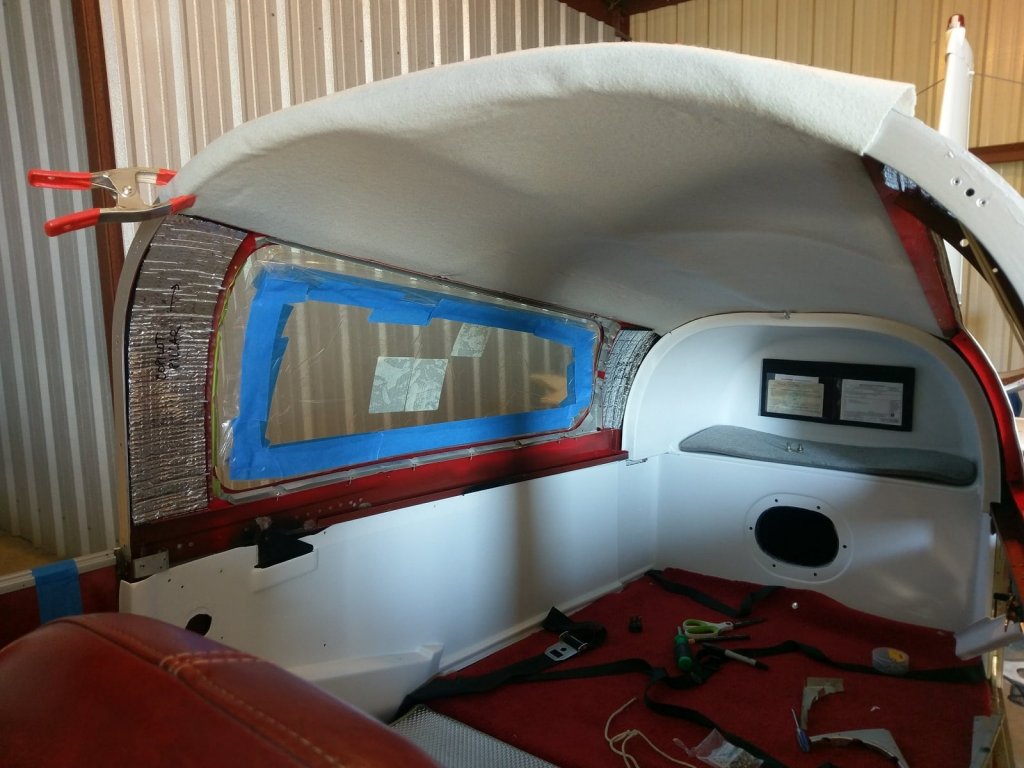
Headliner: Airtex does not have the template, but they are sending me the raw materials so I can DIY.
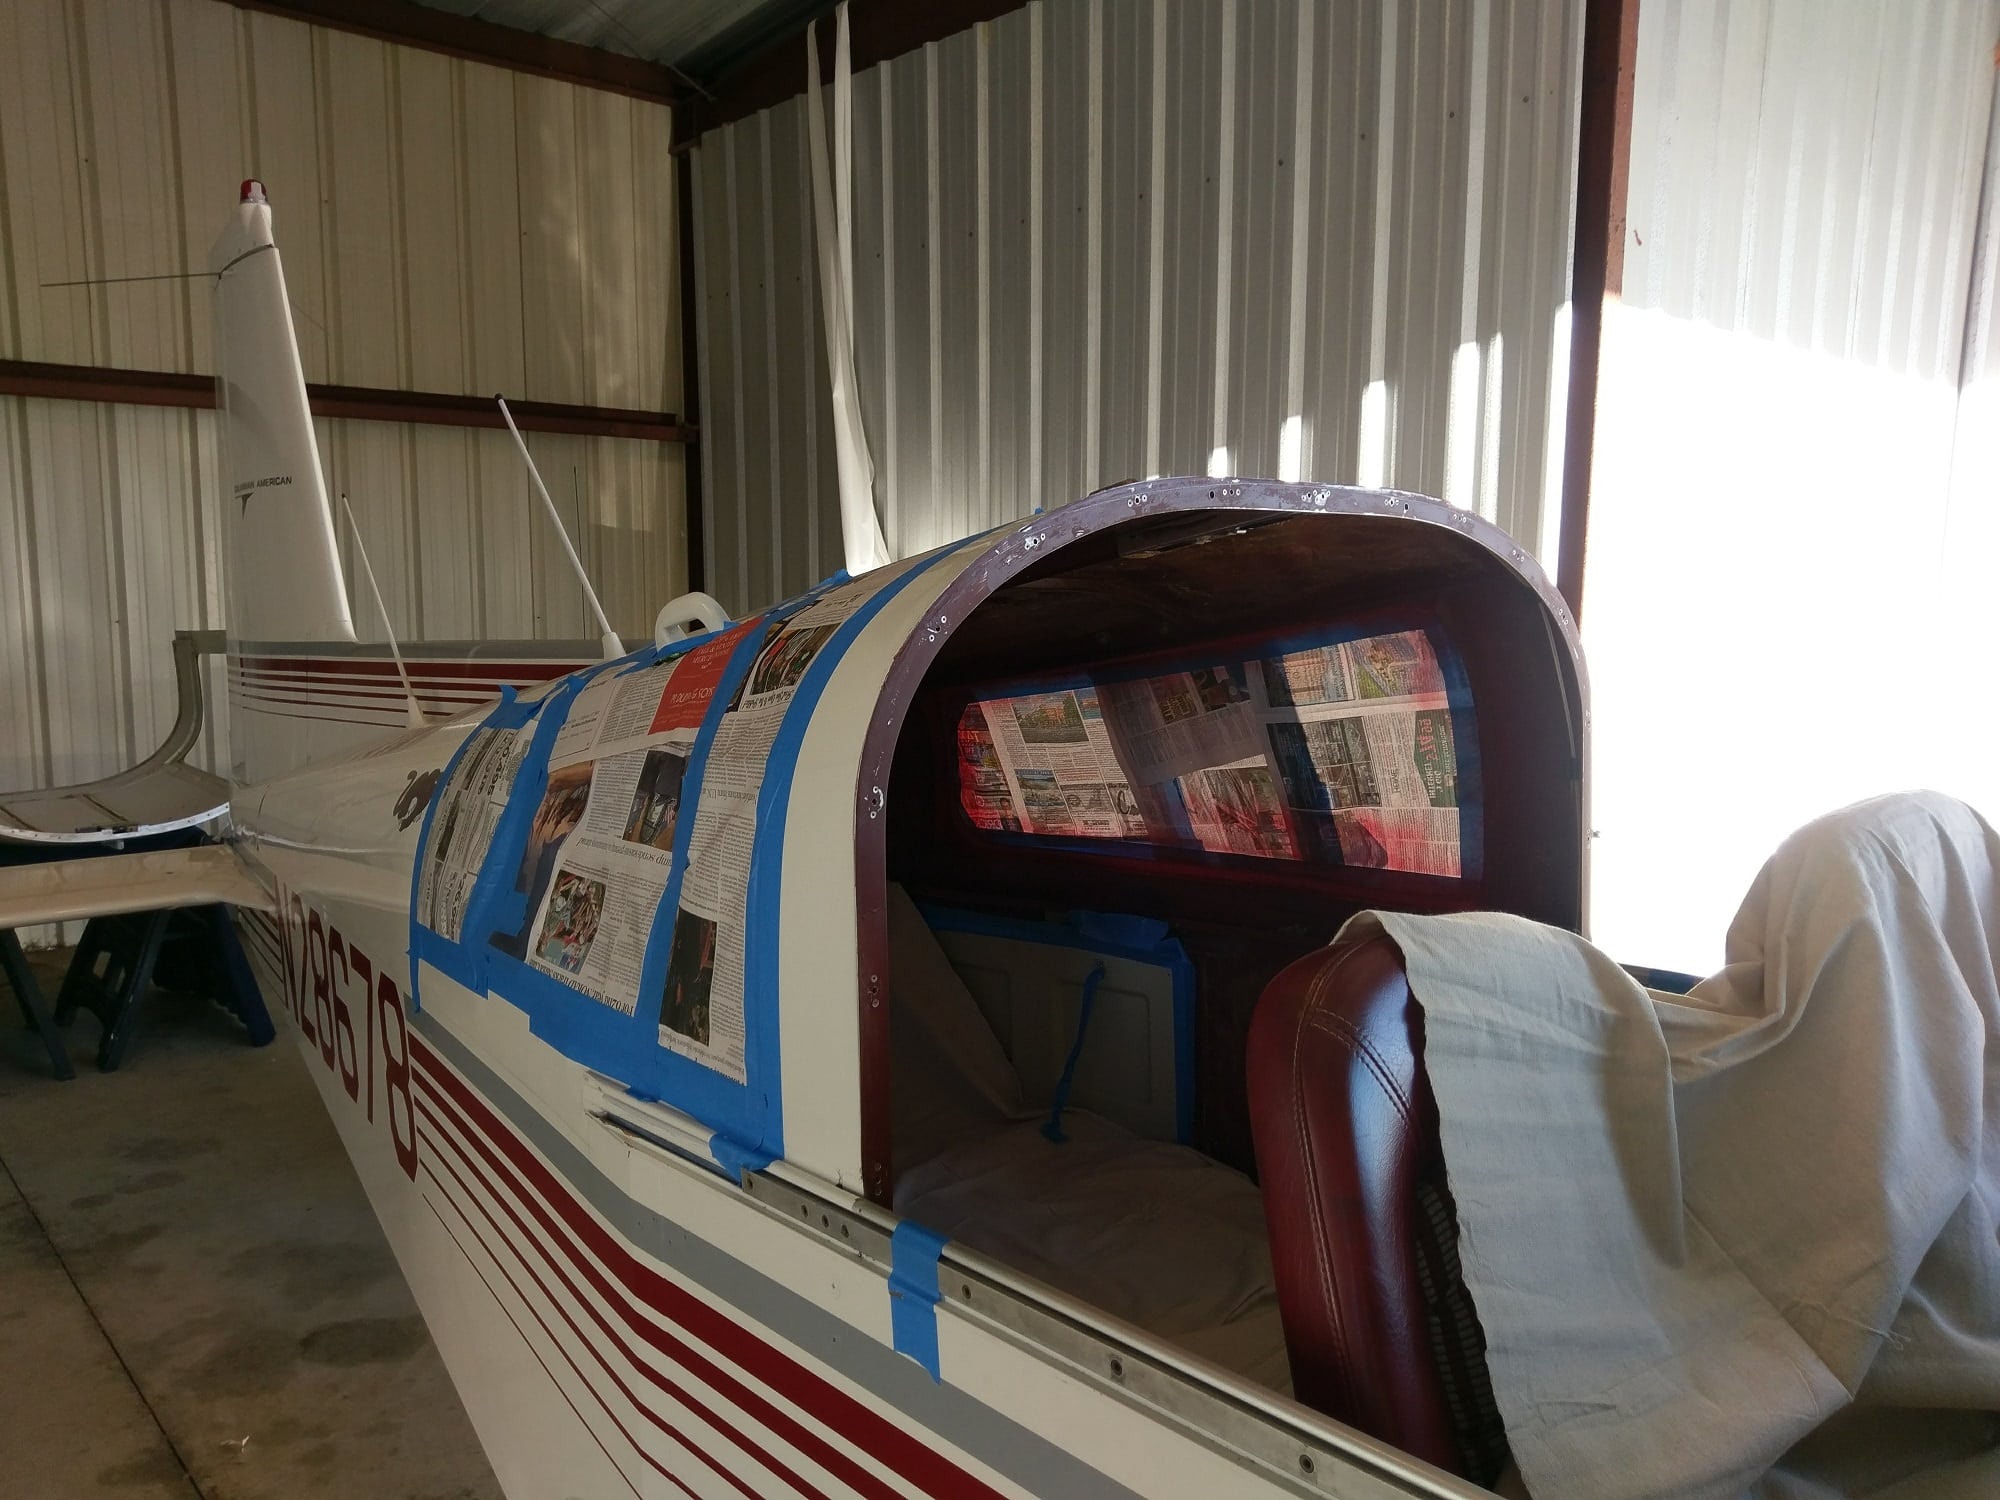
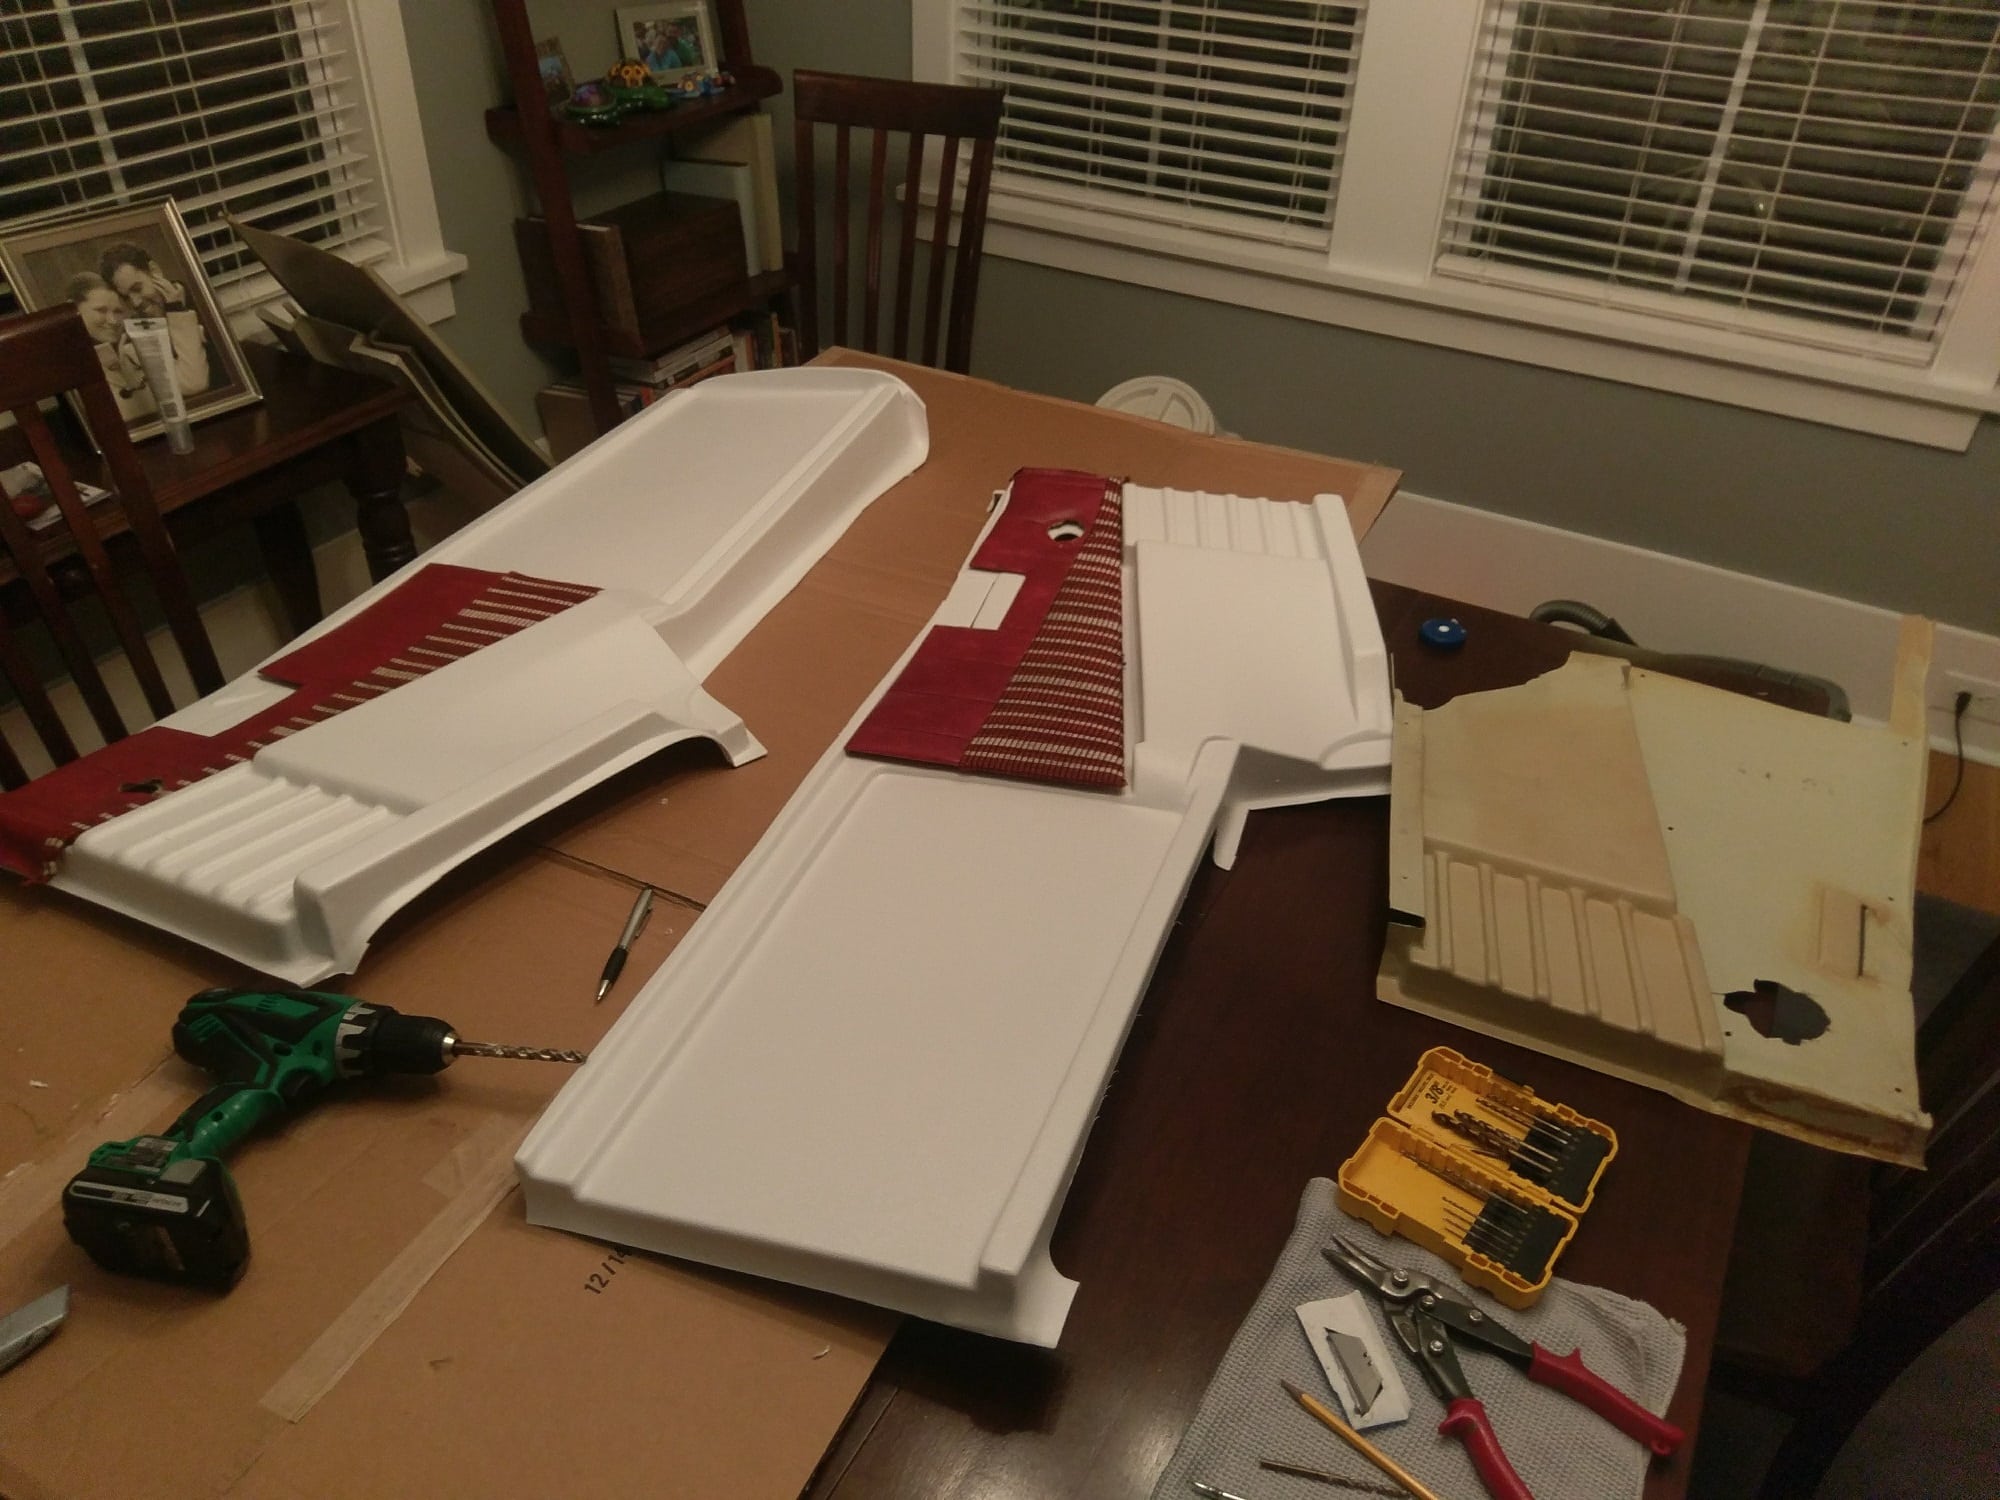
Plastics: More trimming….and trimming….and trimming using the old pieces as templates.
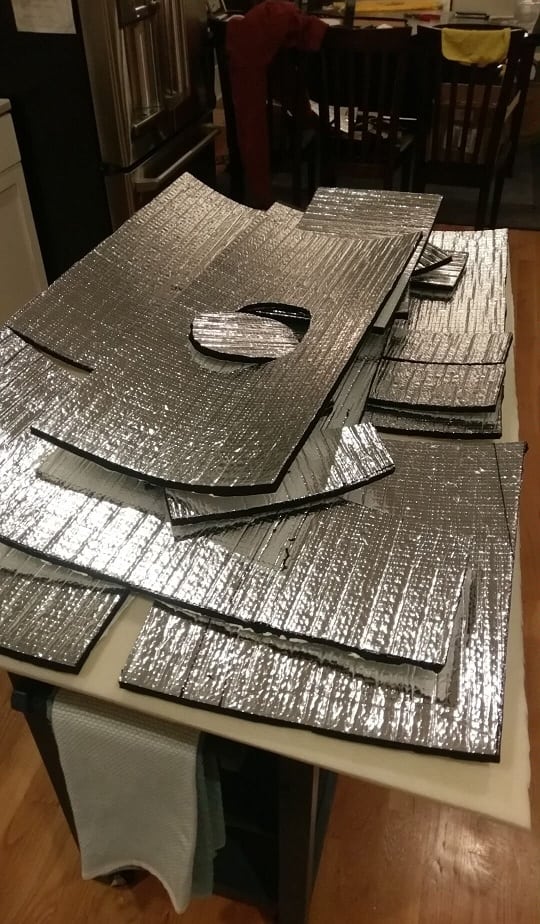
Insulation: Removing and replacing with modern soundproofing from Airtex. Laid out some of the pieces to get a rough idea of how much to order.Attachments:
You must be logged in to view attached files. -
December 28, 2017 at 17:18 #8103
-
December 29, 2017 at 09:59 #8114
Richard
ParticipantHi Curt,
Looking good so far. I went through this on my previous 76 Cheetah. Did the canopy and rear windows, headliner, repainted/replaced the canopy and rear plastic, powder coated metal overlay, NuLights, and fiberglass one piece glaresheild from Gary Vougt at AuCountry. Lots of work spread over a year, but had fun doing it. Will probably start into my 79 Tiger this coming year.
-
This reply was modified 6 years, 4 months ago by
Richard.
-
This reply was modified 6 years, 4 months ago by
-
December 30, 2017 at 15:12 #8121
-
January 1, 2018 at 07:30 #8131
-
January 1, 2018 at 10:12 #8134
-
January 2, 2018 at 08:56 #8147CurtParticipant
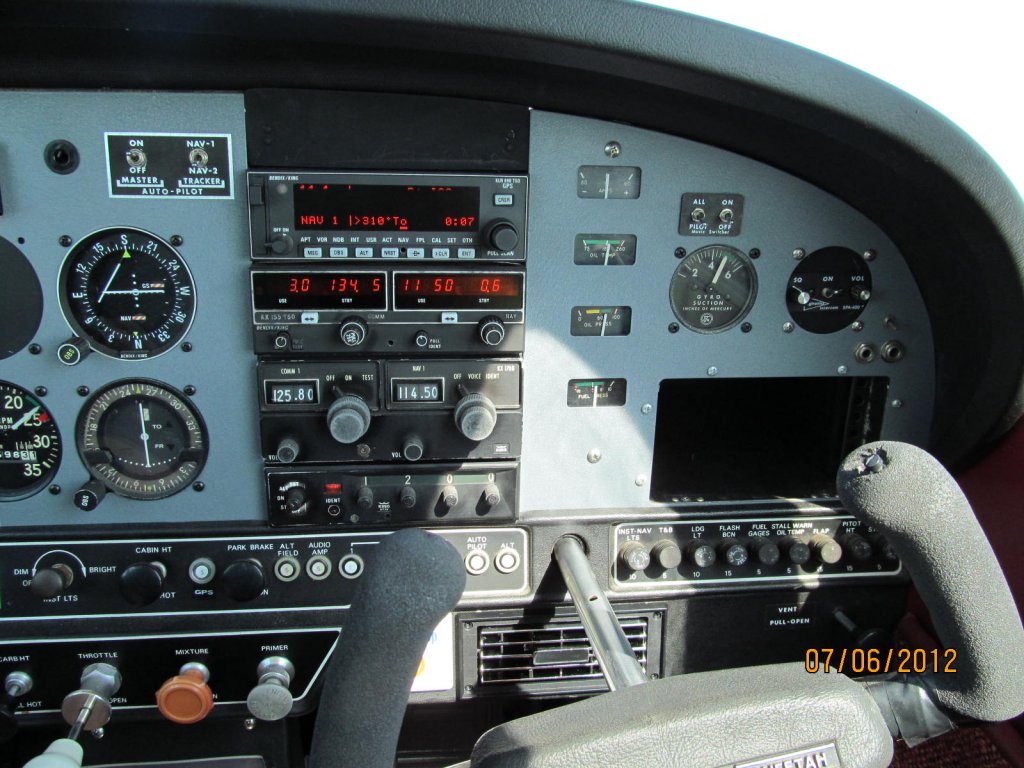
That is a very nice panel and glareshield, Richard! I will certainly contact Gary and get details for those. Thanks for posting photos!
-
January 4, 2018 at 16:56 #8159
-
January 5, 2018 at 02:13 #8164
 Roscoe RoschéKeymaster
Thanks for updating the forum Curt. Two new videos tonight, yours and another Tiger just 40 serial numbers away undergoing a similar renovation. Thank you both.
-
January 14, 2018 at 18:52 #8228
-
January 17, 2018 at 18:16 #8251
 GabrielParticipant
Thanks for posting Curt, pretty cool to watch your progress here…
I’m considering replacing the rear side panels, doing upholstery for the front side panels and also replacing the headliner…
Can you comment on which brand of plastics did you choose?
I hope I don’t end up tearing down all the plastics… the insulation work seems tempting…
Thanks,
Gabriel
-
January 18, 2018 at 12:50 #8264CurtParticipant
Gabriel,
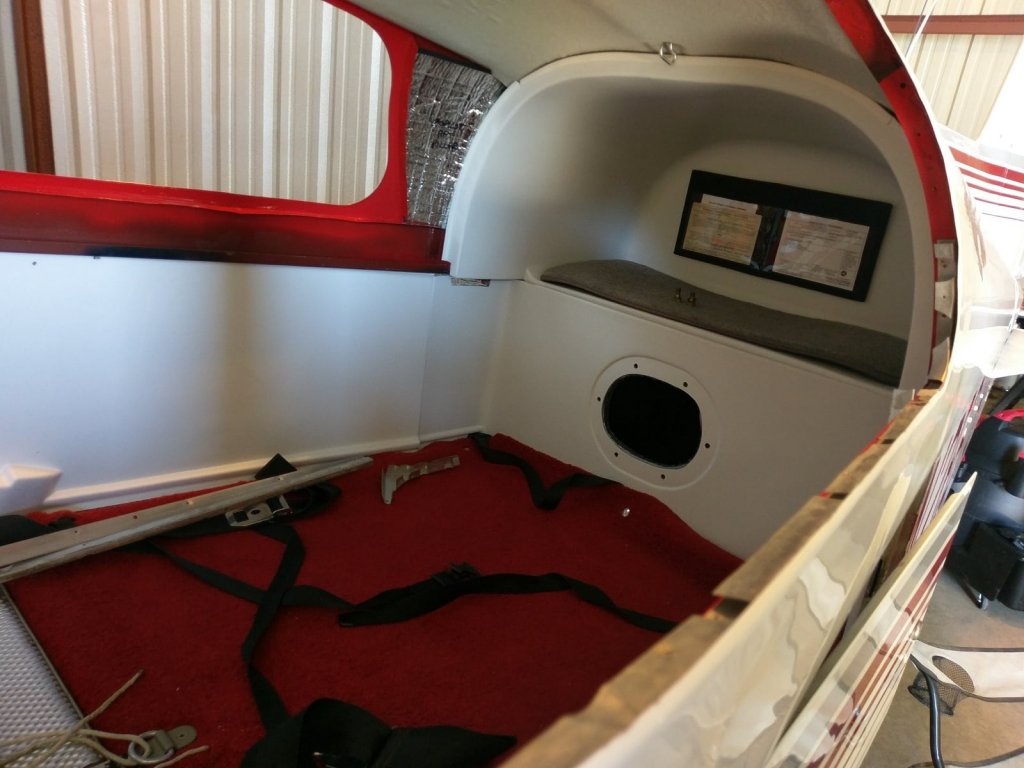
Thanks for your interest. The plastics are from Fletchair. There are a few pieces they don’t stock, so I had to get the remainder from Vantage Plane Plastics. All plastics have to be extensively trimmed, and it’s very time-consuming. Then painted. But as you can begin to see, the results are a new-feeling interior. I’ll post more pictures as the project finishes up!
-
-
January 17, 2018 at 18:47 #8252Roscoe RoschéKeymaster
Take video, put it where I can download it, and I’ll do another movie on the channel for you./
Goes for you too Gabriel.
Cheers
Roscoe
-
January 22, 2018 at 20:23 #8275
-
January 28, 2018 at 15:27 #8299
-
January 28, 2018 at 15:30 #8301
-
January 28, 2018 at 17:06 #8304
 Sam YoungParticipant
Excellent posts Curt!
I’m planning to use up my free time in 2018 doing the exact same thing with my Tiger’s interior, minus the windscreen this round. How do you like the smoke grey windows? And I’m not sure if you kept track of hours, but what would you say was your man hour total?
Great looking airplane!
Regards,
Sam
-
January 29, 2018 at 10:34 #8305CurtParticipant
Thanks, Sam. I didn’t really keep track of my hours, but the project consumed my evenings and weekends for a good two months. The visibility is so much better with new glass. Cabin feels roomier, and the soundproofing quieted things down substantially! The smoke grey windows look great, far better than the old “aviation green” tint. The plastics were, by far, most time-consuming in the project. Hit me up for tips and tricks when you get started on yours; I might be able to save you a couple hours of frustration.
-
-
April 21, 2018 at 17:29 #8798CurtParticipant
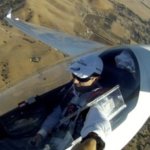
Update: Finally received word that my medical is on the way. Today, my instructor and I flew it from the hanger down to my local airport. The airplane flew well, and looks amazing. The project was very challenging and rewarding.
Cost breakdown:
Pricing for the UV-Tinted Grumman Windows through Fletchair.
Windshield – $814.24
Side Windows – $232.00 each ($928 for all four)
Shipping $100
————–
Total for new glass = $1,842Canopy Plastics:
Vantage Plane Plastics = $454.00
Fletchair = 589.00
Freebies that came with the plane = $400?
Prep, Paint Supplies = $200
Hardware = $60
——————
Total Plastics = $1,703Headliner and SoundProofing (DIY-kit from AirTex) = $483.00
And now the fun part begins – enjoying the fruits of my labor!
-
June 2, 2020 at 16:28 #14083
 JeffParticipant
Thanks for posting this. Super informational. I’m about to start the same project with my Traveler and was curious if you felt there was much of an impact in noise levels after updating the sound deadening material? That wasn’t on my radar to replace but after seeing your updates you’ve got me thinking.
-Jeff
N5440L -
August 11, 2021 at 03:09 #16177
Greg
ParticipantHi Curt,
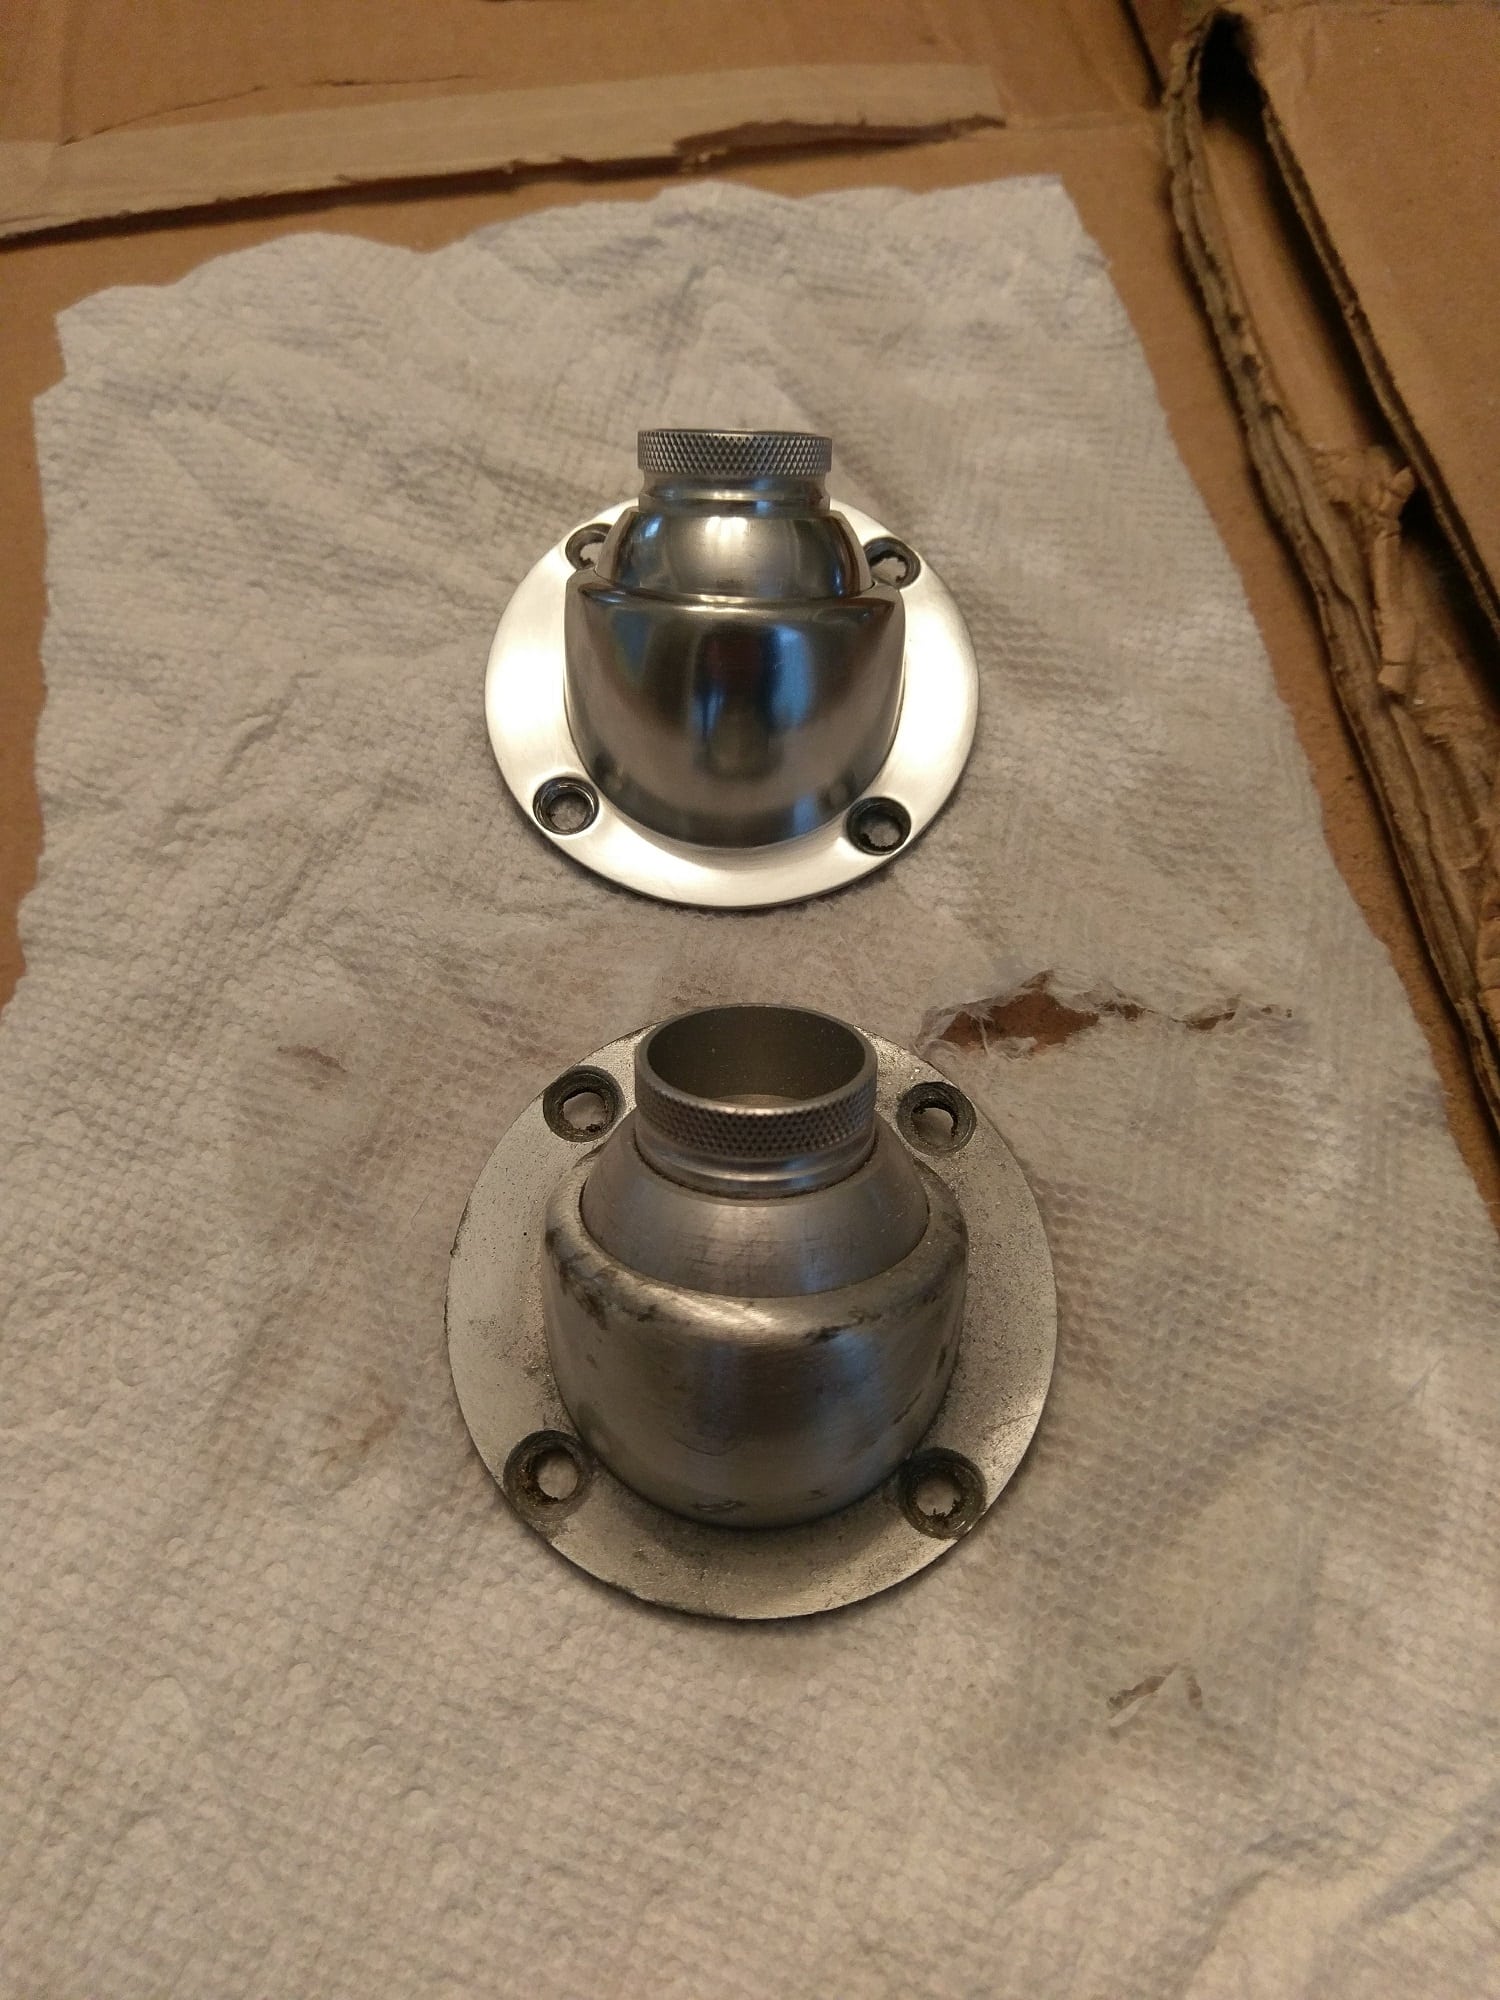
You did a great job on everything! I’m also redoing my “78 Tiger. I’m having trouble getting a hi-gloss shine on my aluminum vents. What products did you use to get such a high sheen on them?
Thank you,
Greg
N28659
-
-
AuthorPosts


- You must be logged in to reply to this topic.