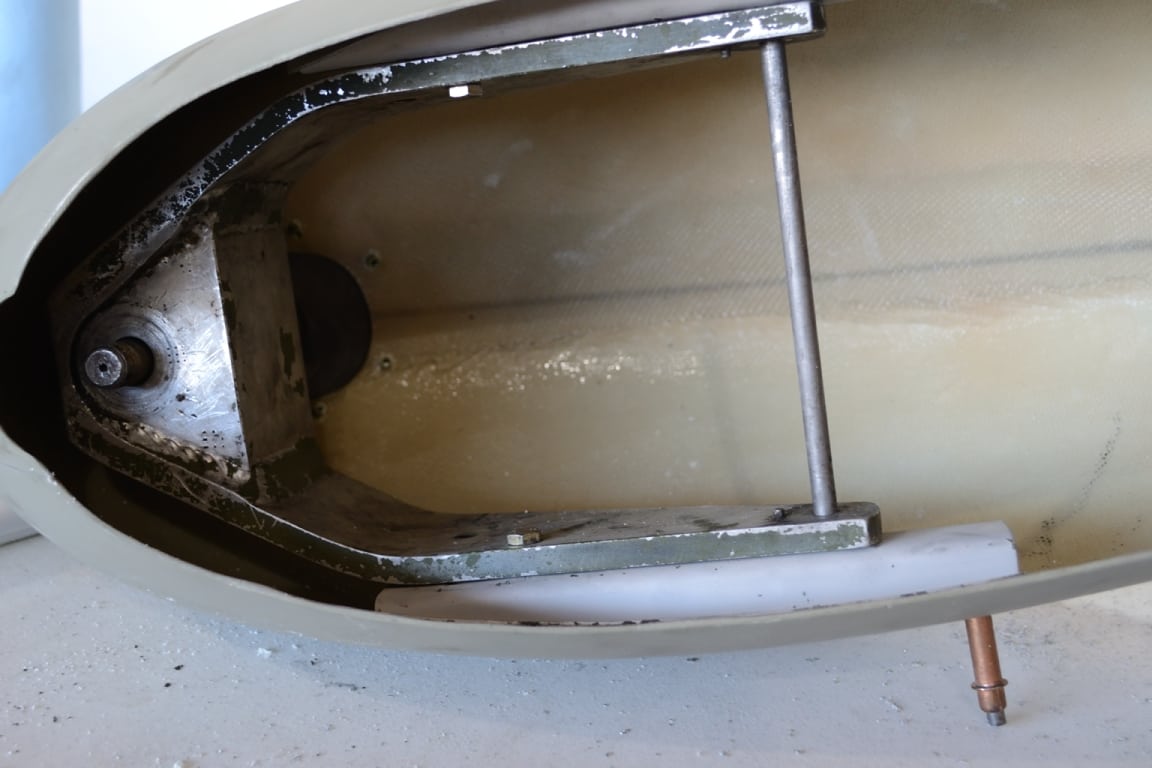
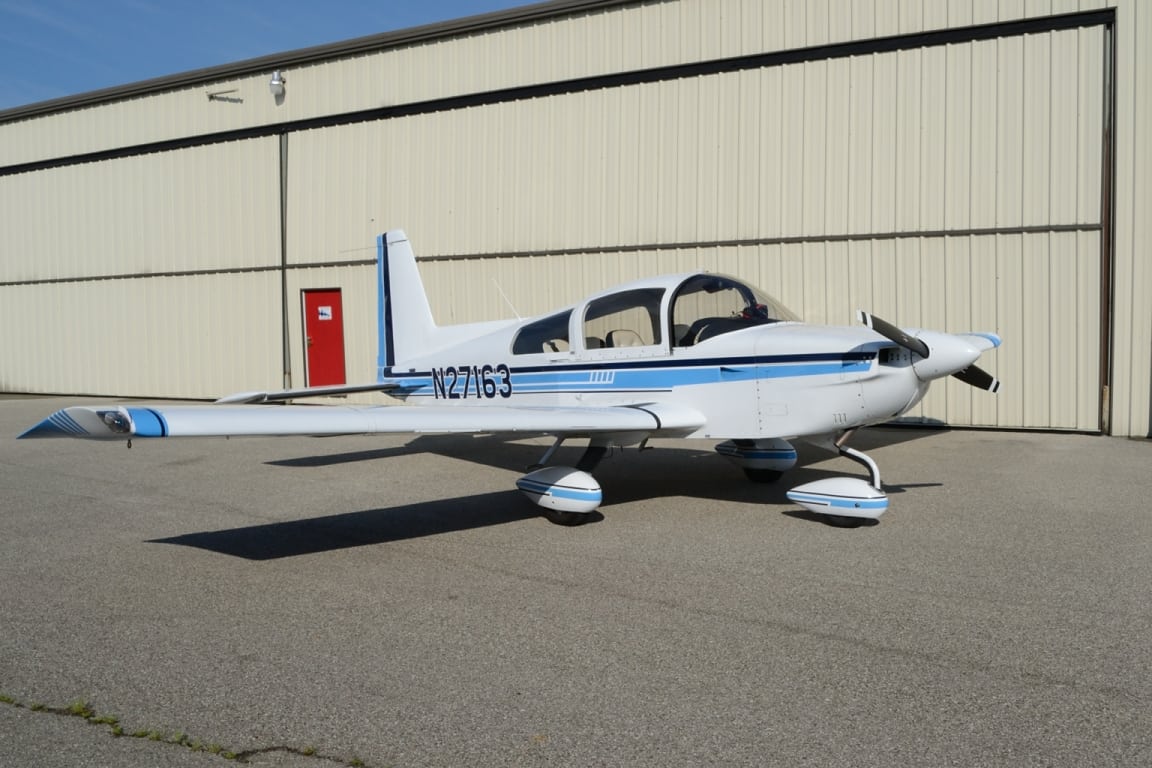
We have all seen nose fairings in bad shape, we begin here with putting all the old hardware in the new fiberglass shell. It is a time consuming process and well worth doing the correct way, better than factory new, ready for another 40 years of service.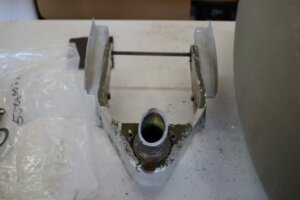
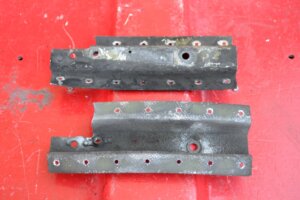
Here is the fork, with a piece of torque tube and the brackets all ready to be positioned in the new fairing for drilling the mounting holes.

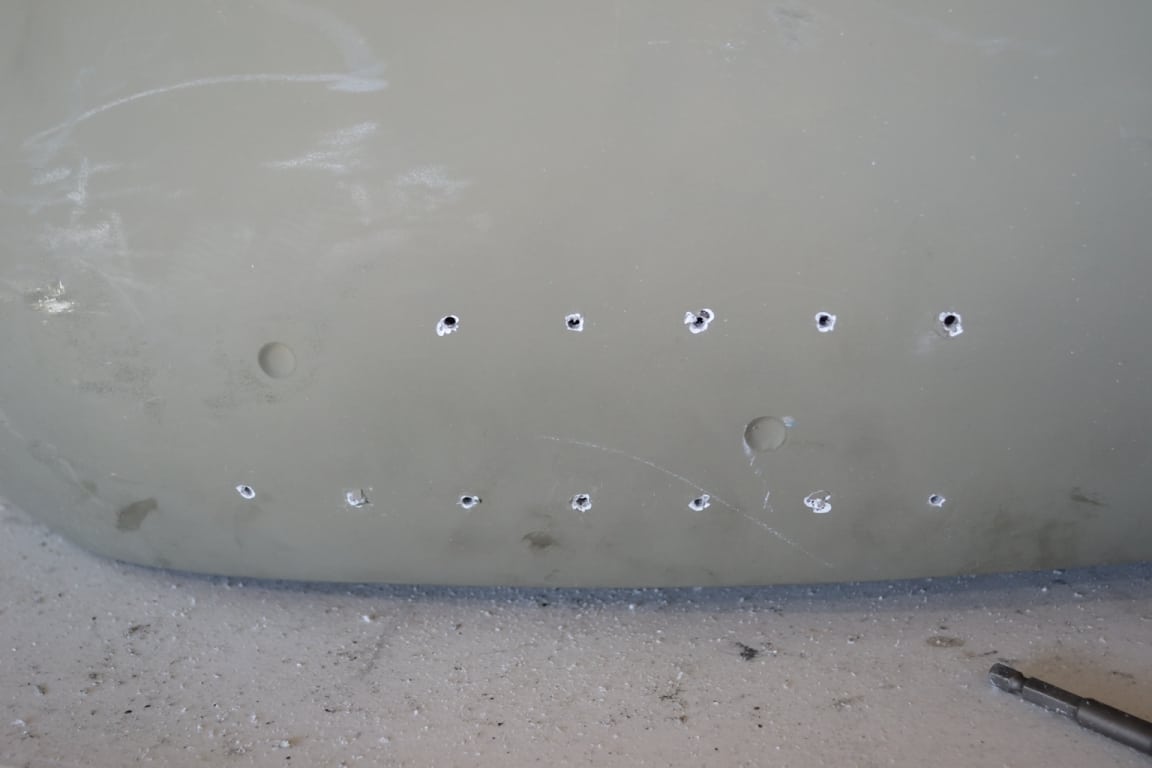
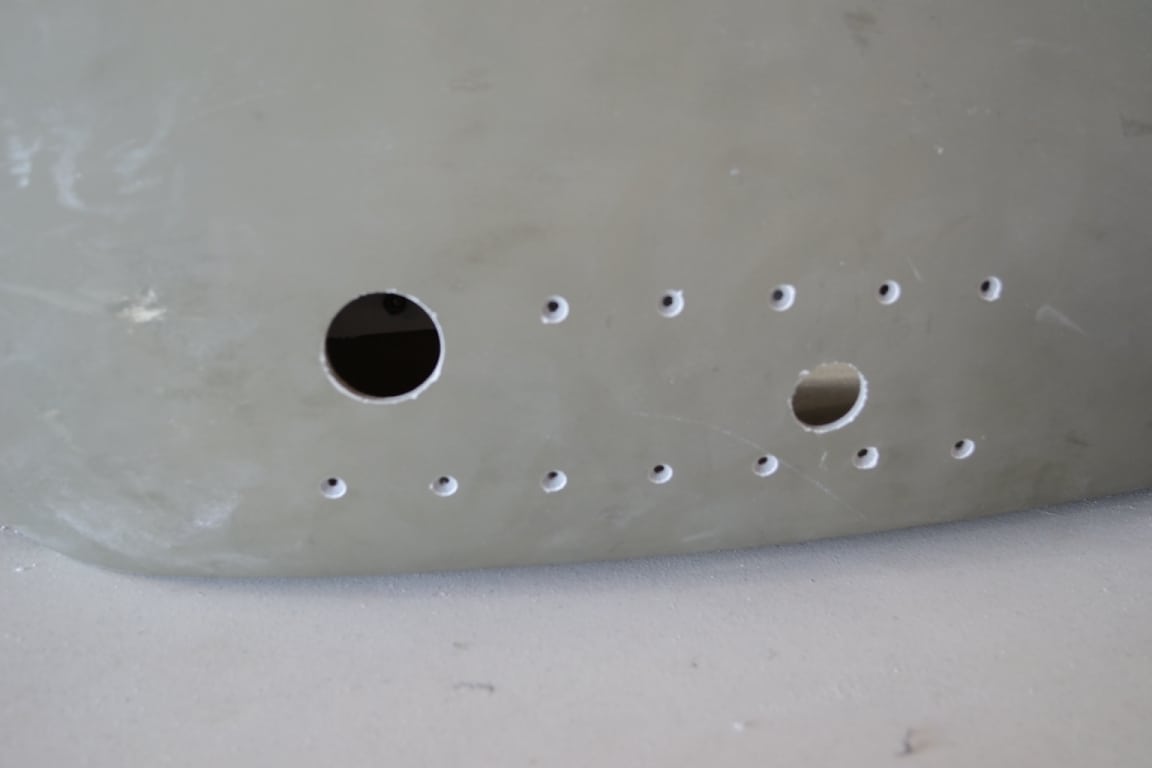
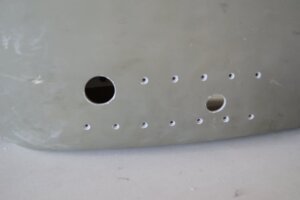
Now you can drill the holes for the entire fairing. and then with clecos to hold, drill the axle and towbar peg holes in perfect position.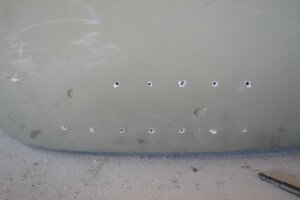
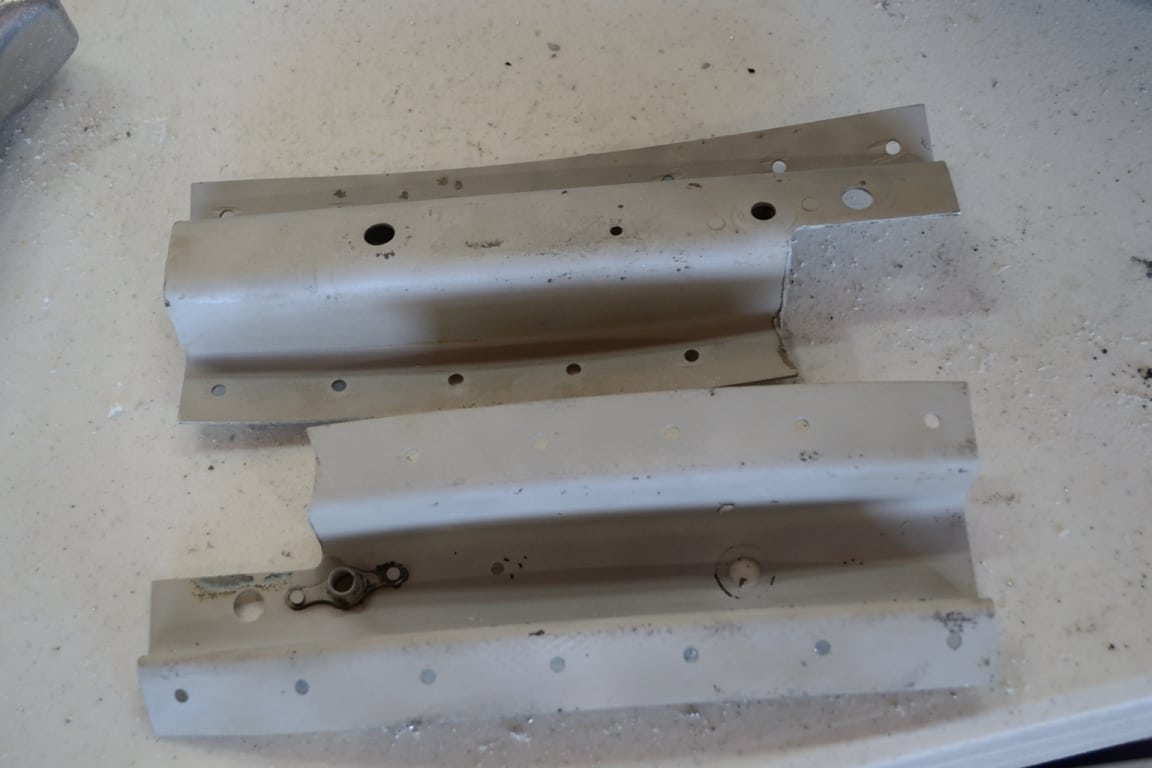
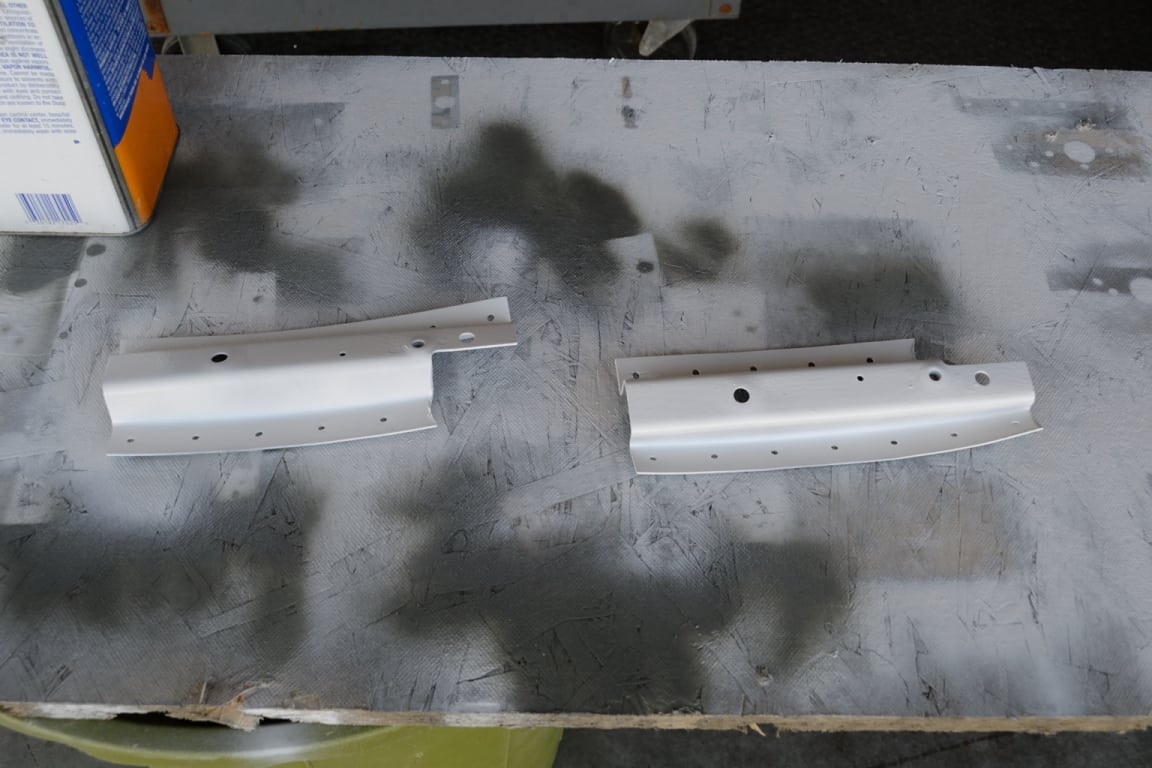
Now take those old brackets, bead blast them. Clean them with lacquer thinner, and then shoot with primer and paint. (The factory did not prime or paint, nearly install)


When the paint cures, you can mount them in the fairing.
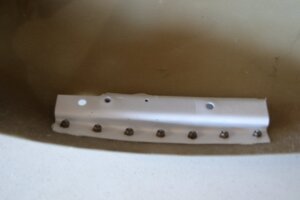

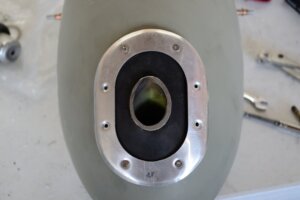
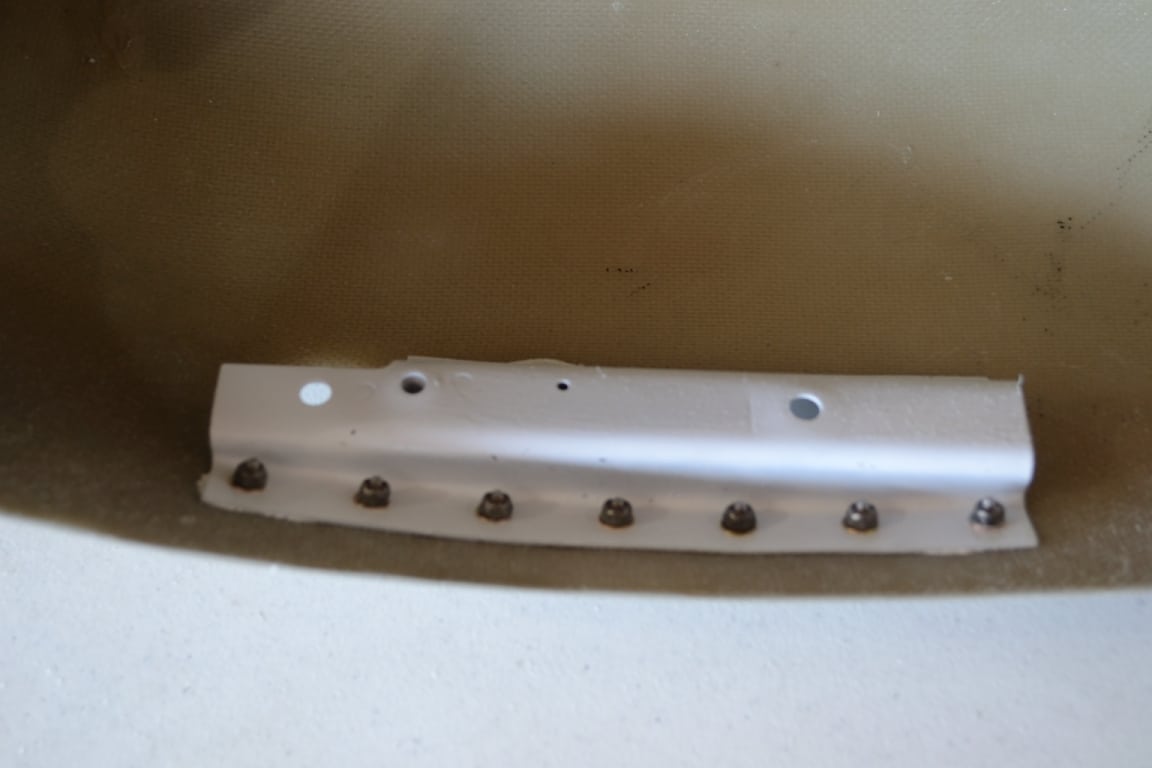
Now you are ready to drill the holes for the rivnuts that will hold the nose faring seal retaining ring in place. Then you are ready to make a custom nose seal, and you are now ready to take the fairing off to be sanded, primed, and painted to match the aircraft. Just like this!
 .
.