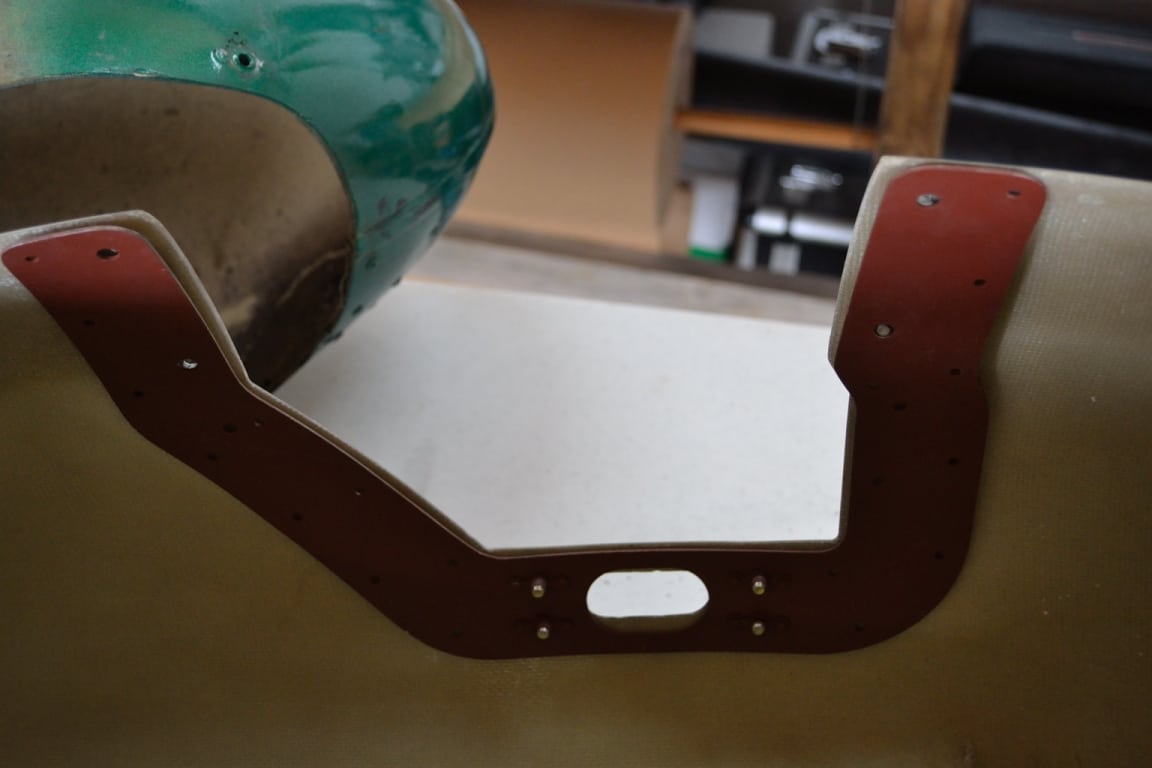
The main gear fairing redo is a bit trickier than the nose fairing. In the mains, all the pieces have to be positioned with the fairing sitting level with the ground when mounted on the plane.
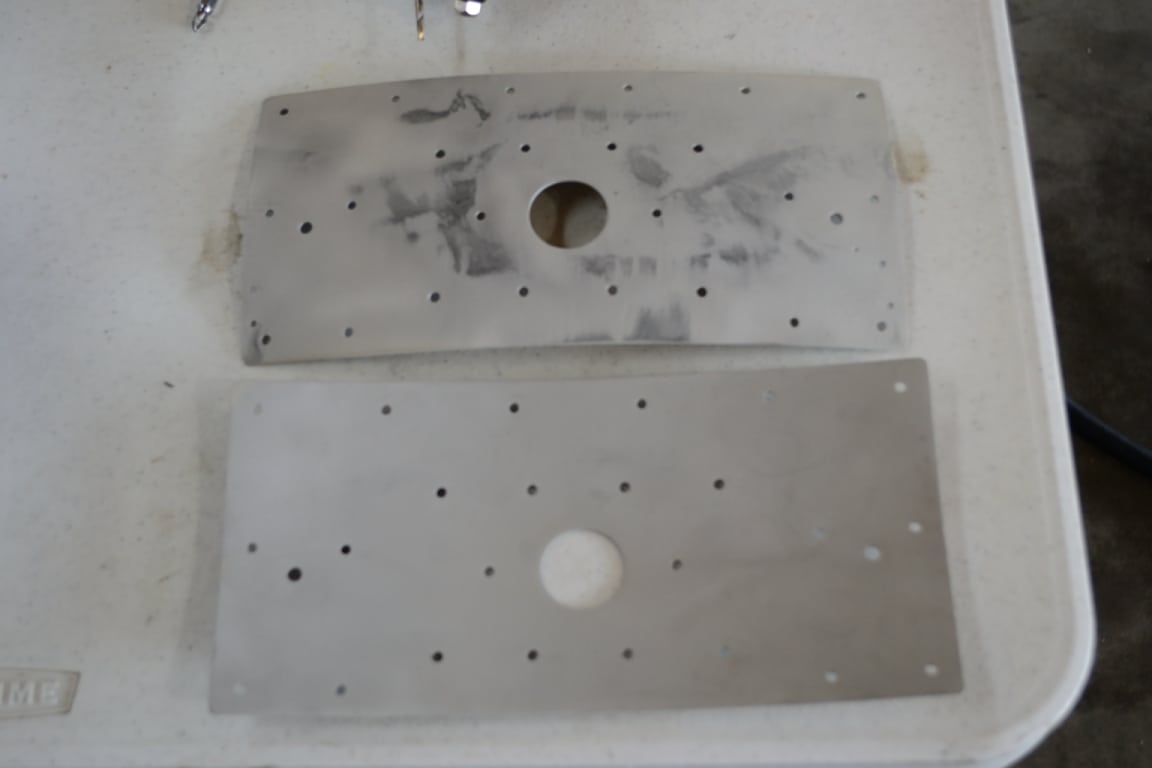
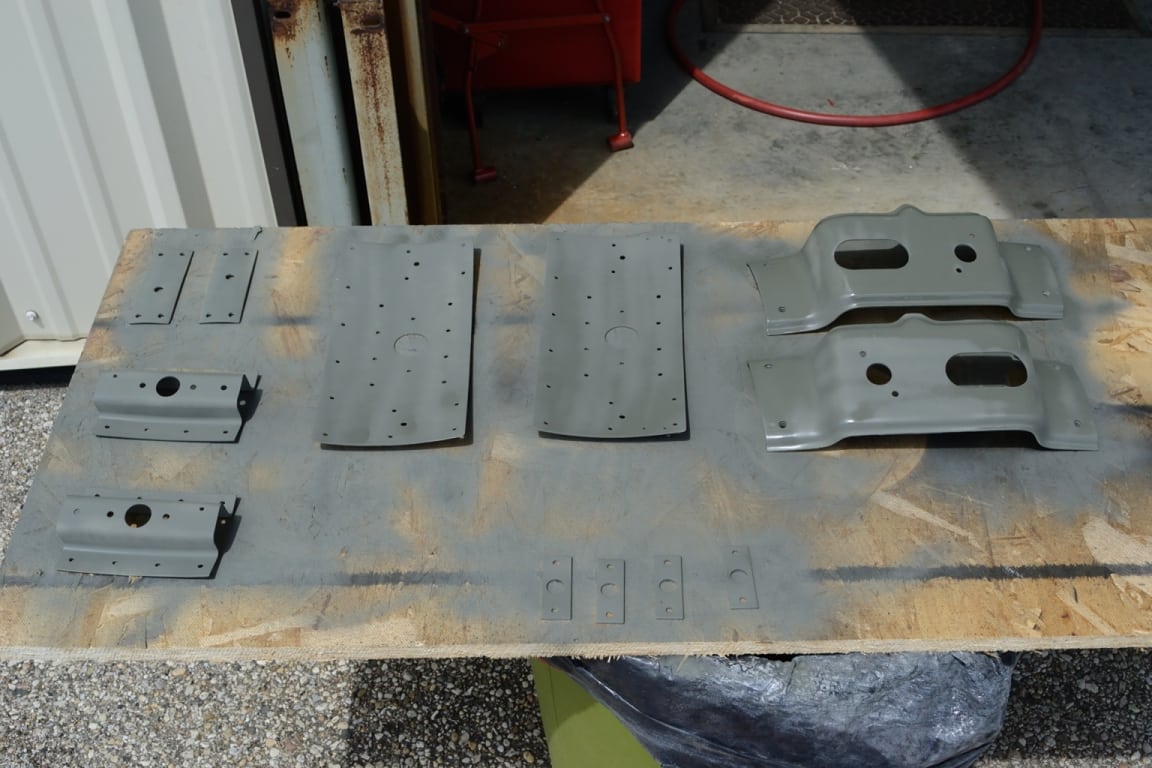
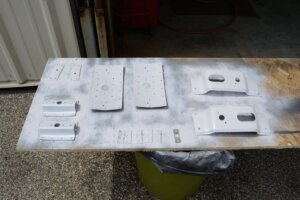
Just like the nose all the metal brackets will be bead blasted, cleaned, primed, and painted before reinstalling them in the new shells.
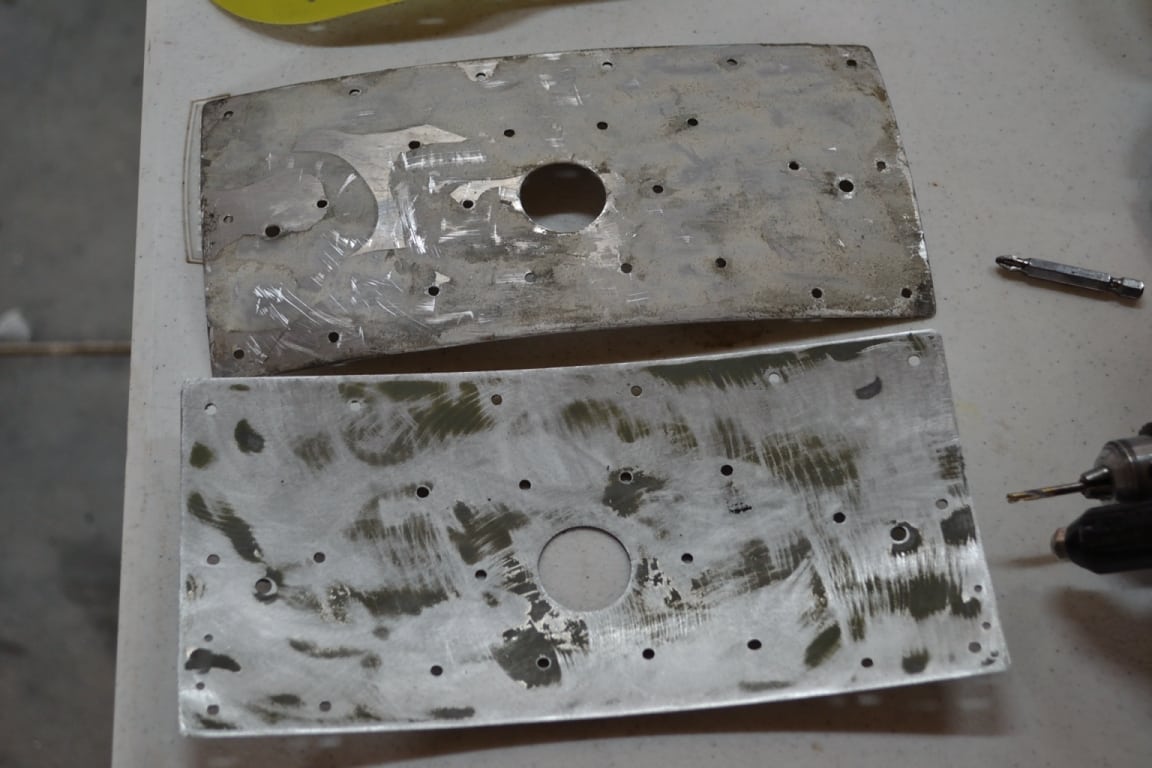
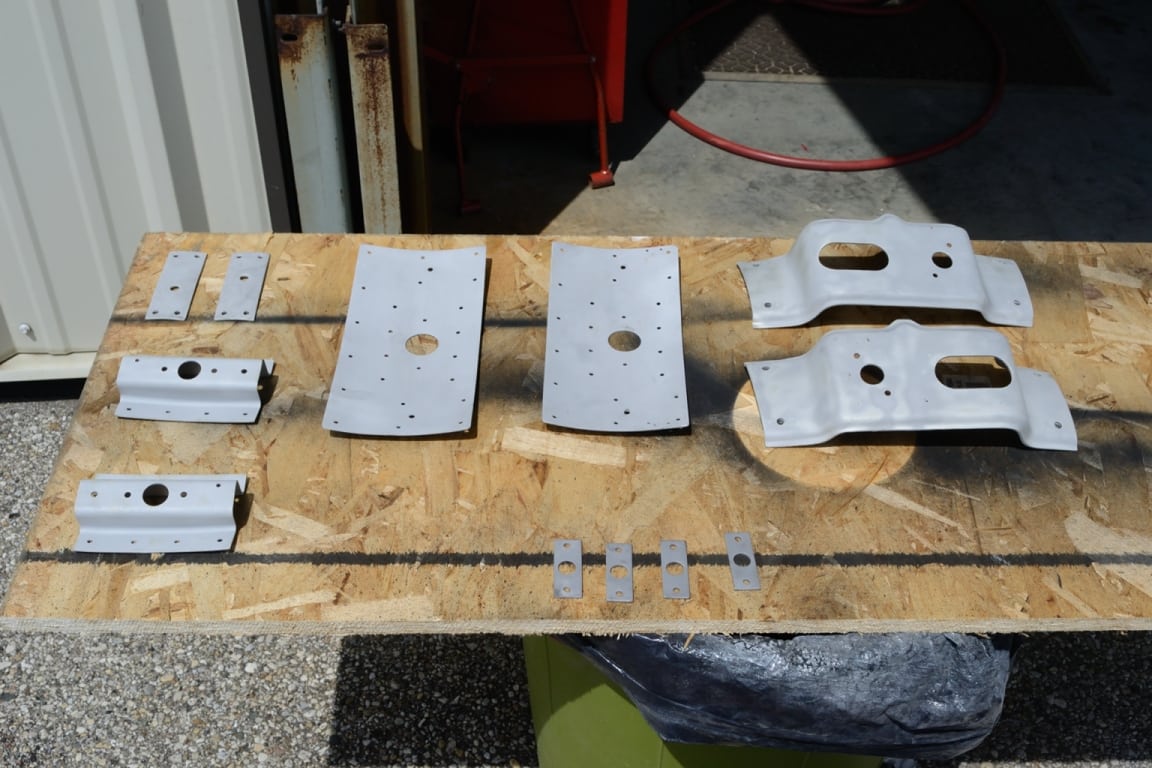
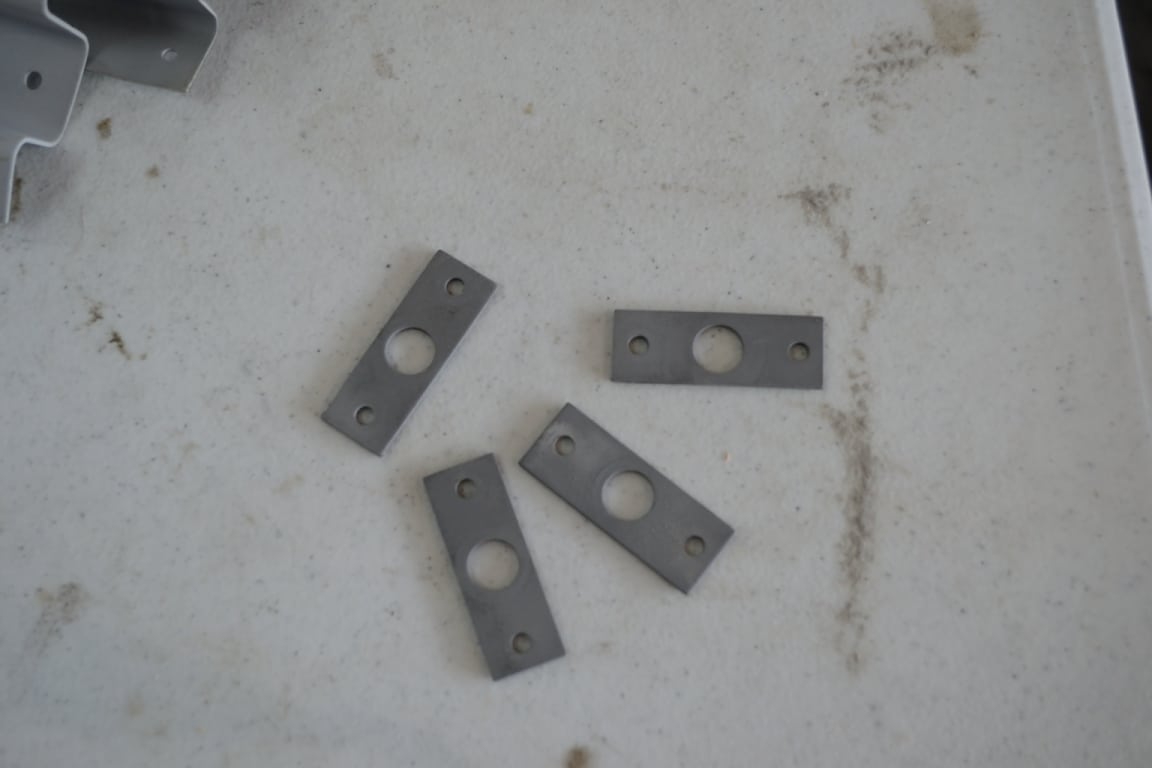
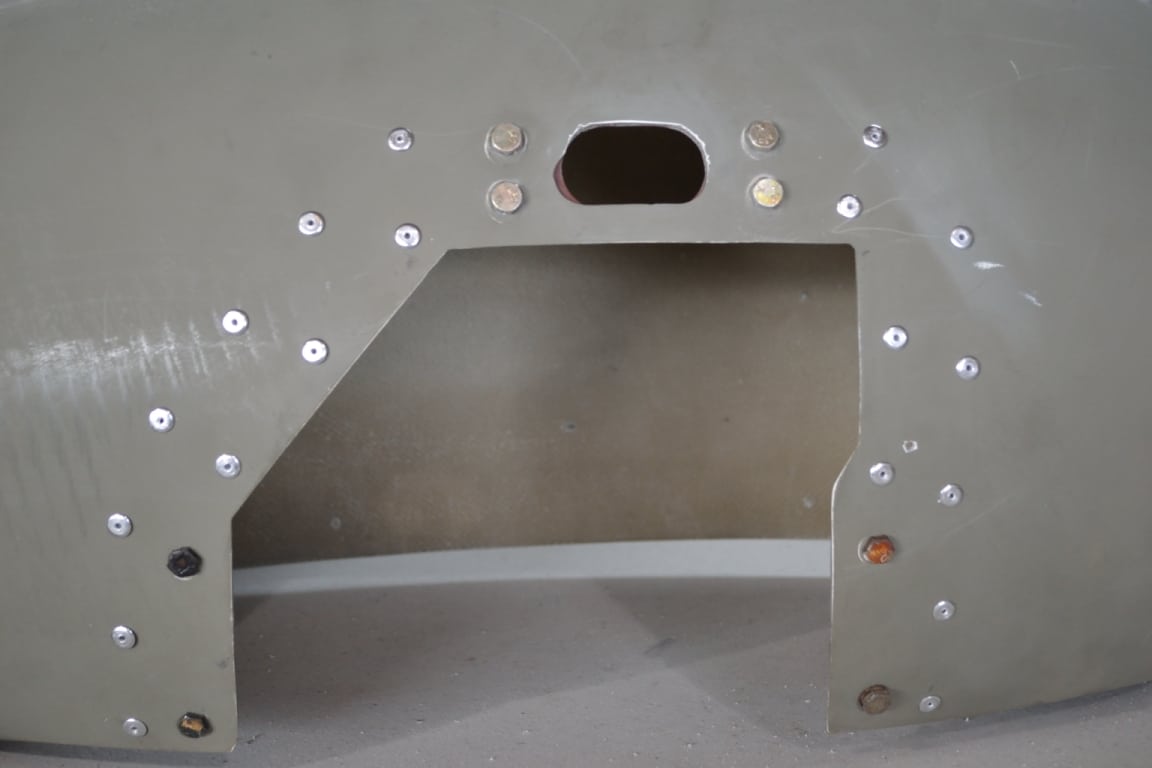
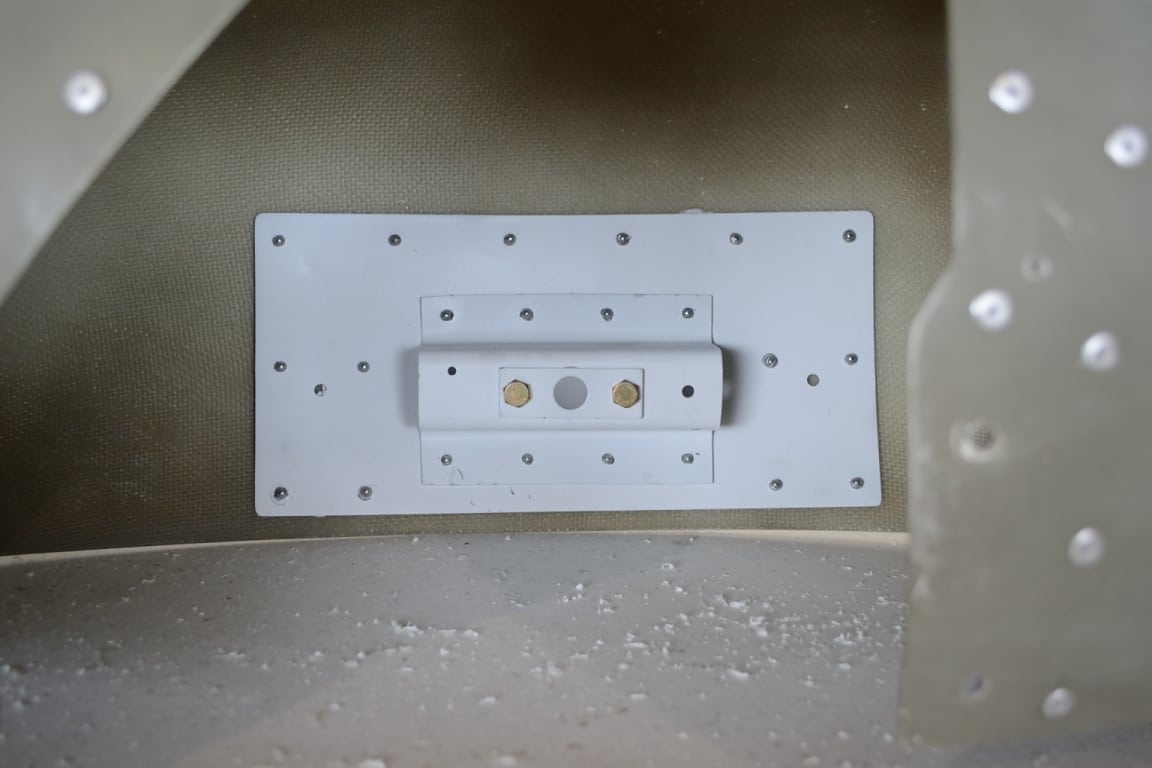
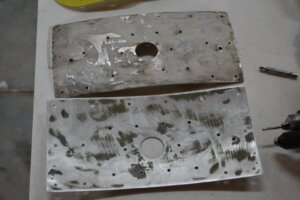
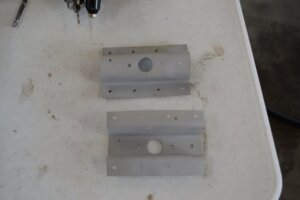
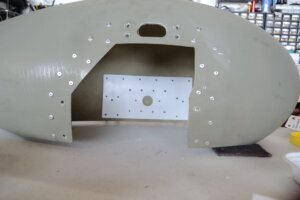
Let us look at all the pieces. There is the innerplate which adds strength to the shell where the axle will be.
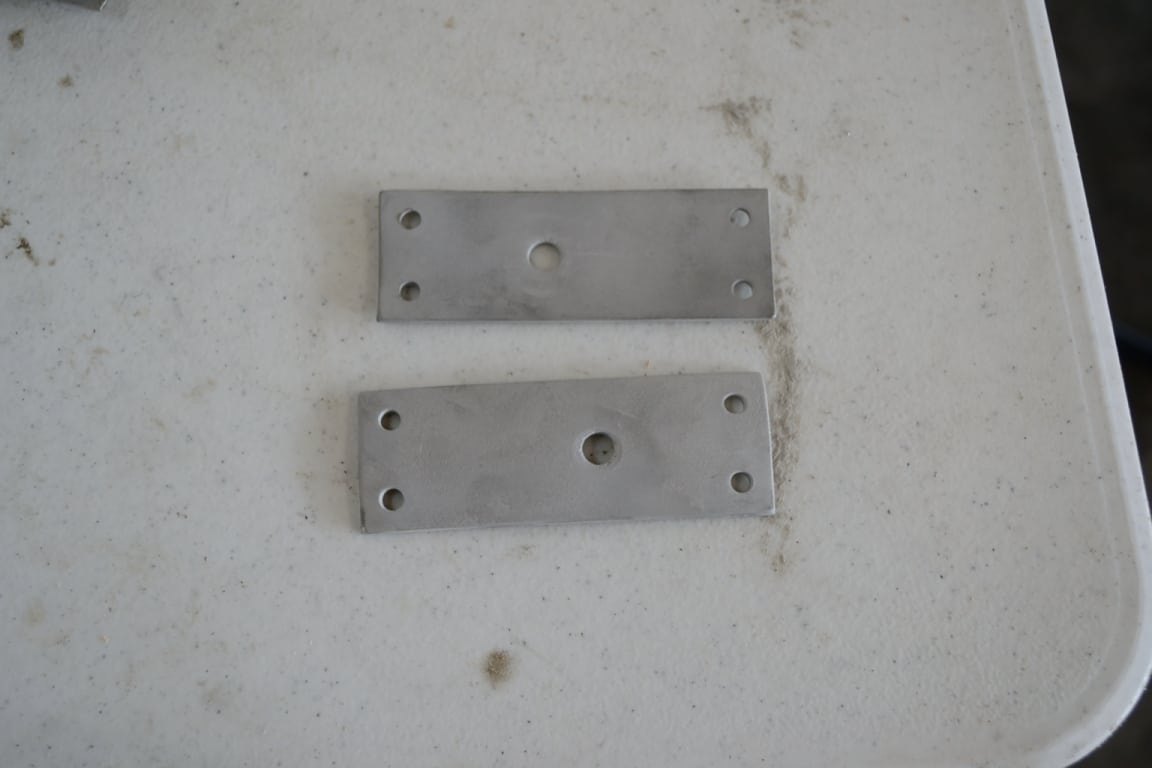
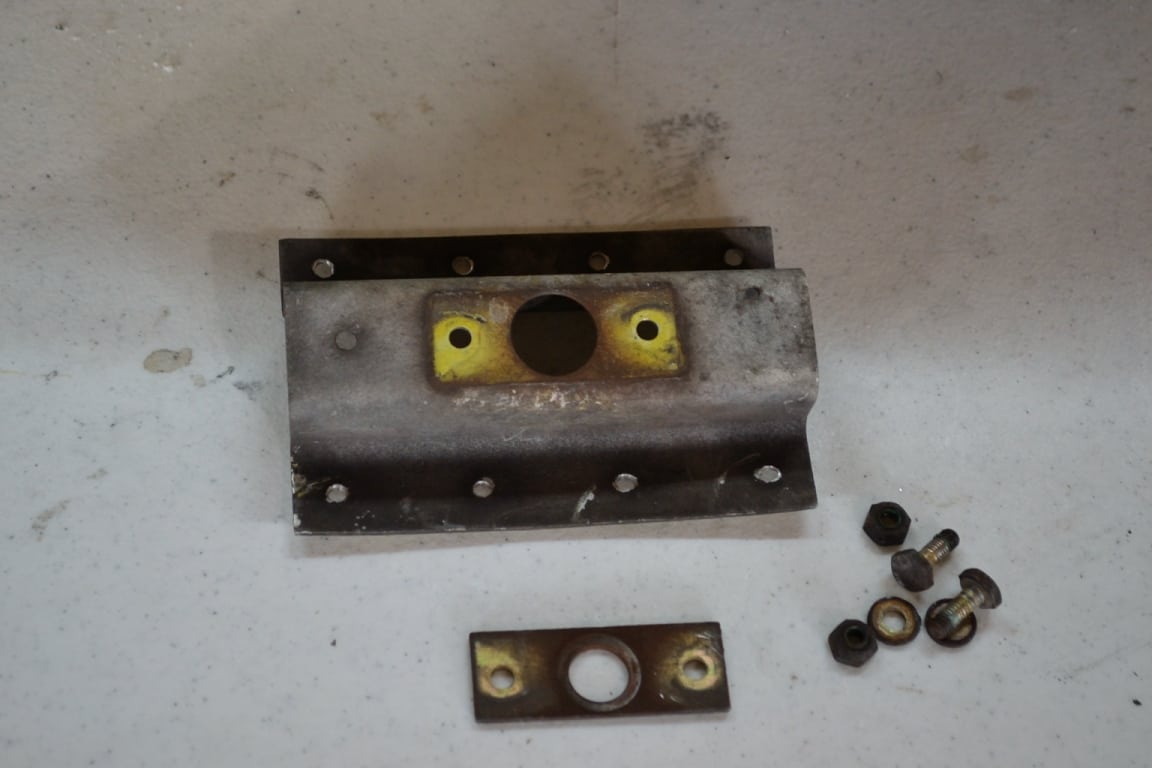
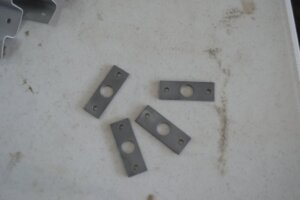
 There is the axle bracket which is one the outside whit a smaller bracket to capture the ‘Hat Washer’.
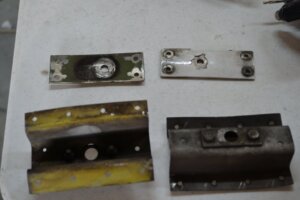 The smaller bracket above is the flex bolt bracket which mounts in the oval hole at the top of the fairing.
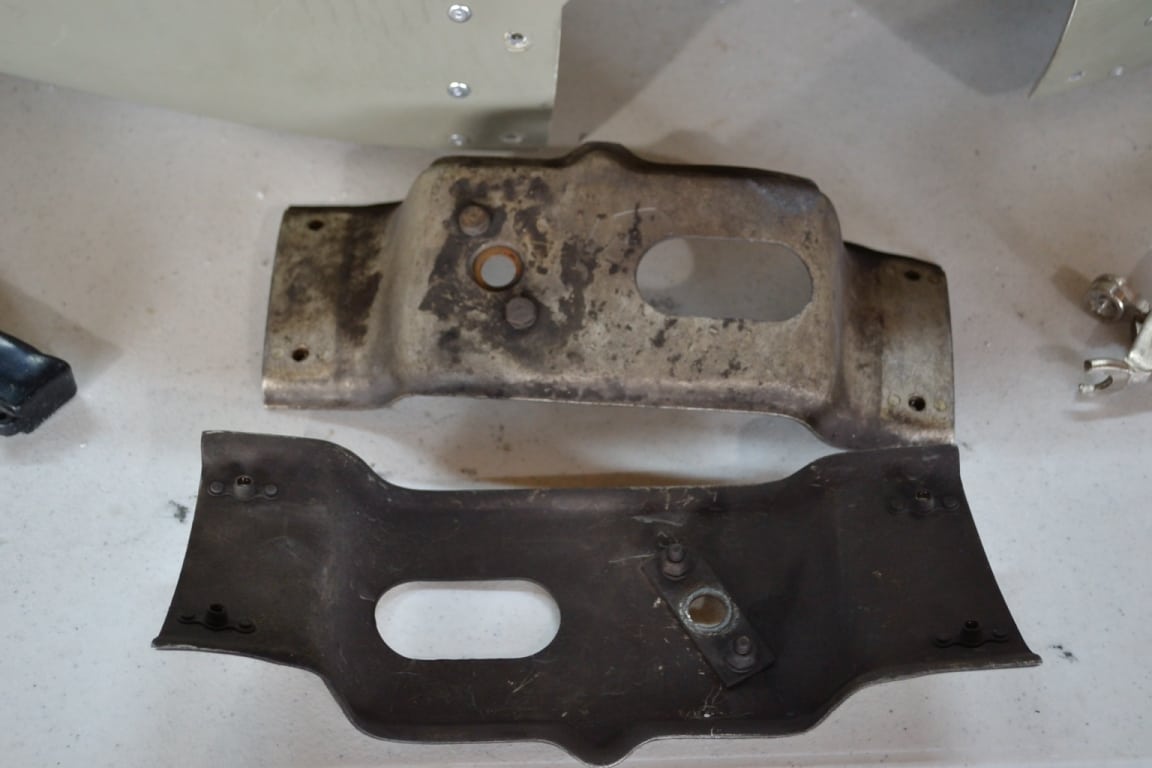
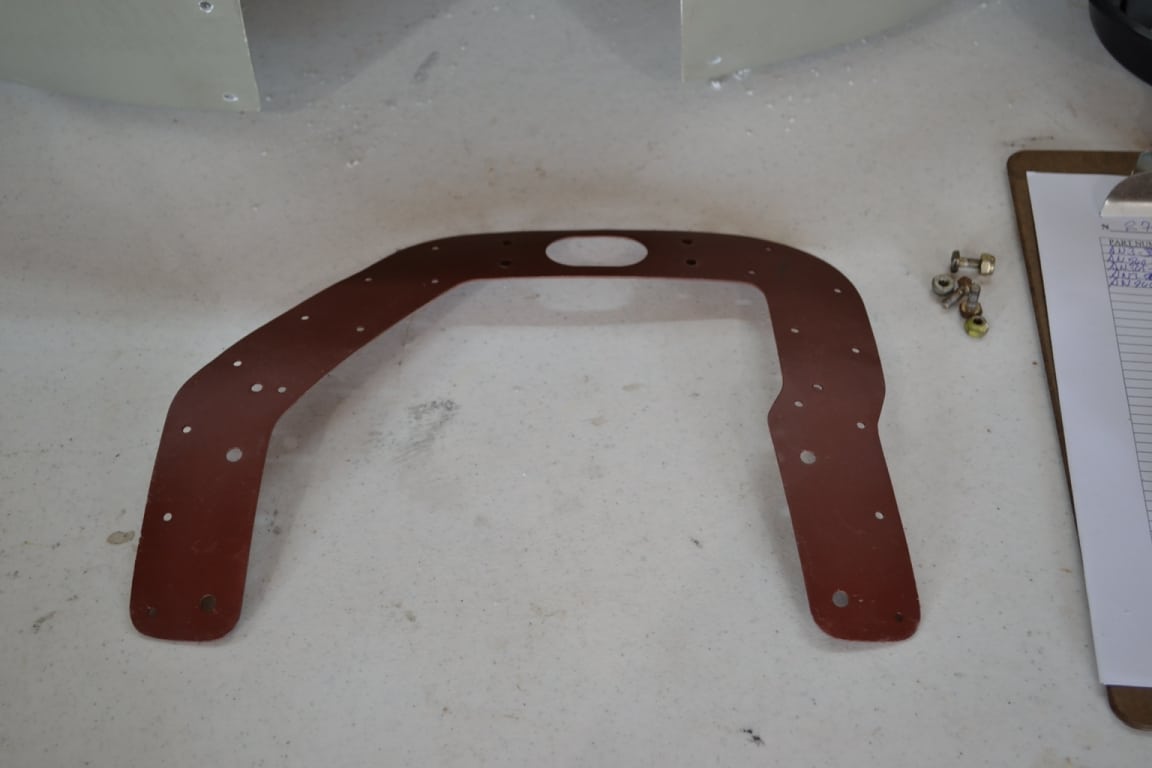
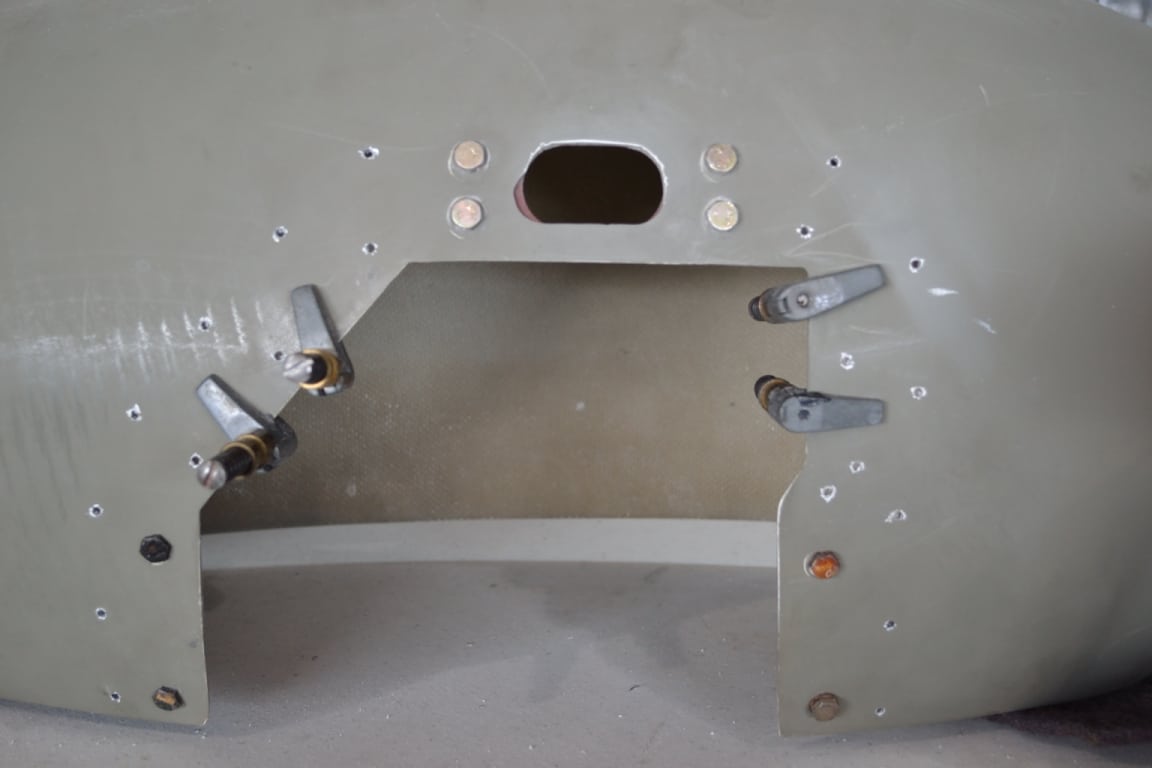
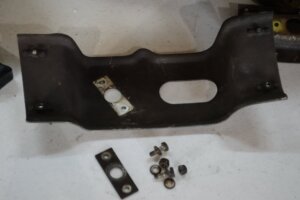
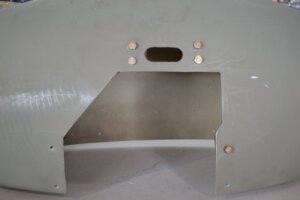
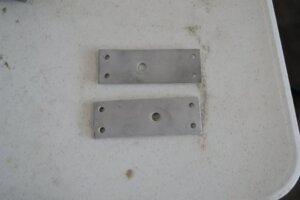 Finally there is the big complex bracket that mounts to the fairing and hold it to the main gear bracket.
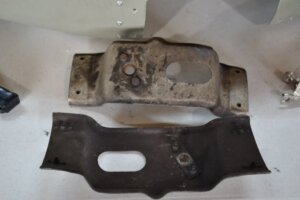
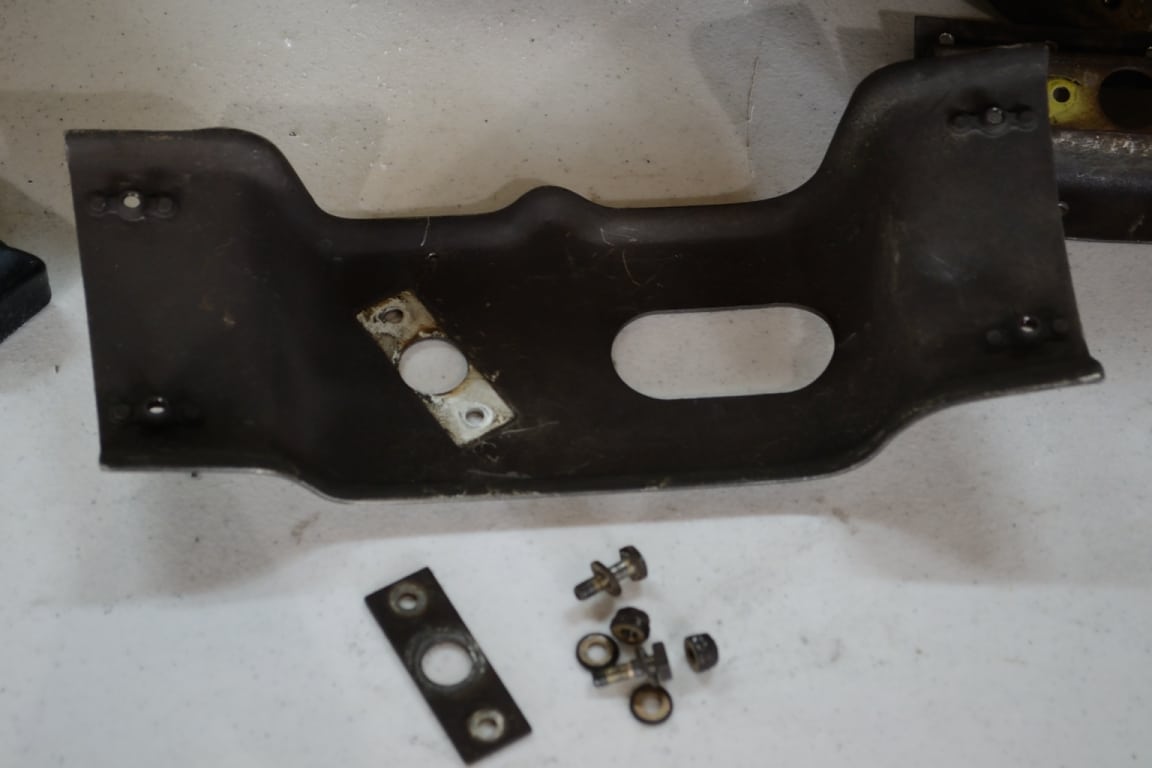
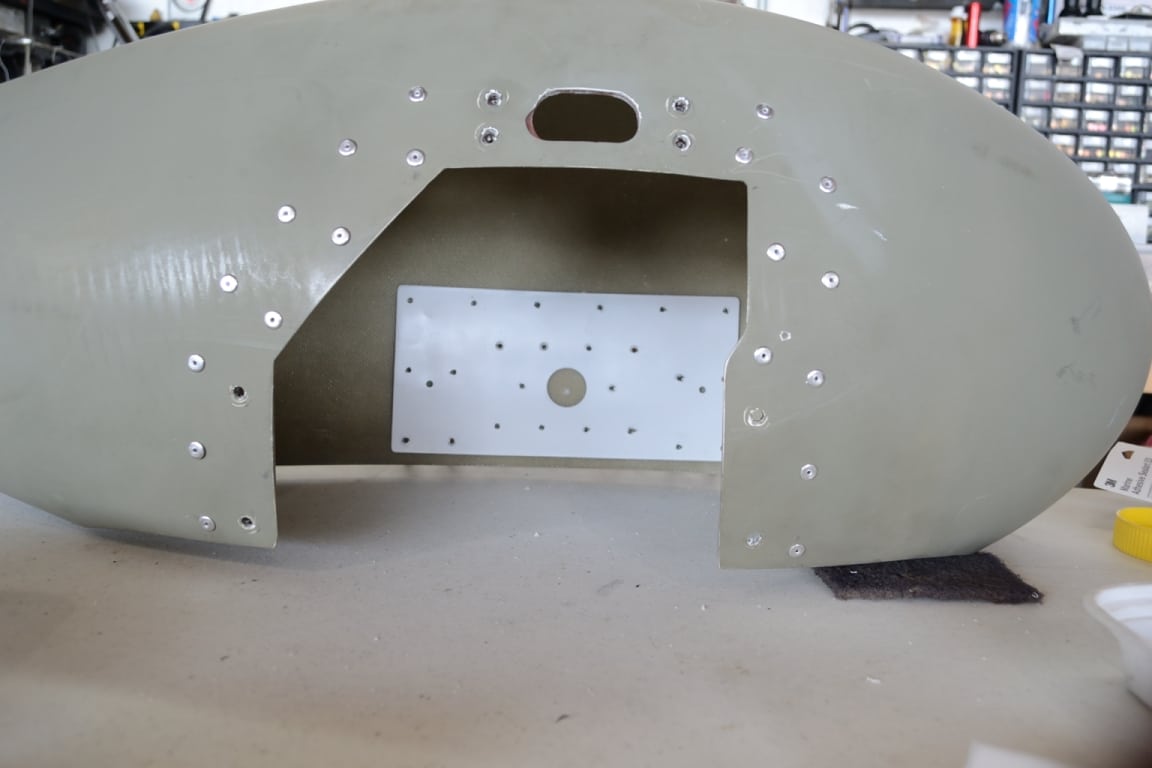
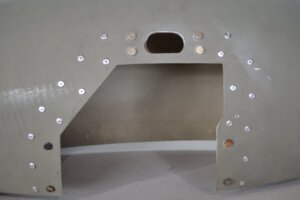
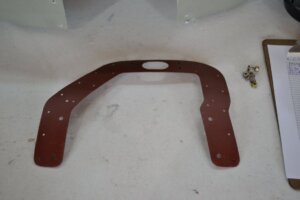 This piece is the inside metal bracket that add strength to the open on the inside of the fairing where it attaches to the gear leg.
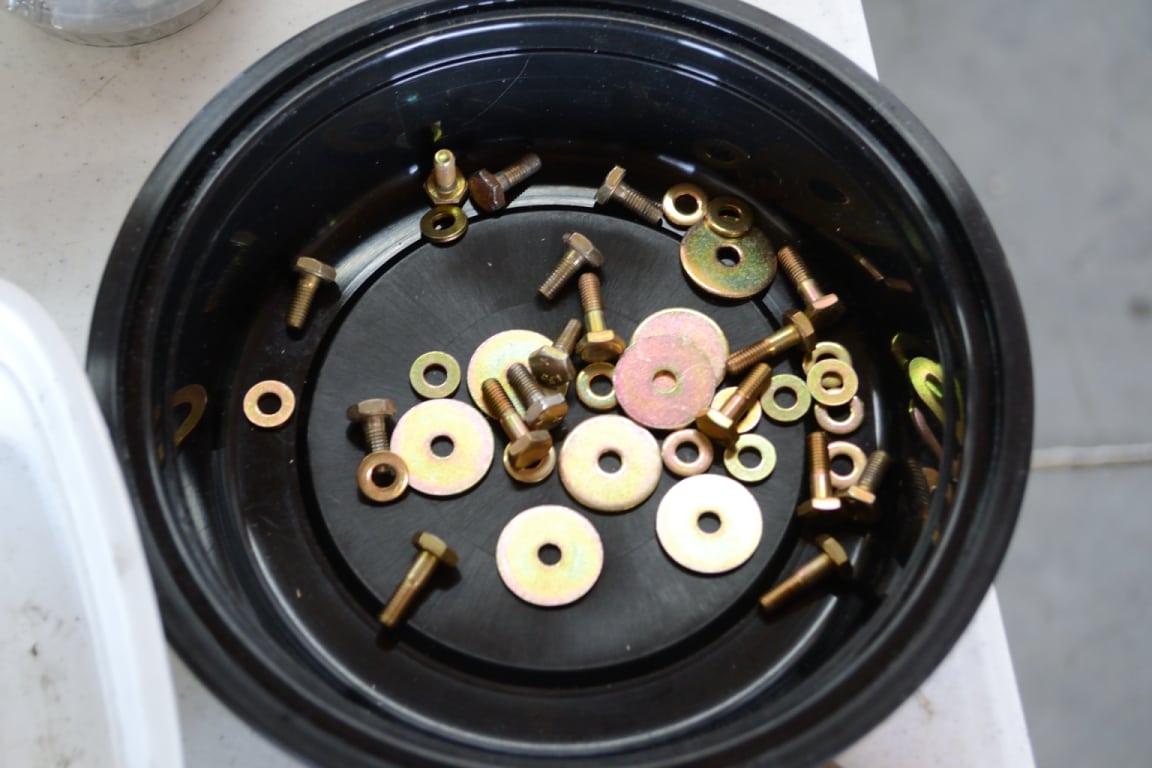
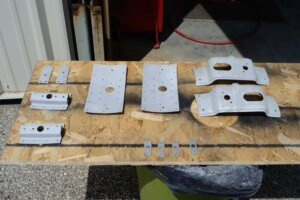
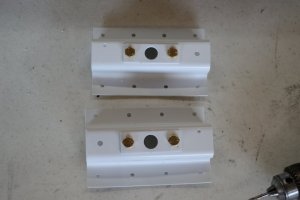
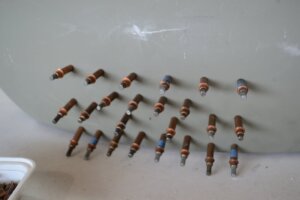
Now, take all those metal pieces, take them completely apart, throw away the old hardware, blast, clean, prime and paint and you will be ready for installation.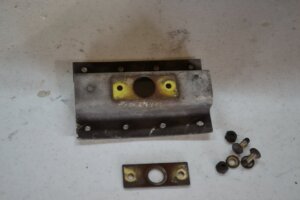

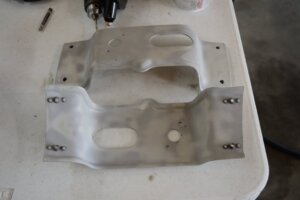
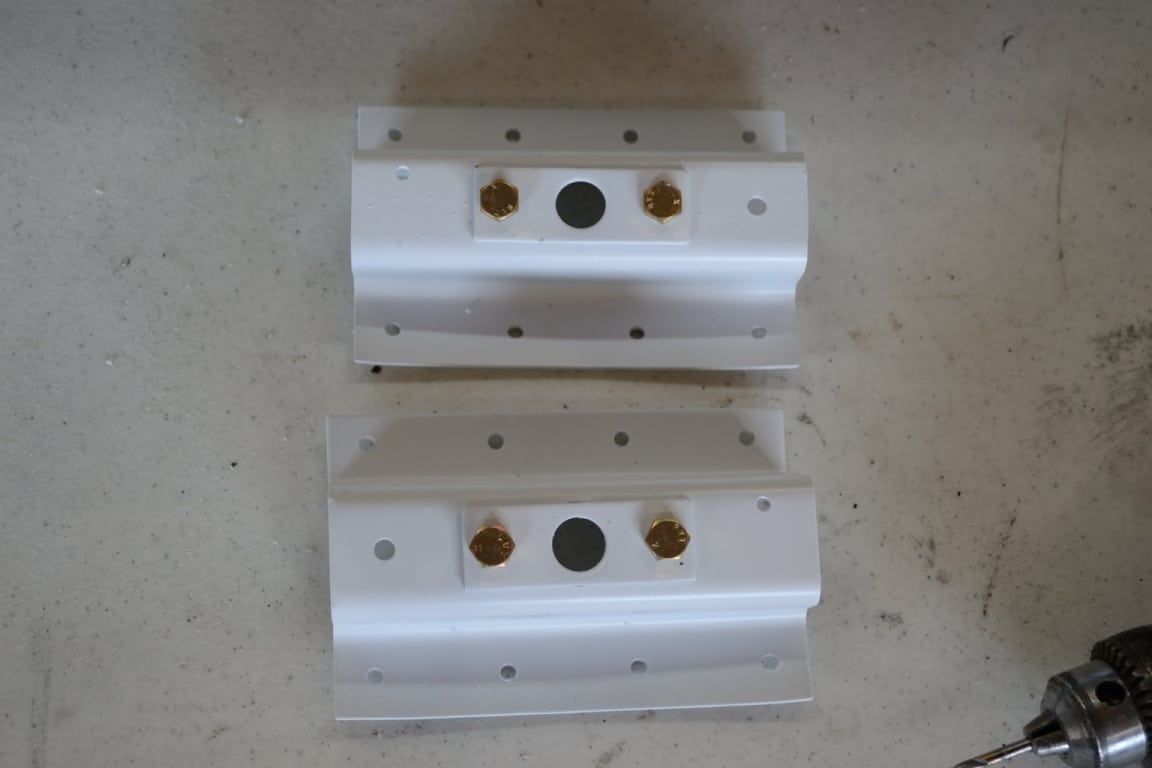
Since the shell is fragile, I start with the inside piece to support the big opening.
 Okay a few of the picture are out of sequence, but it is easy to see how it goes together.
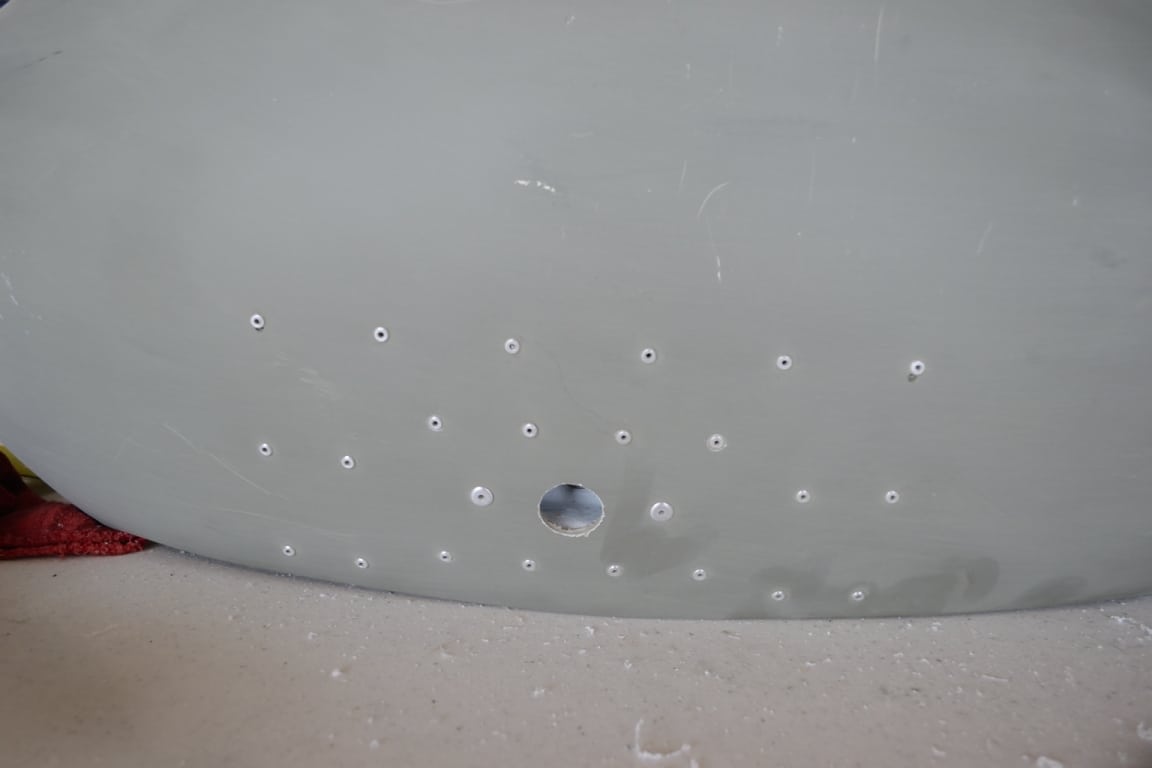
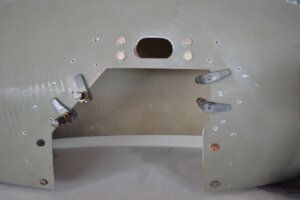
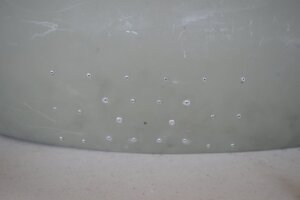
Here is the first two pieces position, held in position with the sealant and then rivets.
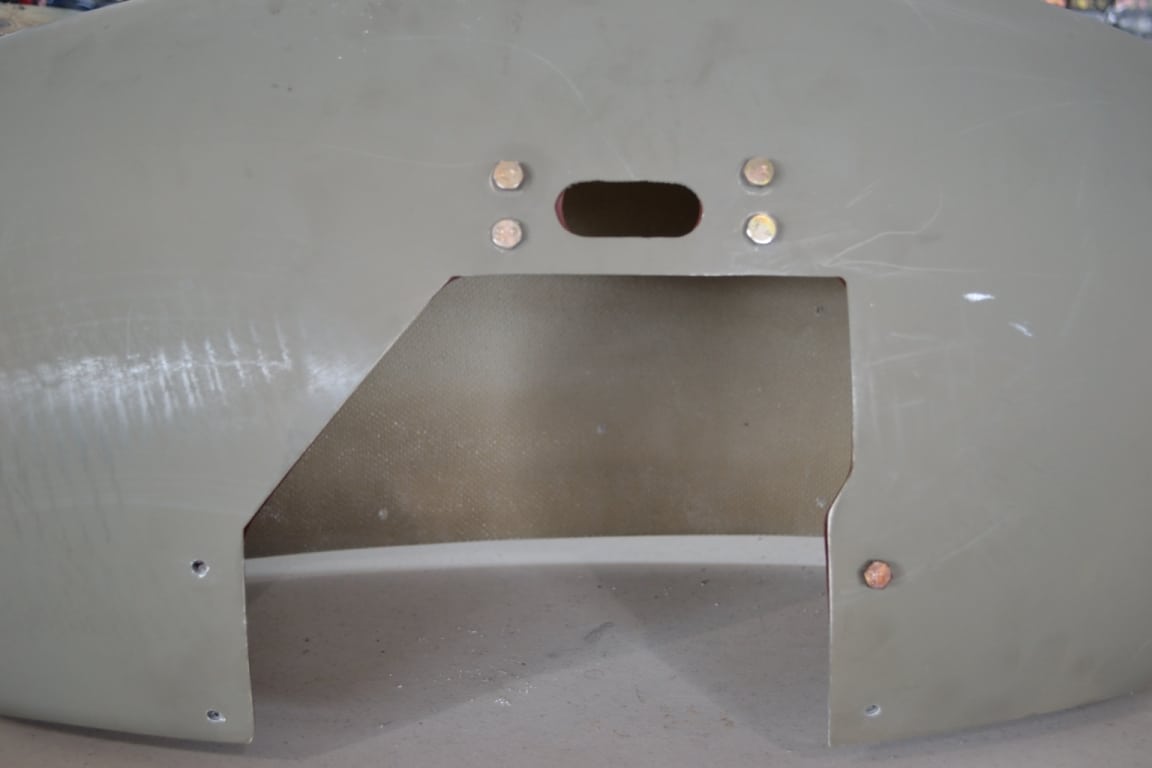
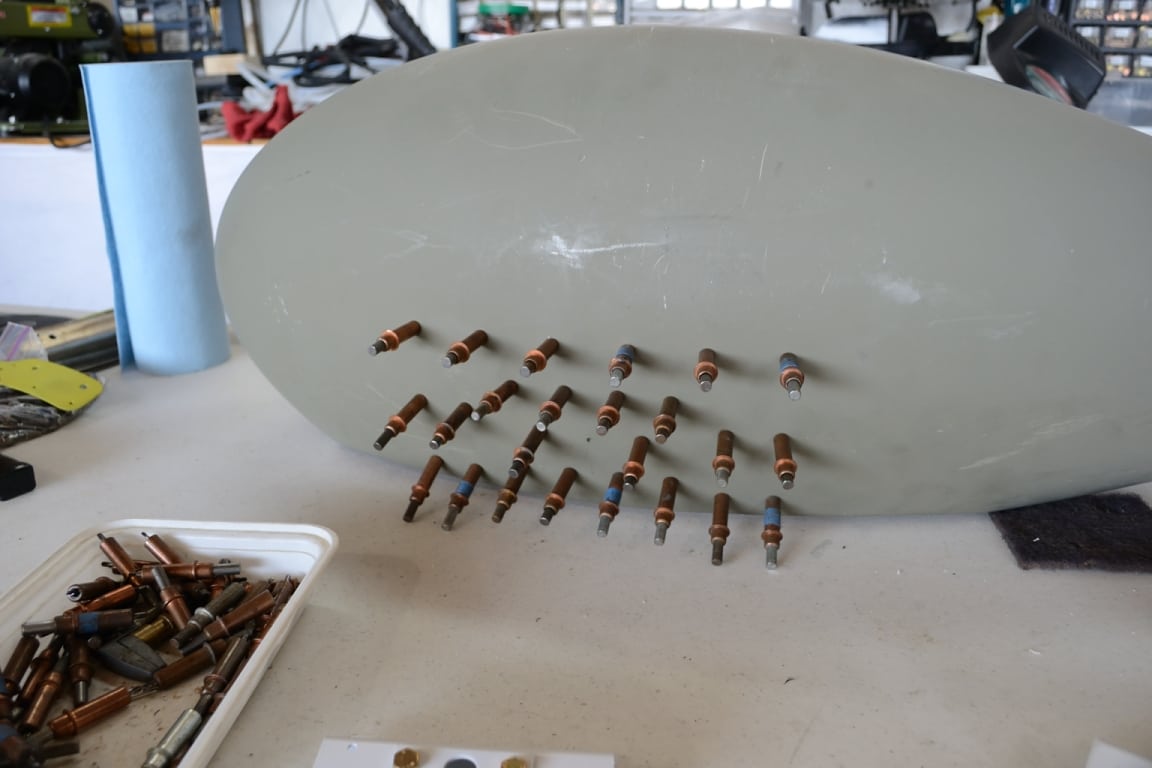
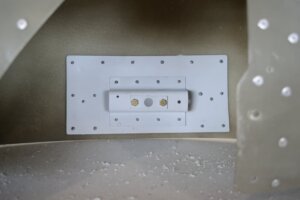 Now the holes are drilled, clecoed in place and then riveted.
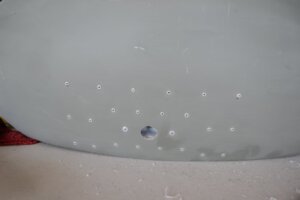

 Finally all new hardware.
 Now prime the shell(s).
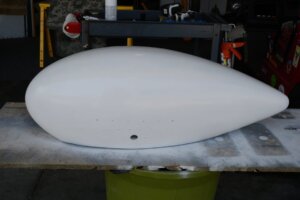 And now Paint and stripe to match the plane.
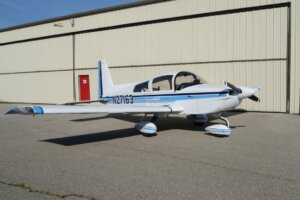
 .
.