Timothy,
I just did one today as part of an annual, it was to the fuel sump on a Cheetah, but the principle is the same.
Here are the basics:
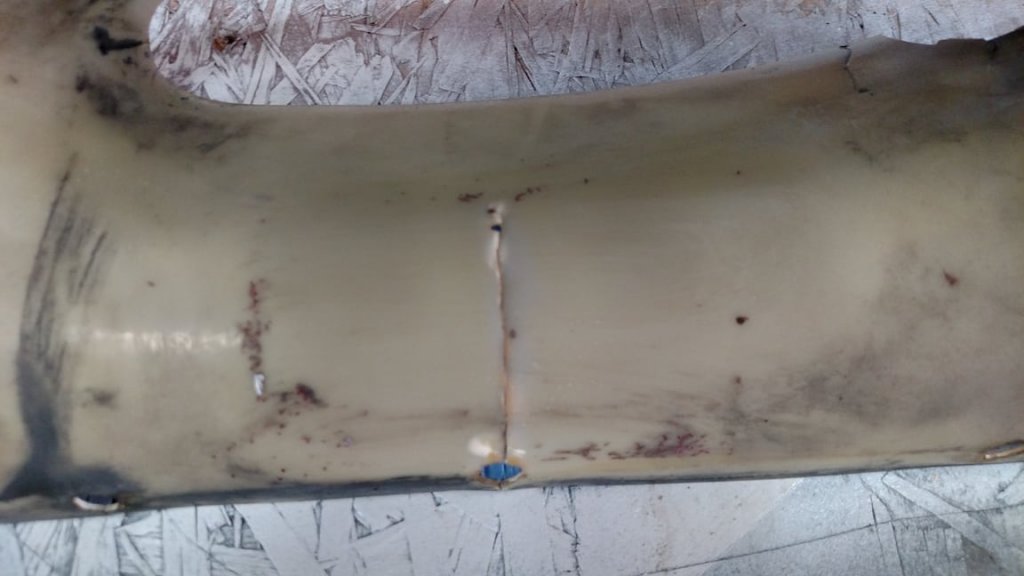
1) Clean the repair area. I used Lacquer Thinner and paper towel. You can see in the picture that the crack had been stop drilled twice, but not repaired.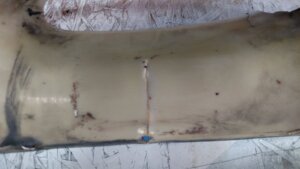
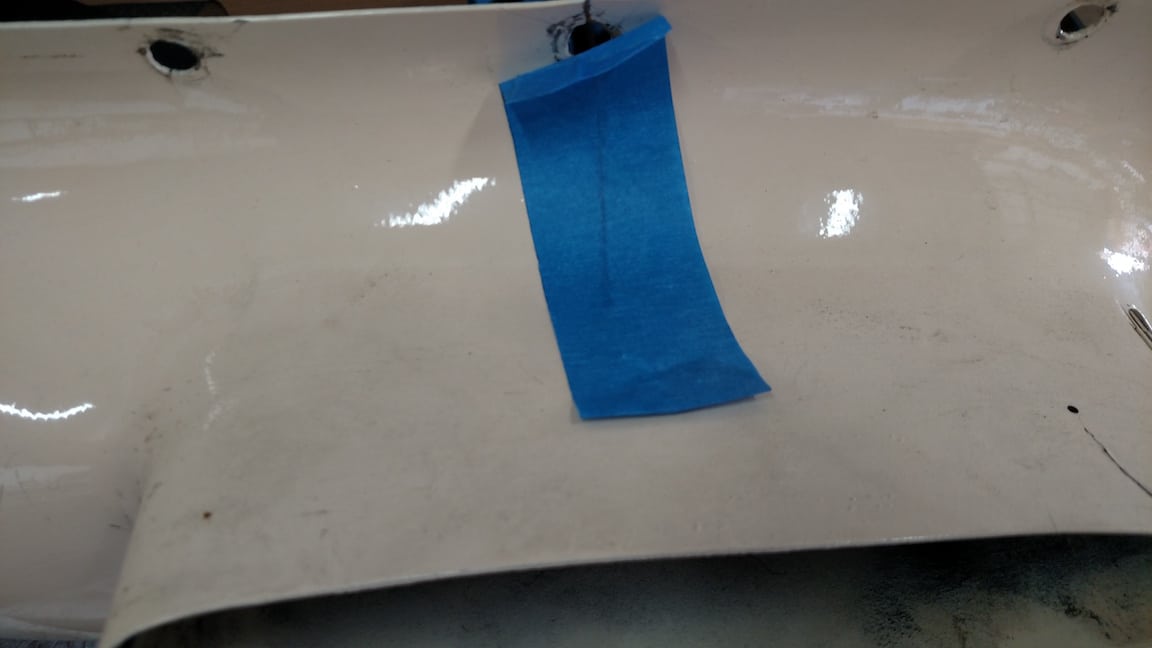
2) Put a piece of blue tape on the outside of the crack after aligning the pieces so they match up.
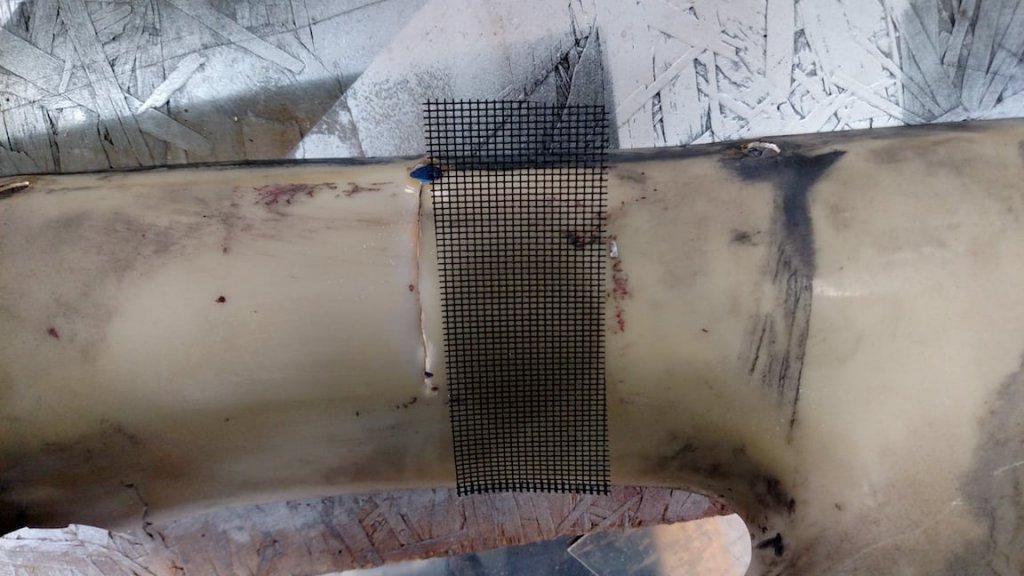
3) Cut a piece of nylon screen that overlays about an inch each side of the crack. I used this area due to the fact that the sump cover was ready to break into two.
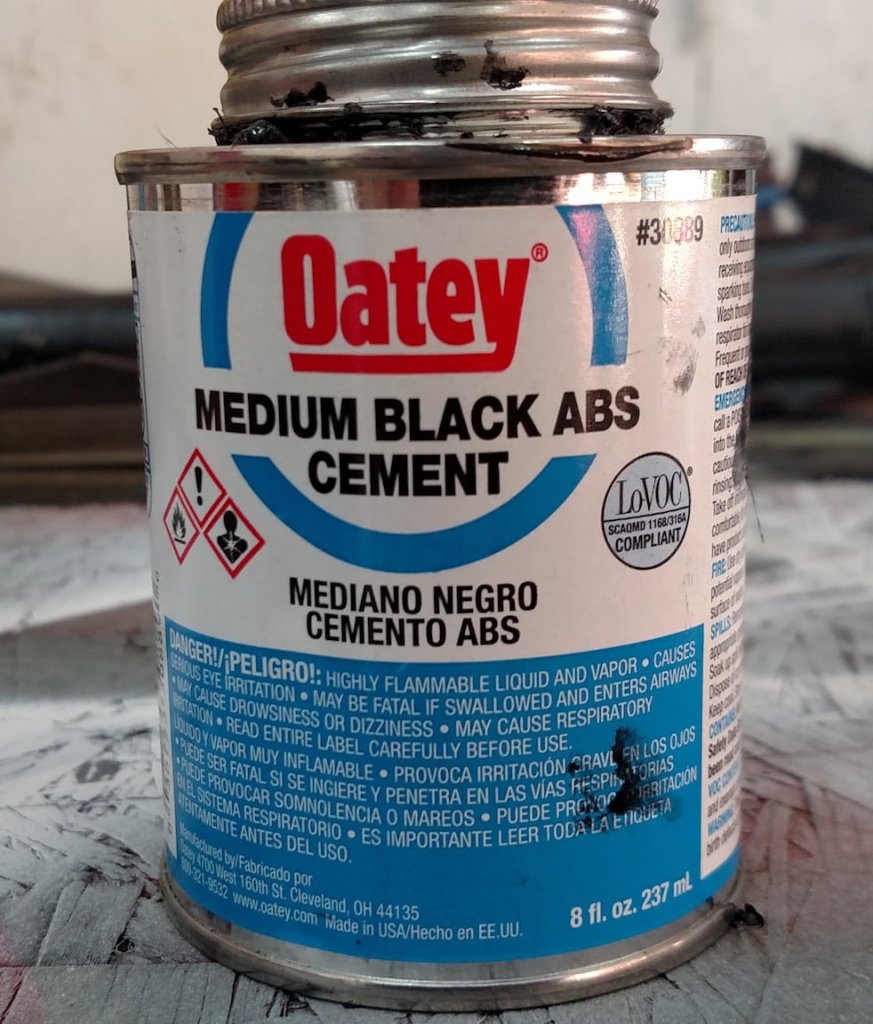
4) Spread a bit of the ABS cement (I used medium ABS Black cement) to that the screen will stick to it. You can now move the screen into final position. Since the crack I was repairing started in one of the screw holes, I went all the way to the edge of the sump and almost to the leg section for the added strength. I will drill out the patch where the hole is.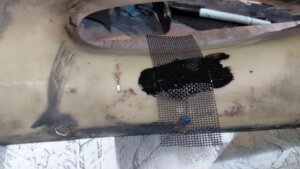
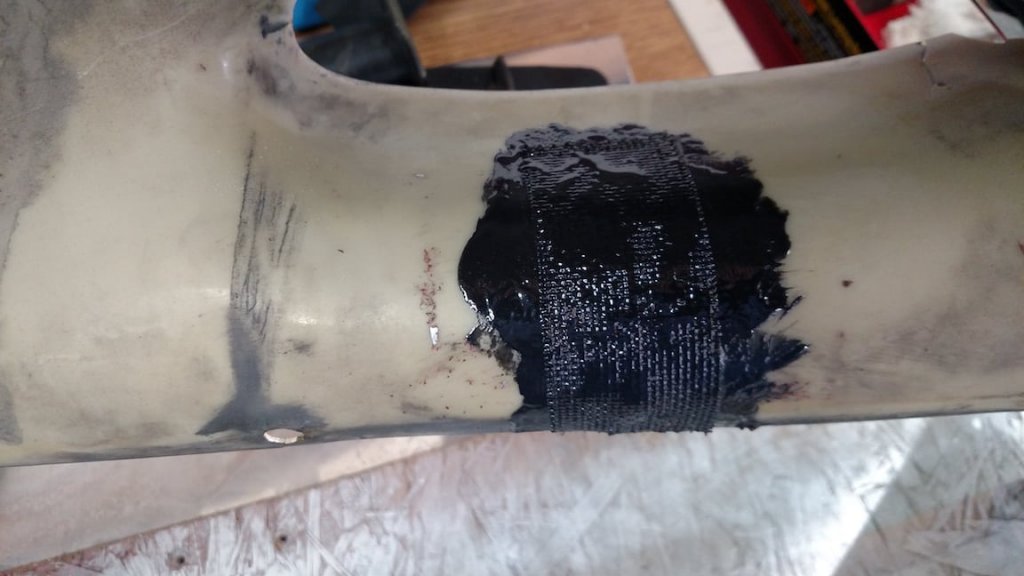
5) Now coat all the screen with cement. With the application ball that came with the can it only take a few minutes to coat this. Then place overnight to let cure.
Here is the product I use available at all the big box hardware/home stores.
Cheers
Roscoe
Yankee-Aviation.com
513-519-7008
 .
.