Home › Forums › Restorations › Cheetah – Window and Plastic Restoration
Tagged: canopy windows, interior, plastic, Restoration, windows
- This topic has 1 reply, 2 voices, and was last updated 8 years, 2 months ago by
 Tracy Norris.
-
AuthorPosts
-
-
April 30, 2016 at 21:42 #4477
 Joe CampbellParticipant
I contacted Roscoe who agreed to complete the extensive renovations begun by Bob Steward. So, Roscoe fetched my plane and flew it to his shop (KHAO) in Hamilton, OH–about a two hour flight from KROA.
The goal was to install a new windshield and new windows all around, and to check/fix/paint the plastic or if in bad shape, replace with new.
Over the next many weeks, I was in contact with Roscoe daily as we agreed upon what renovations to perform and in what order. Roscoe always had all the data at hand so that we always made a sensible decision about what needed to be done immediately and what could be done incrementally in the following months. Roscoe kept me well informed about what the overall plan, where he was in that plan, and sent copious photos of the progress. When he discovered something that would easy to fix at that moment with the plane torn apart, but difficult later when it was reassembled he phoned and we made the decisions cooperatively. We spoke on the phone and he emailed me pictures of progress almost daily.
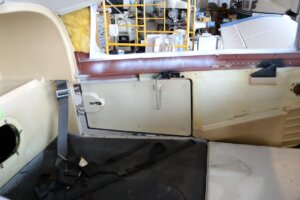
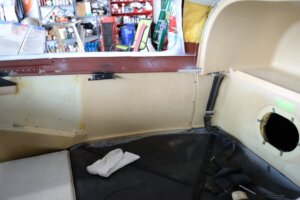
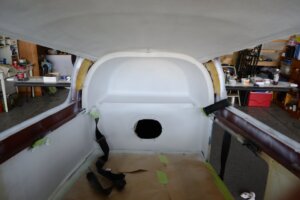
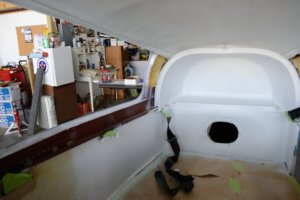
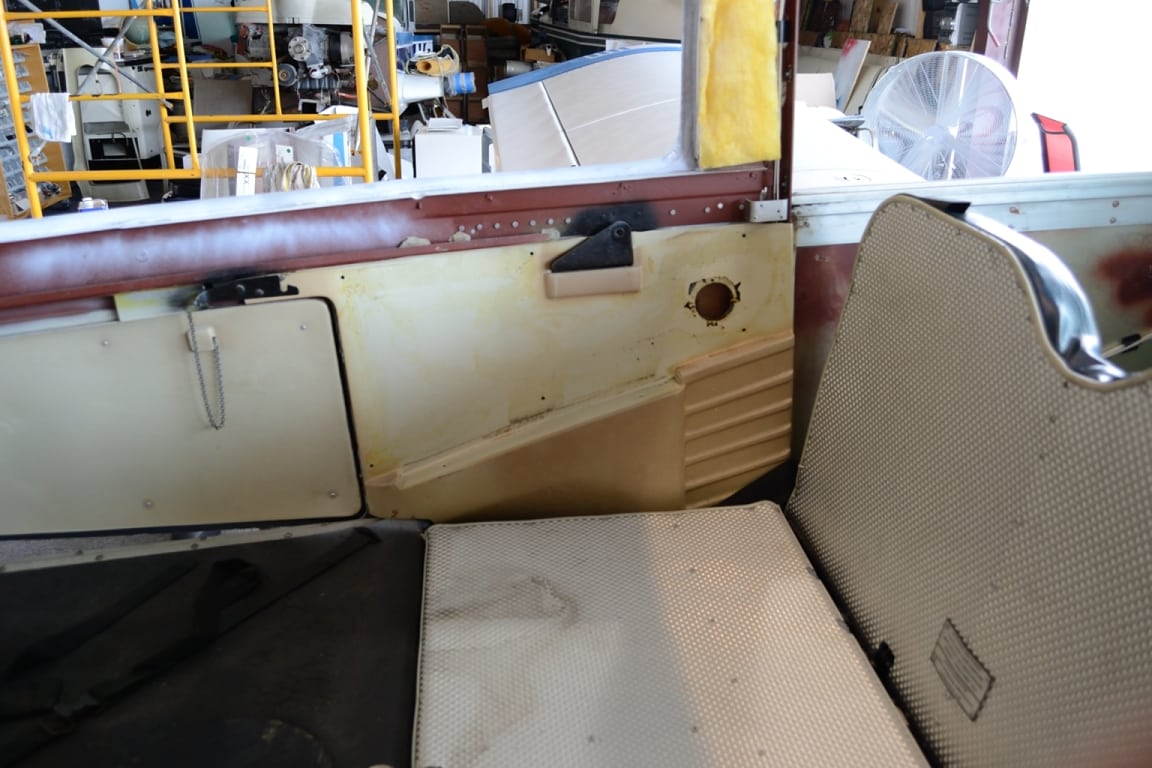
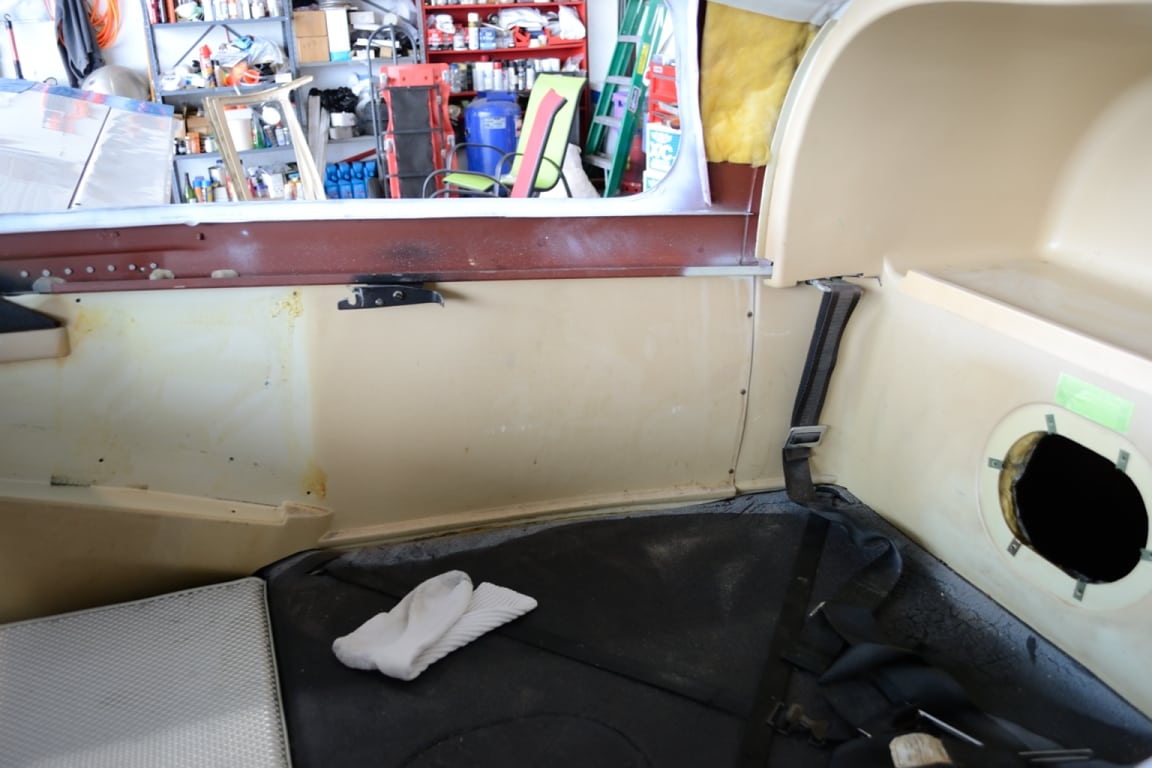
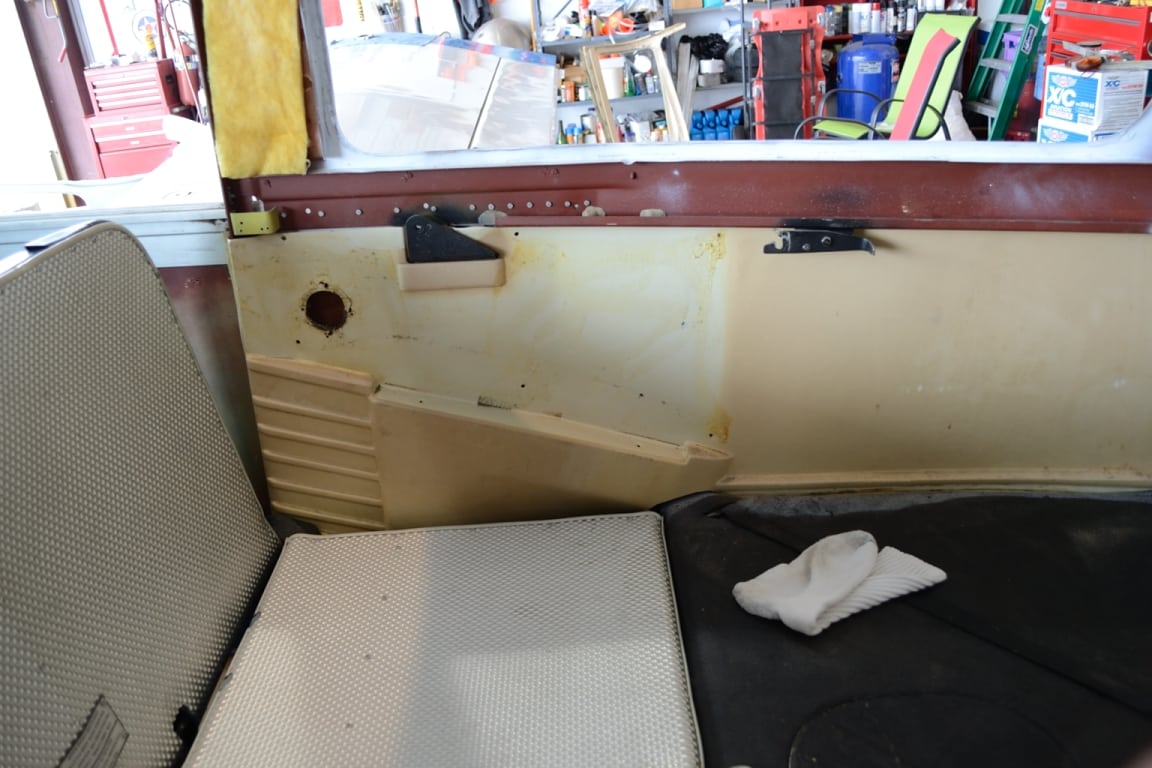
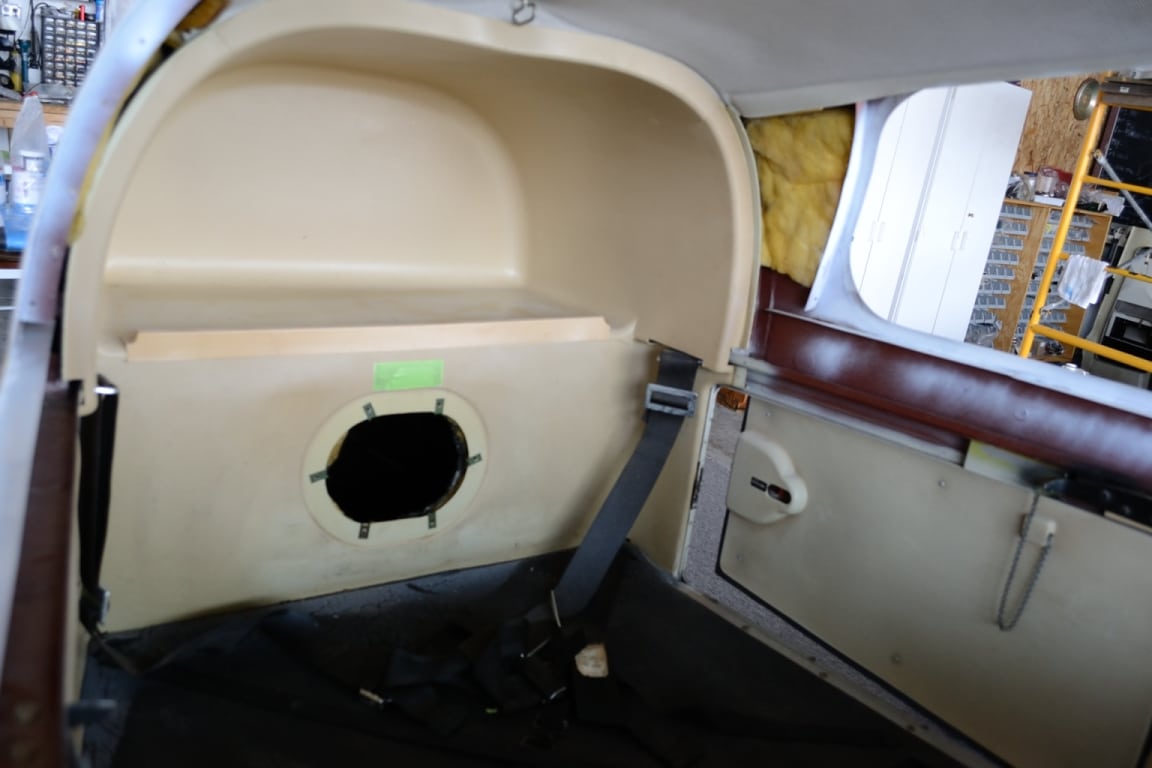
Here is what we started with:


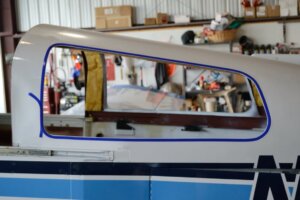
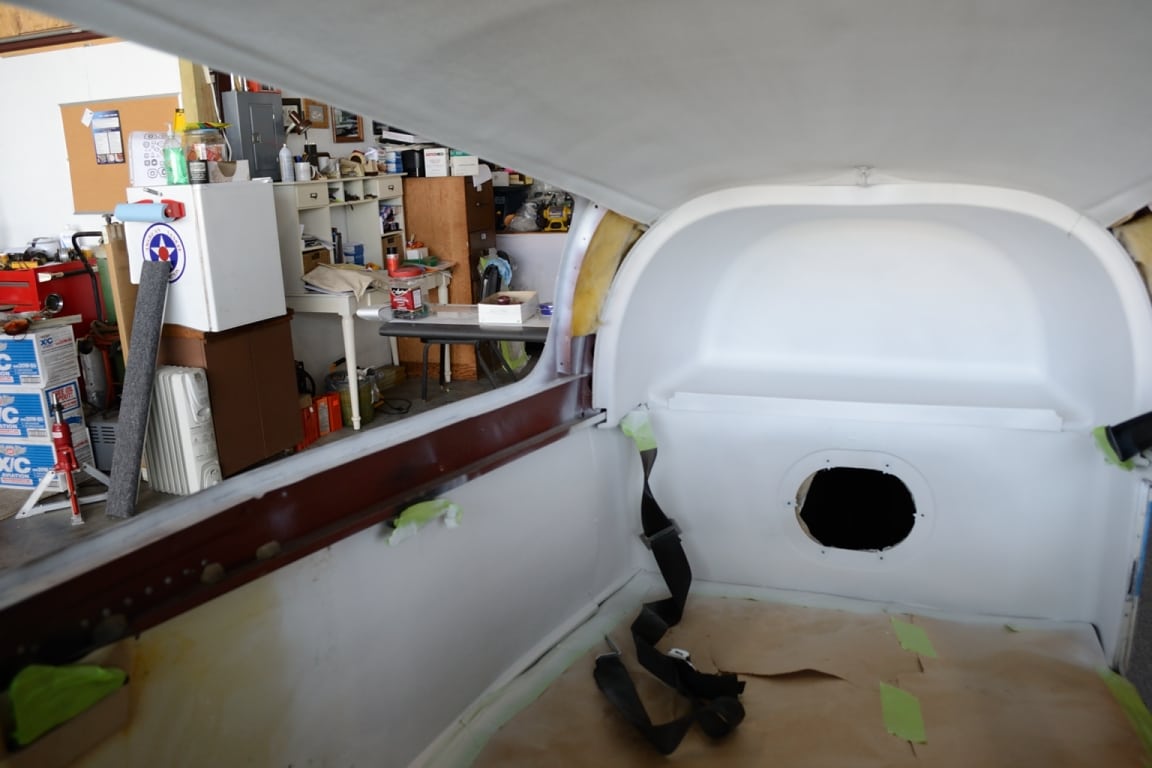
Here is the fresh paint:
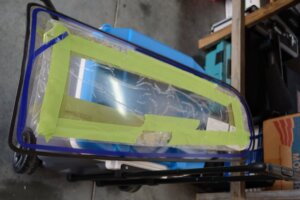
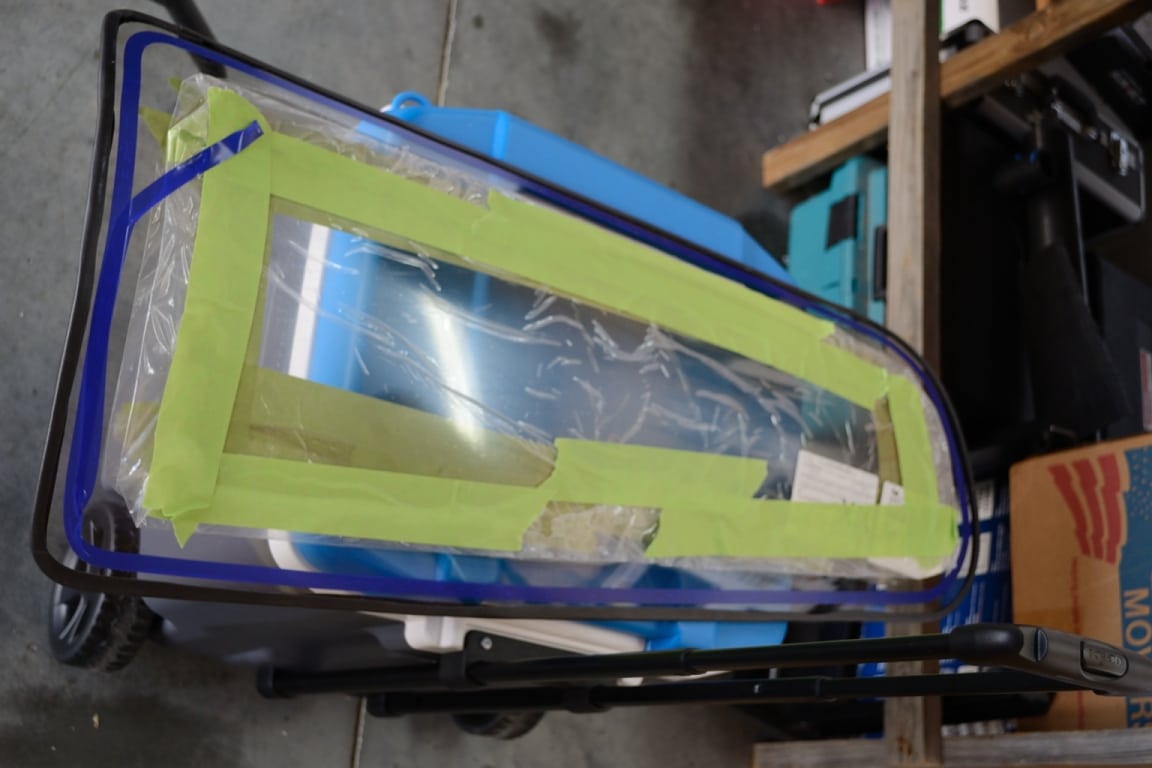
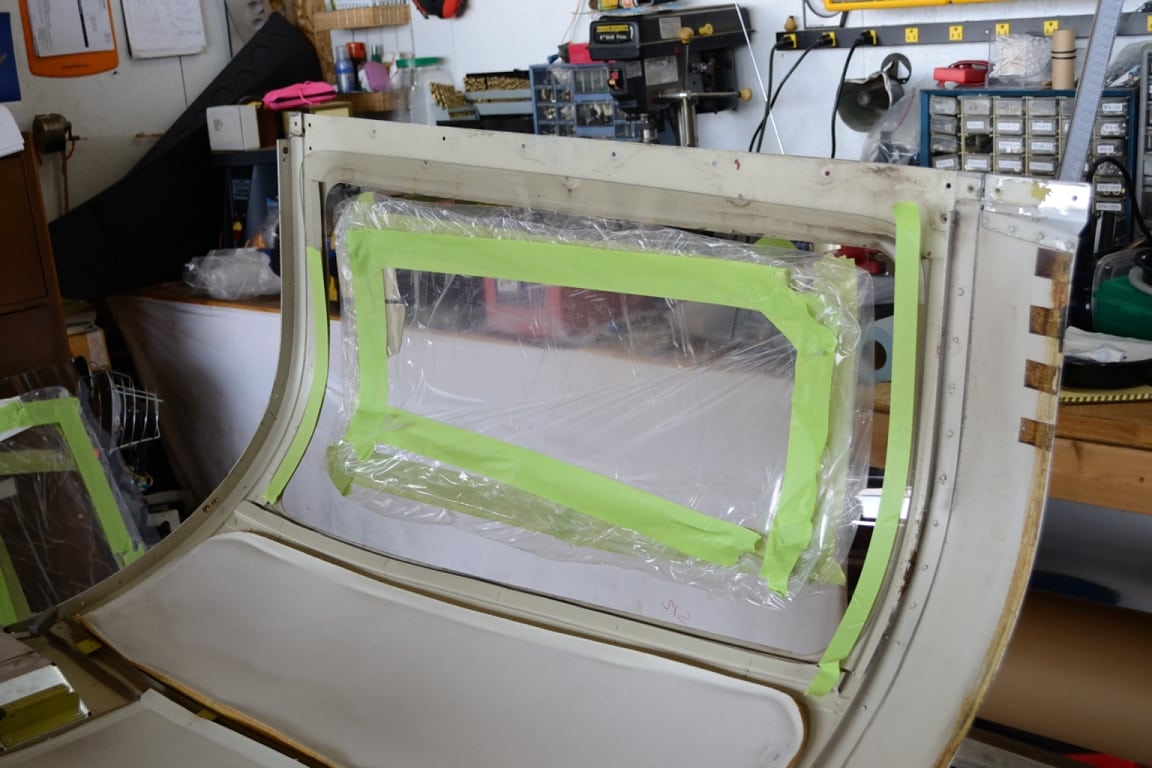
Windows being prepped to go in:


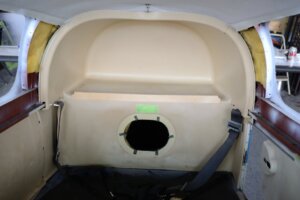
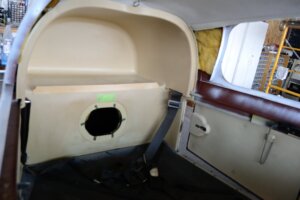
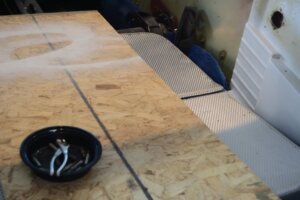
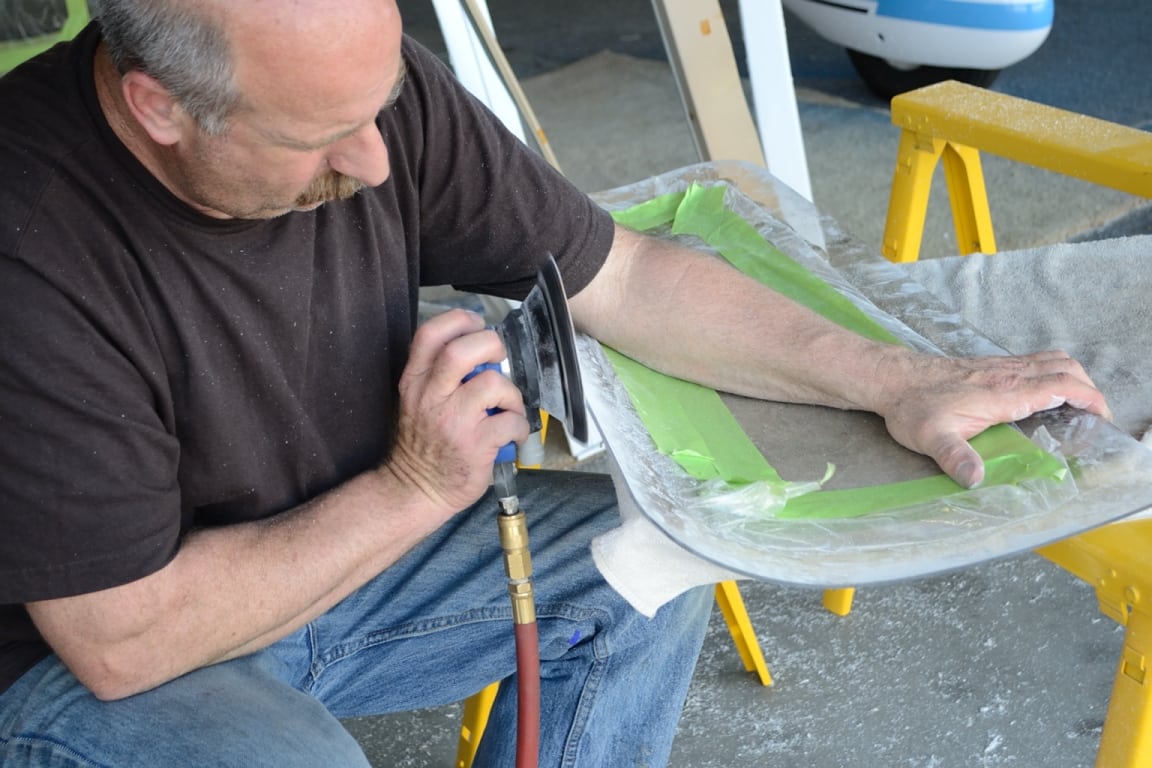
Notice the attention to floor protection, a piece of plywood so as not to distort the seat back structure. Nice:
Finally, this Phase One of the renovation was complete…I had an airplane that was sound and airworthy, although by no means completely tricked out as I had originally envisioned. I pick up N27163 at Yankee Aviation on 27 June and flew her home with a big smile on my face.
Joe Campbell
KROA -
May 9, 2016 at 20:29 #4908
 Tracy NorrisParticipant
Very nice Joe! Fitting windows is more of an art in our aircraft than a science! Thanks for posting, look forward to seeing more 🙂
-
-
AuthorPosts


- You must be logged in to reply to this topic.